Installing a Template on a New Workspace
Go to https://platform.ubos.tech/ and log in to your account.
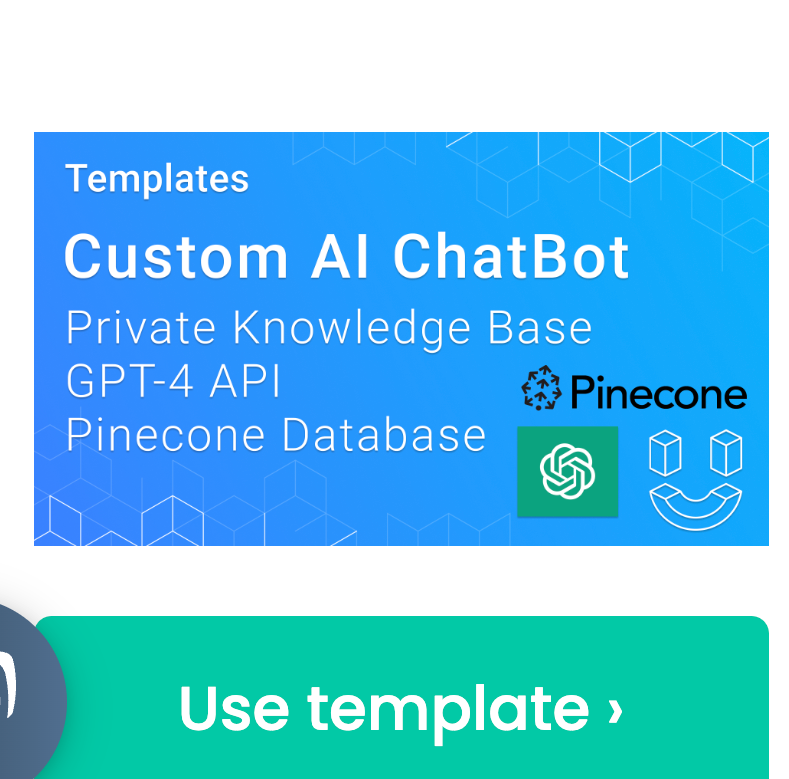
Click on that link to access the page displaying all workspaces.

Click the "+" button if you need to create a new workspace.
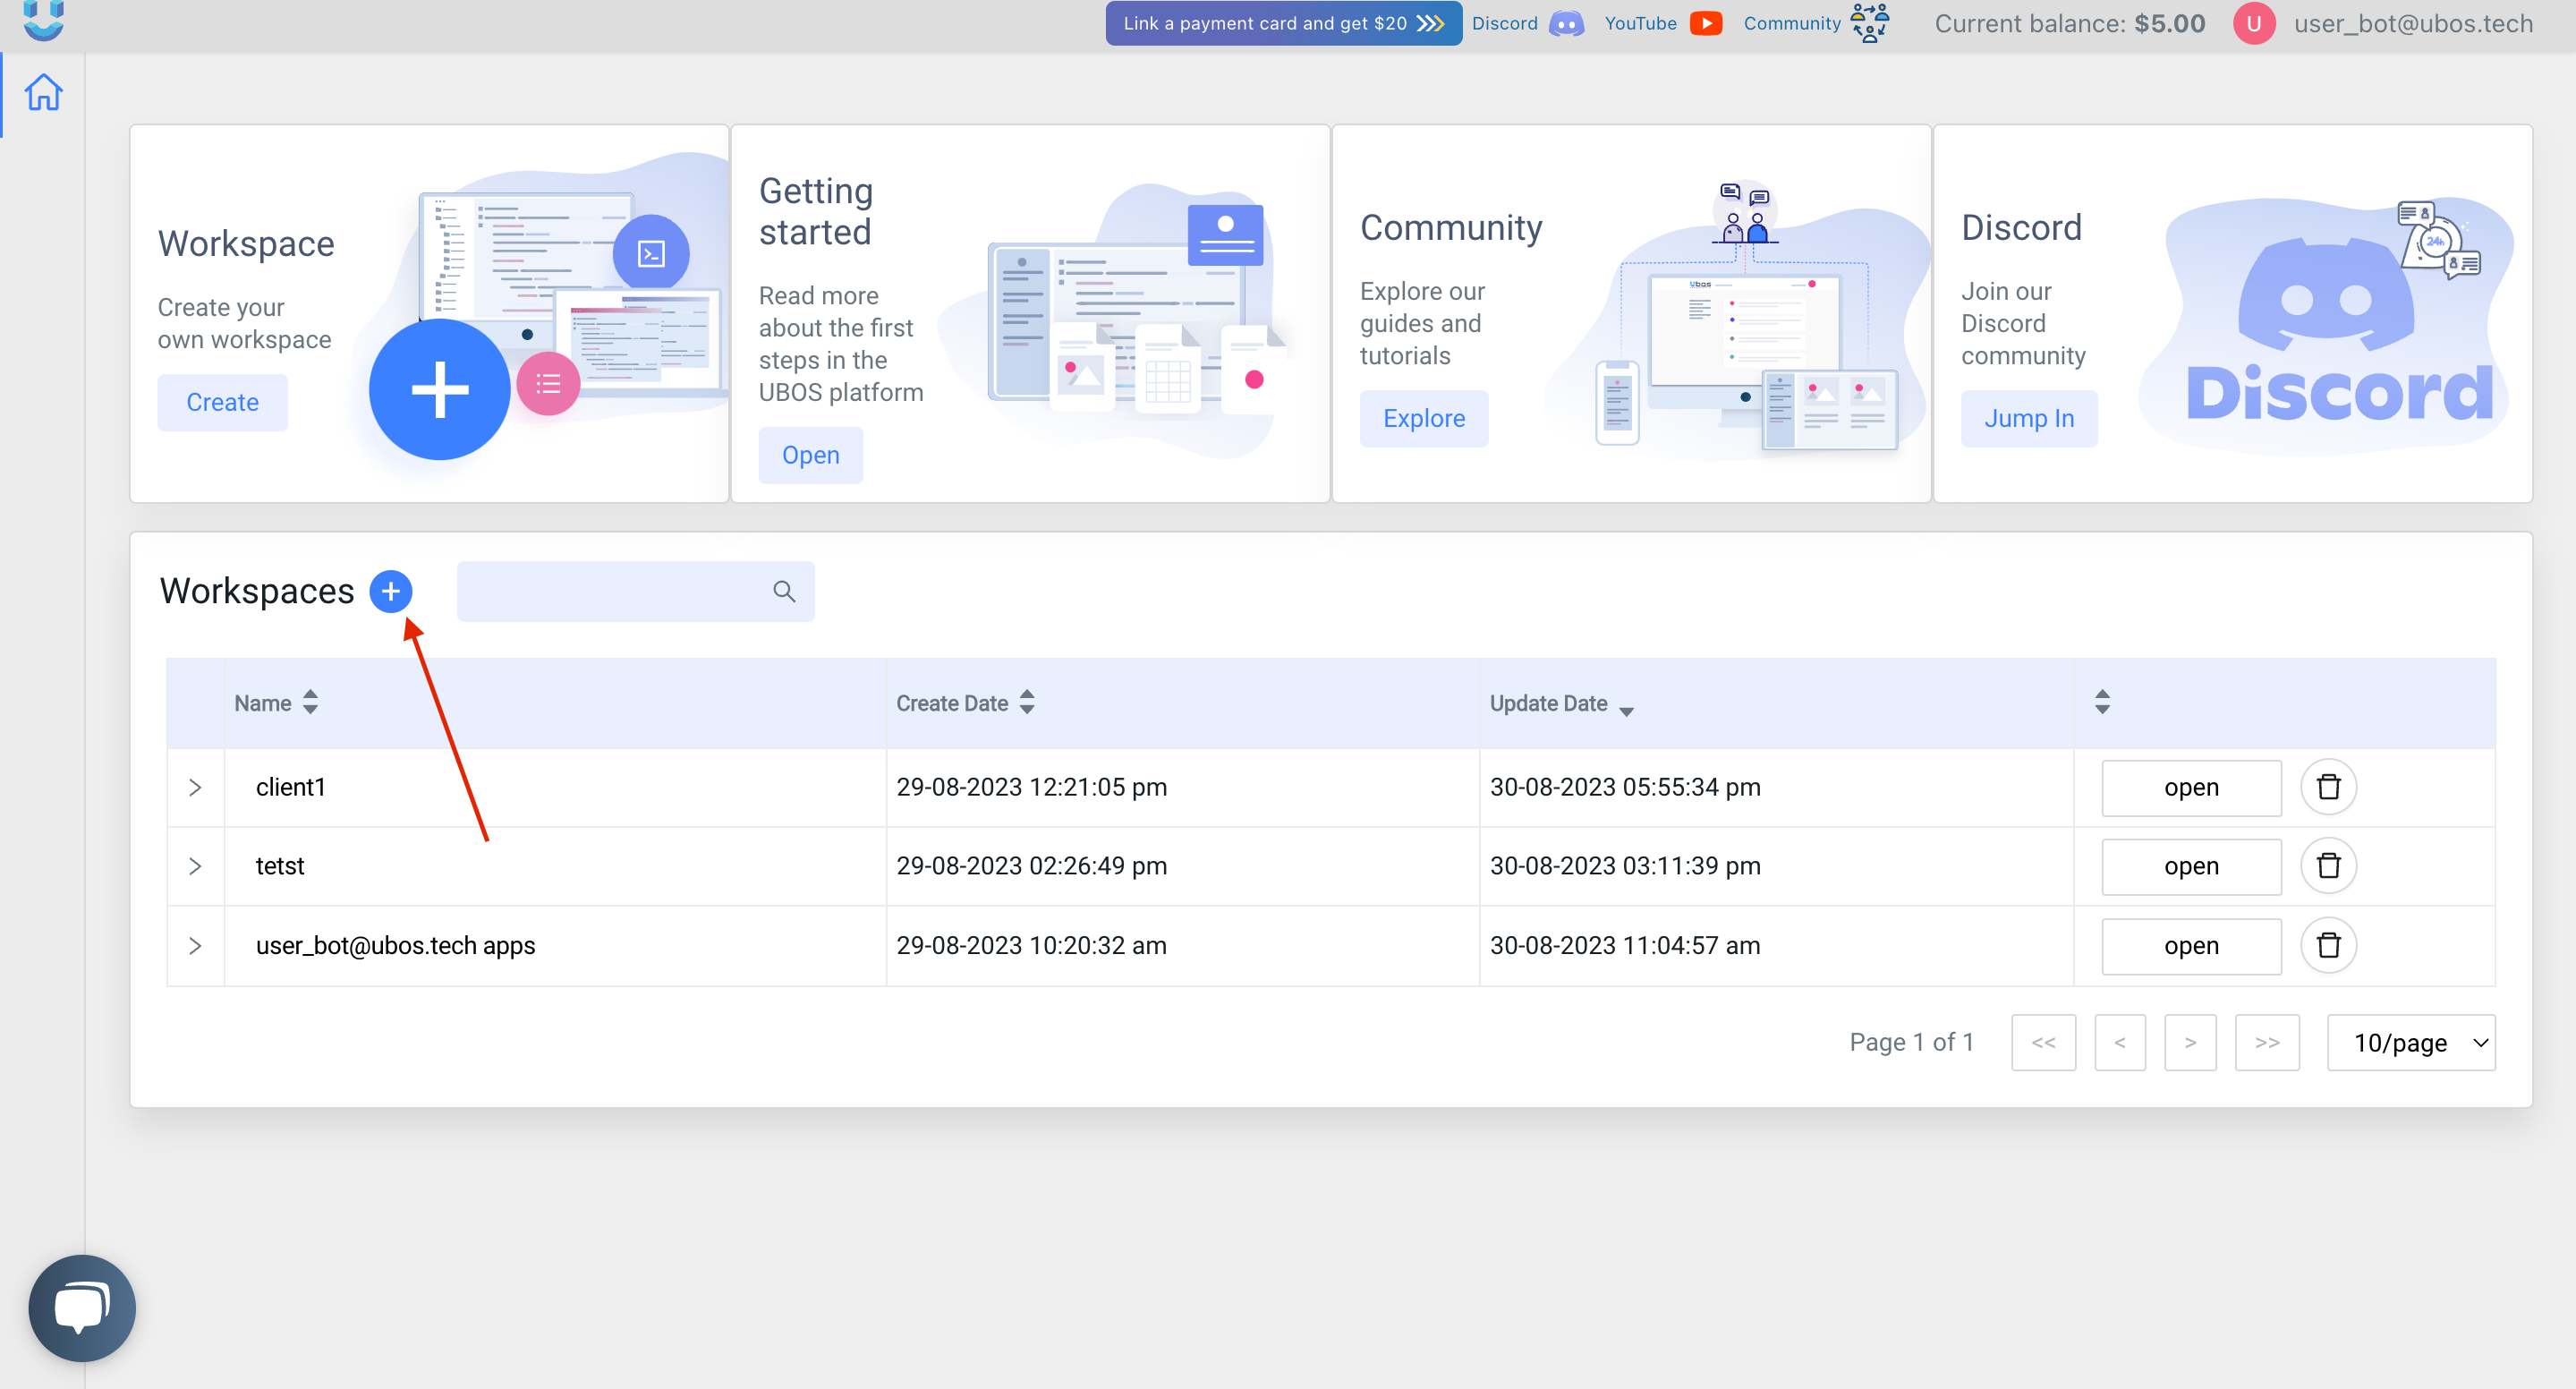
Enter a name for the new workspace and then click on the "Create" button. Once completed, proceed to open the newly created workspace.
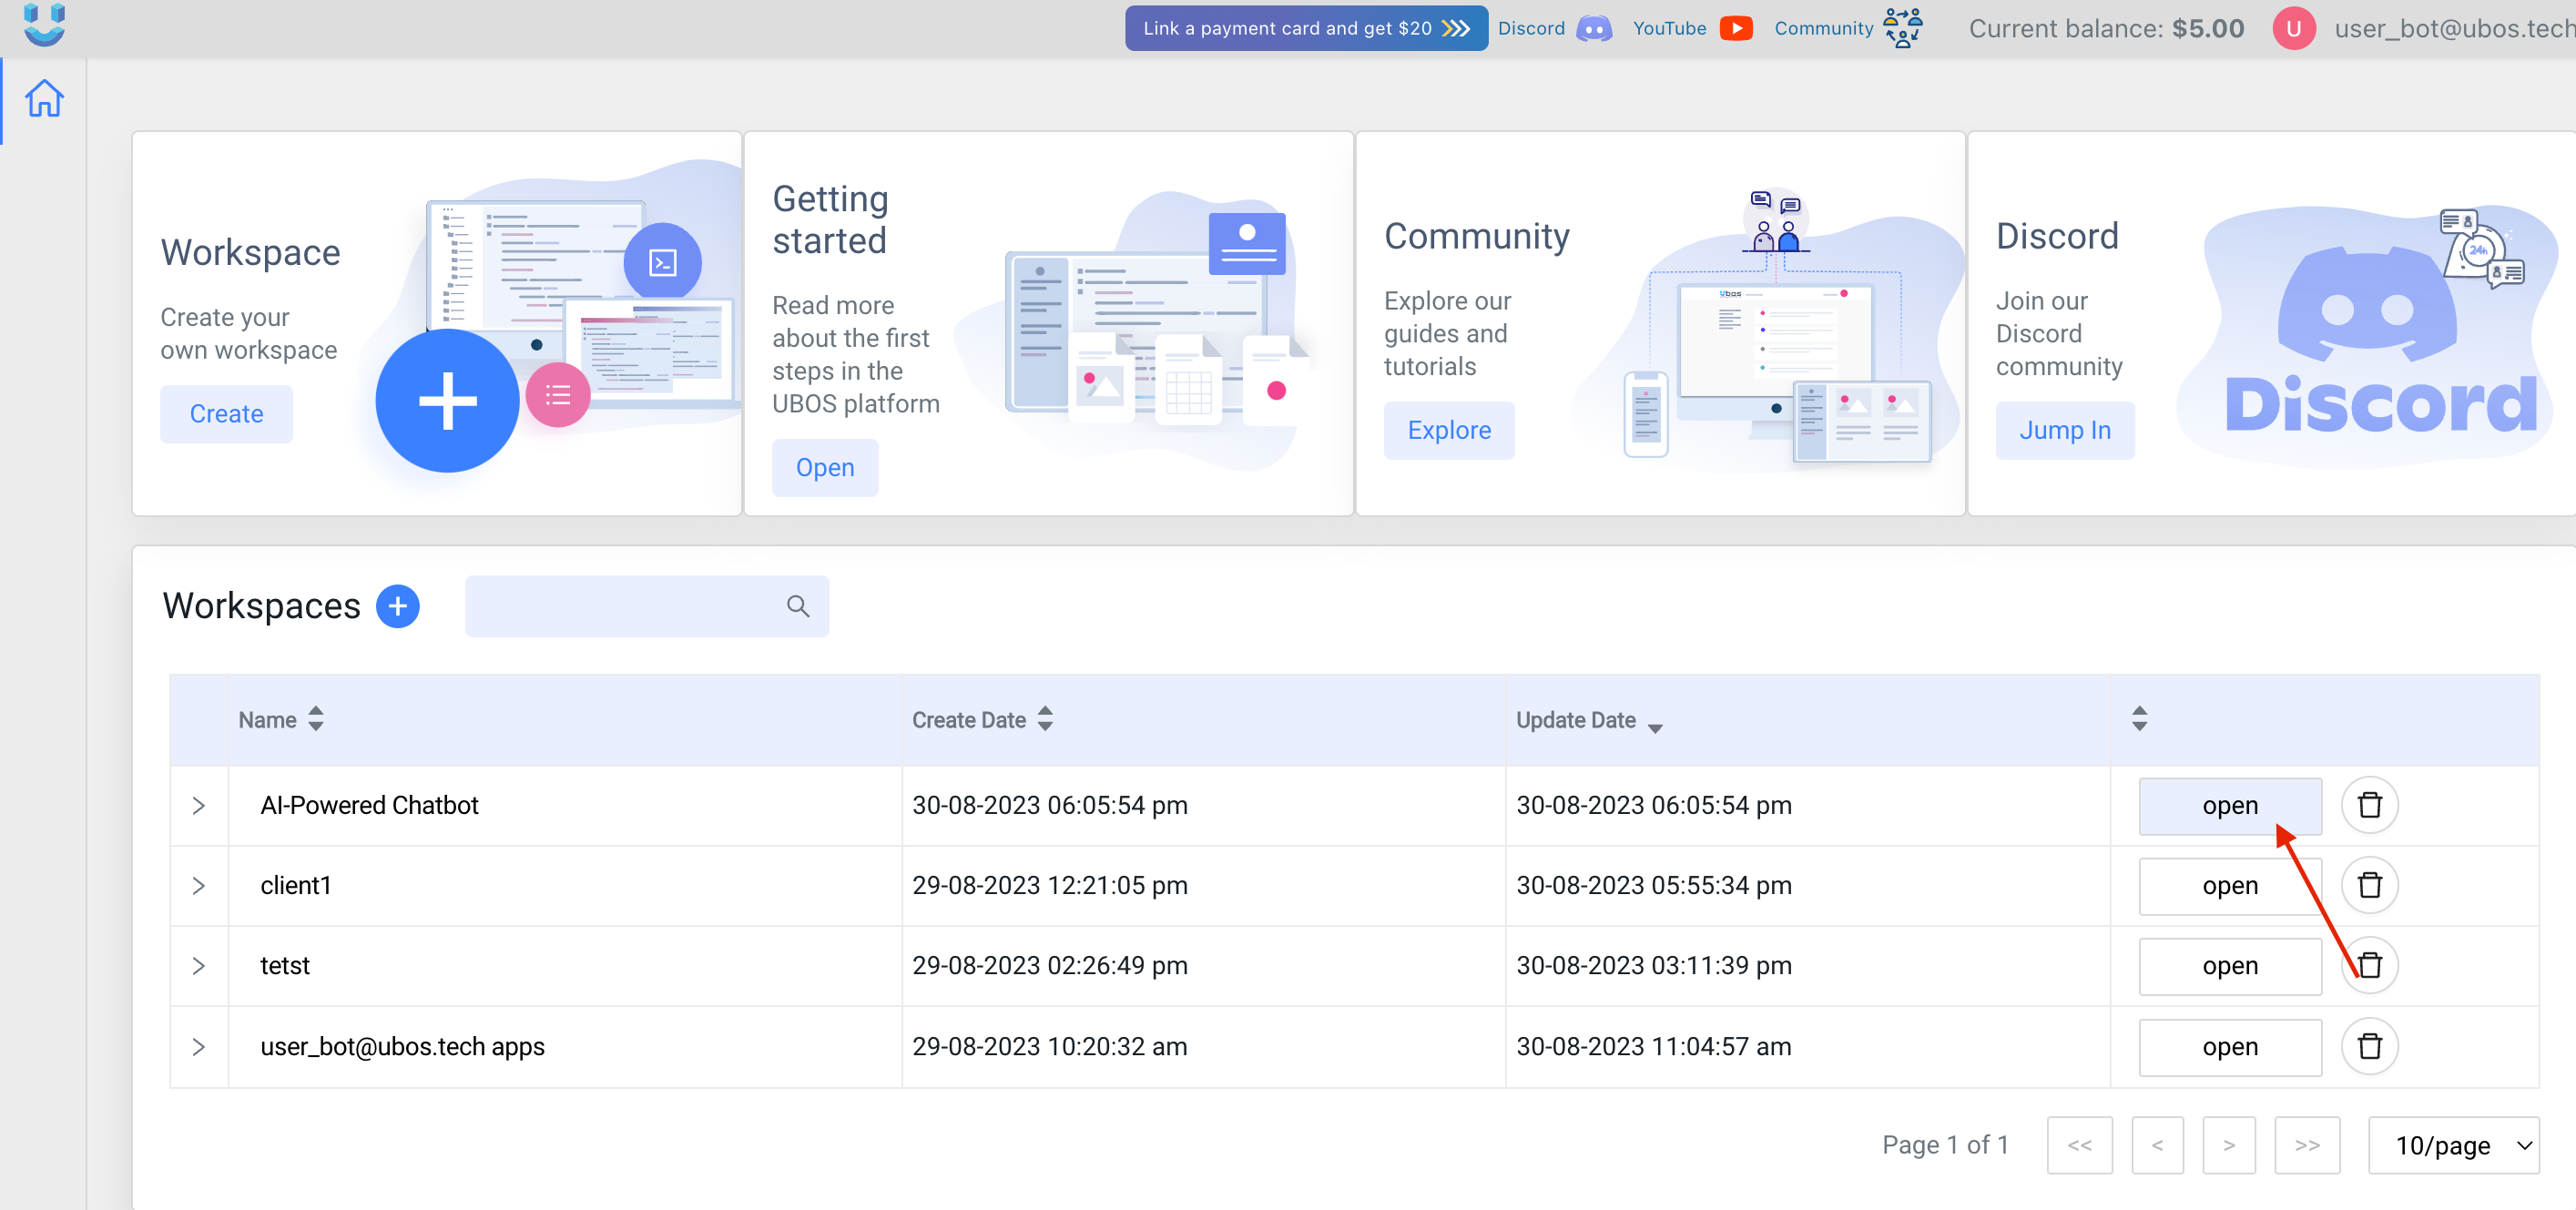
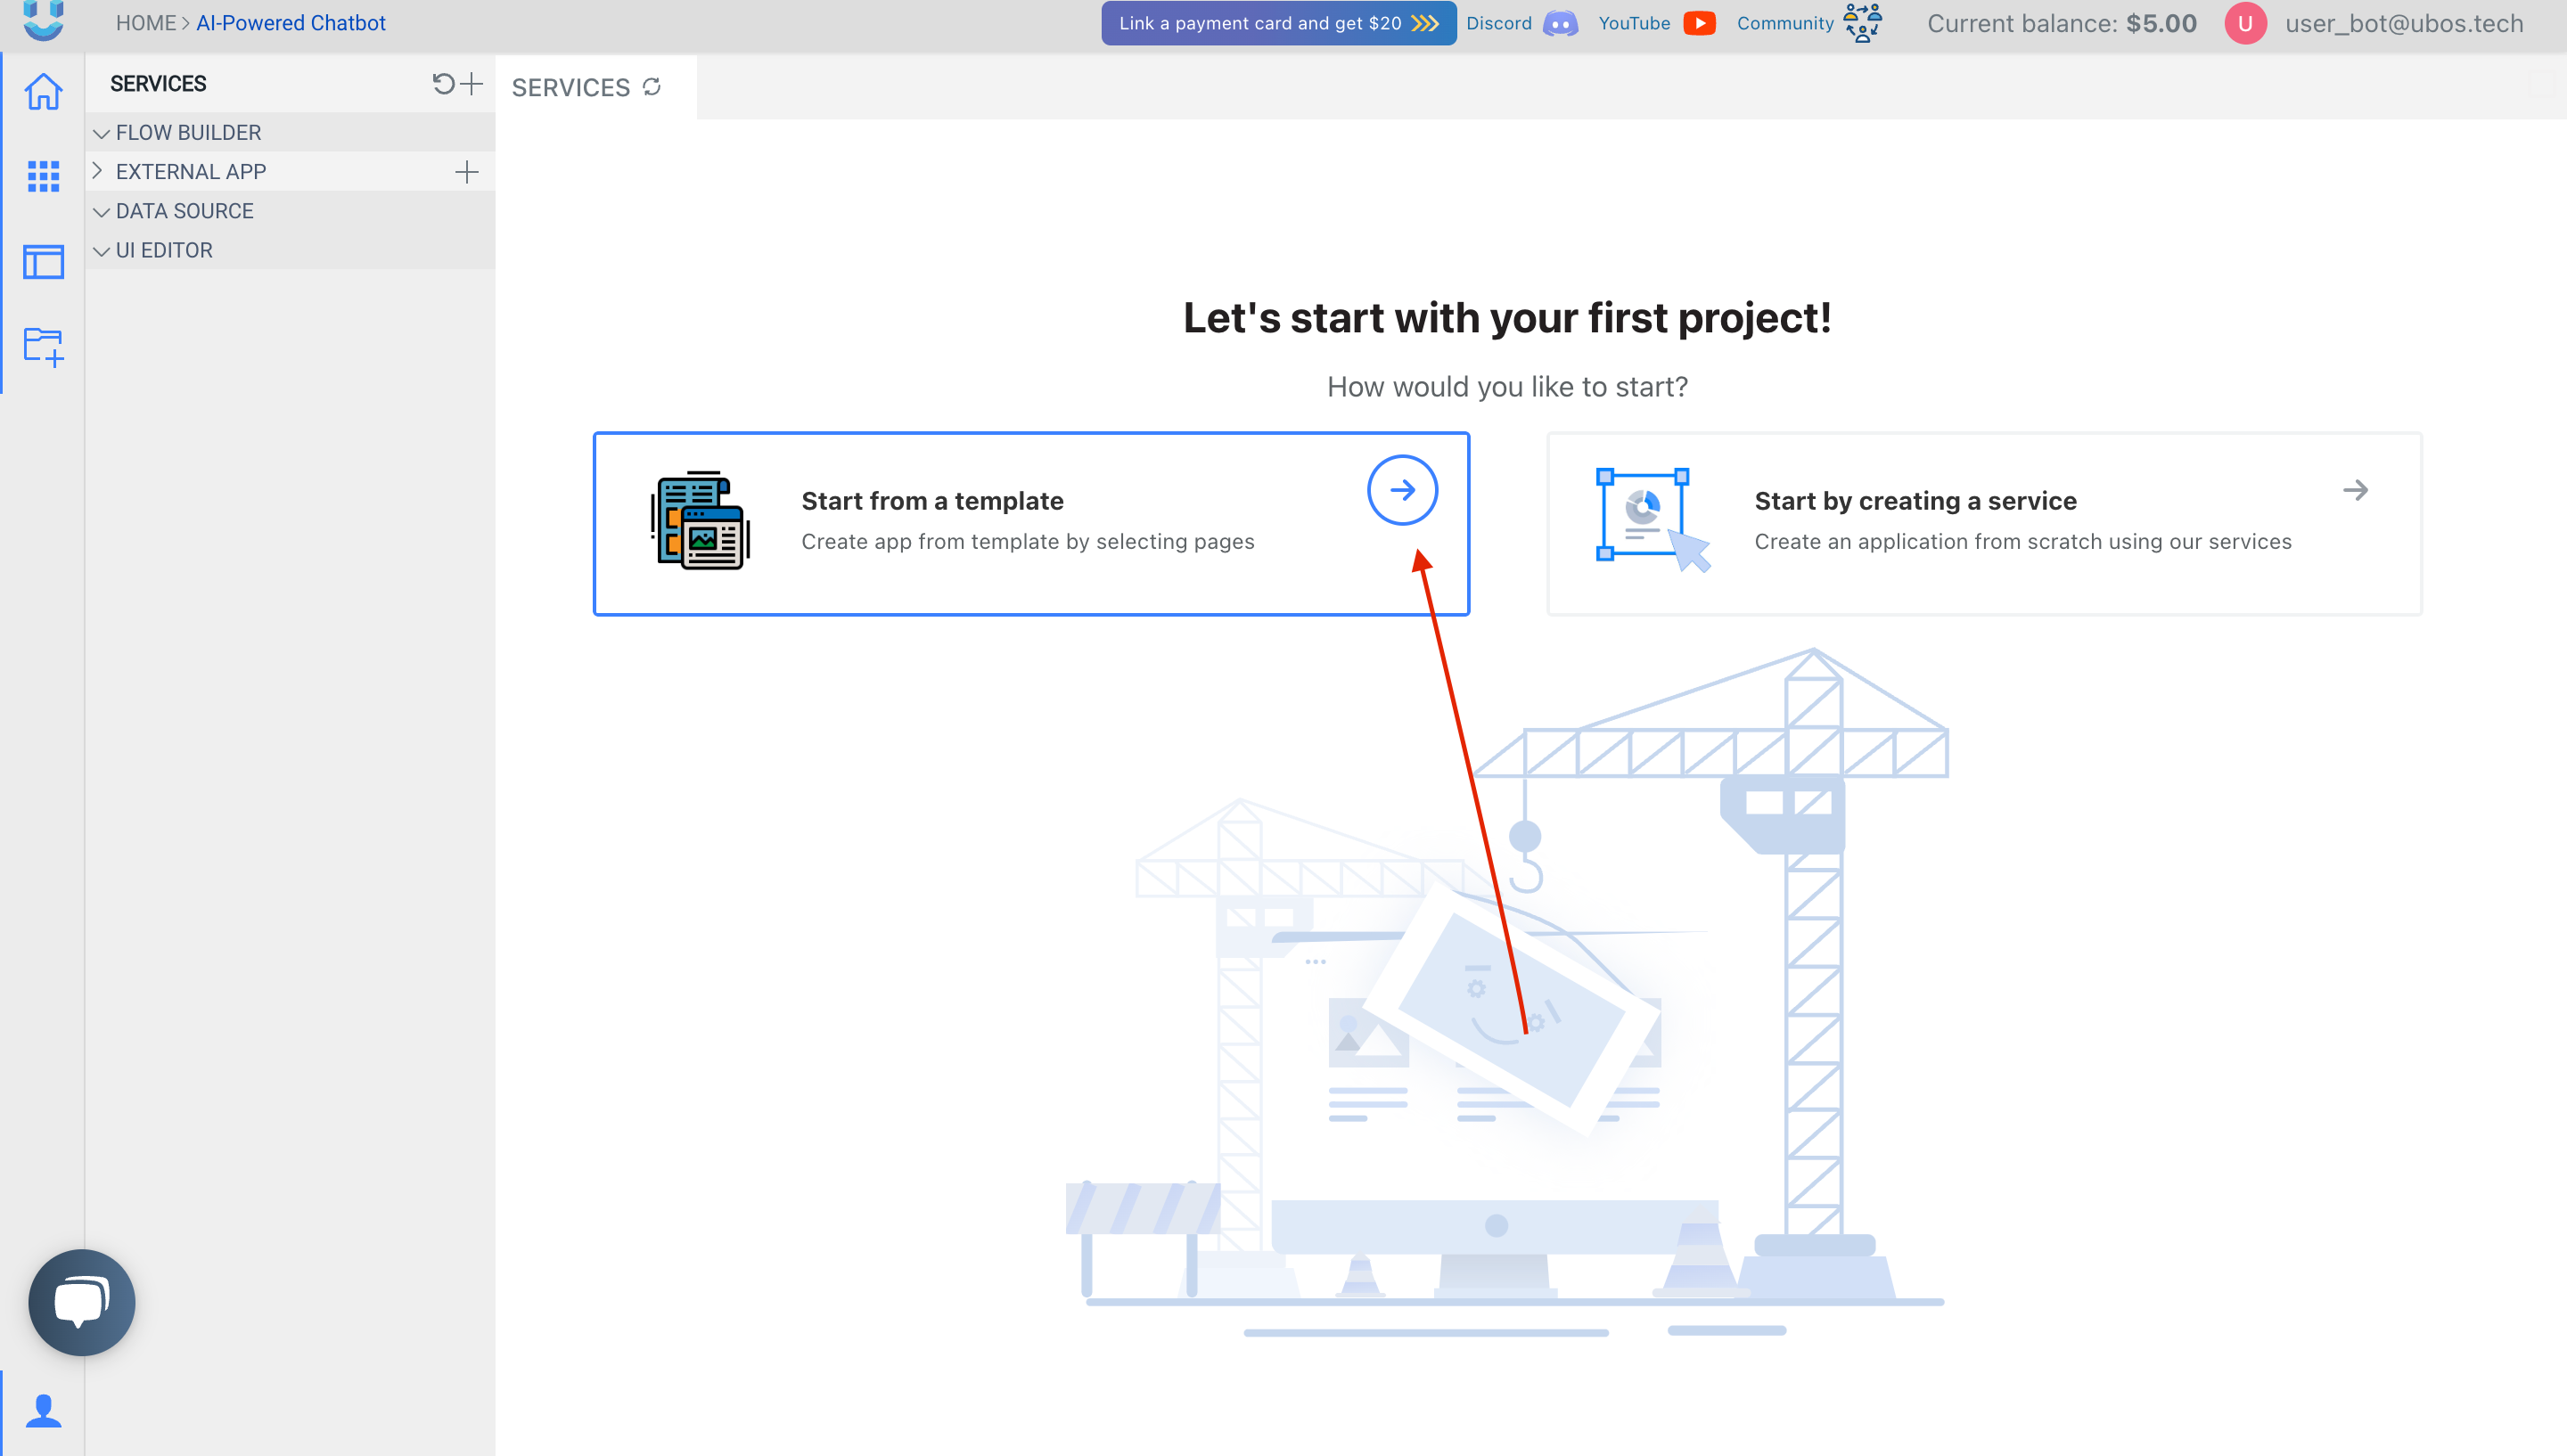
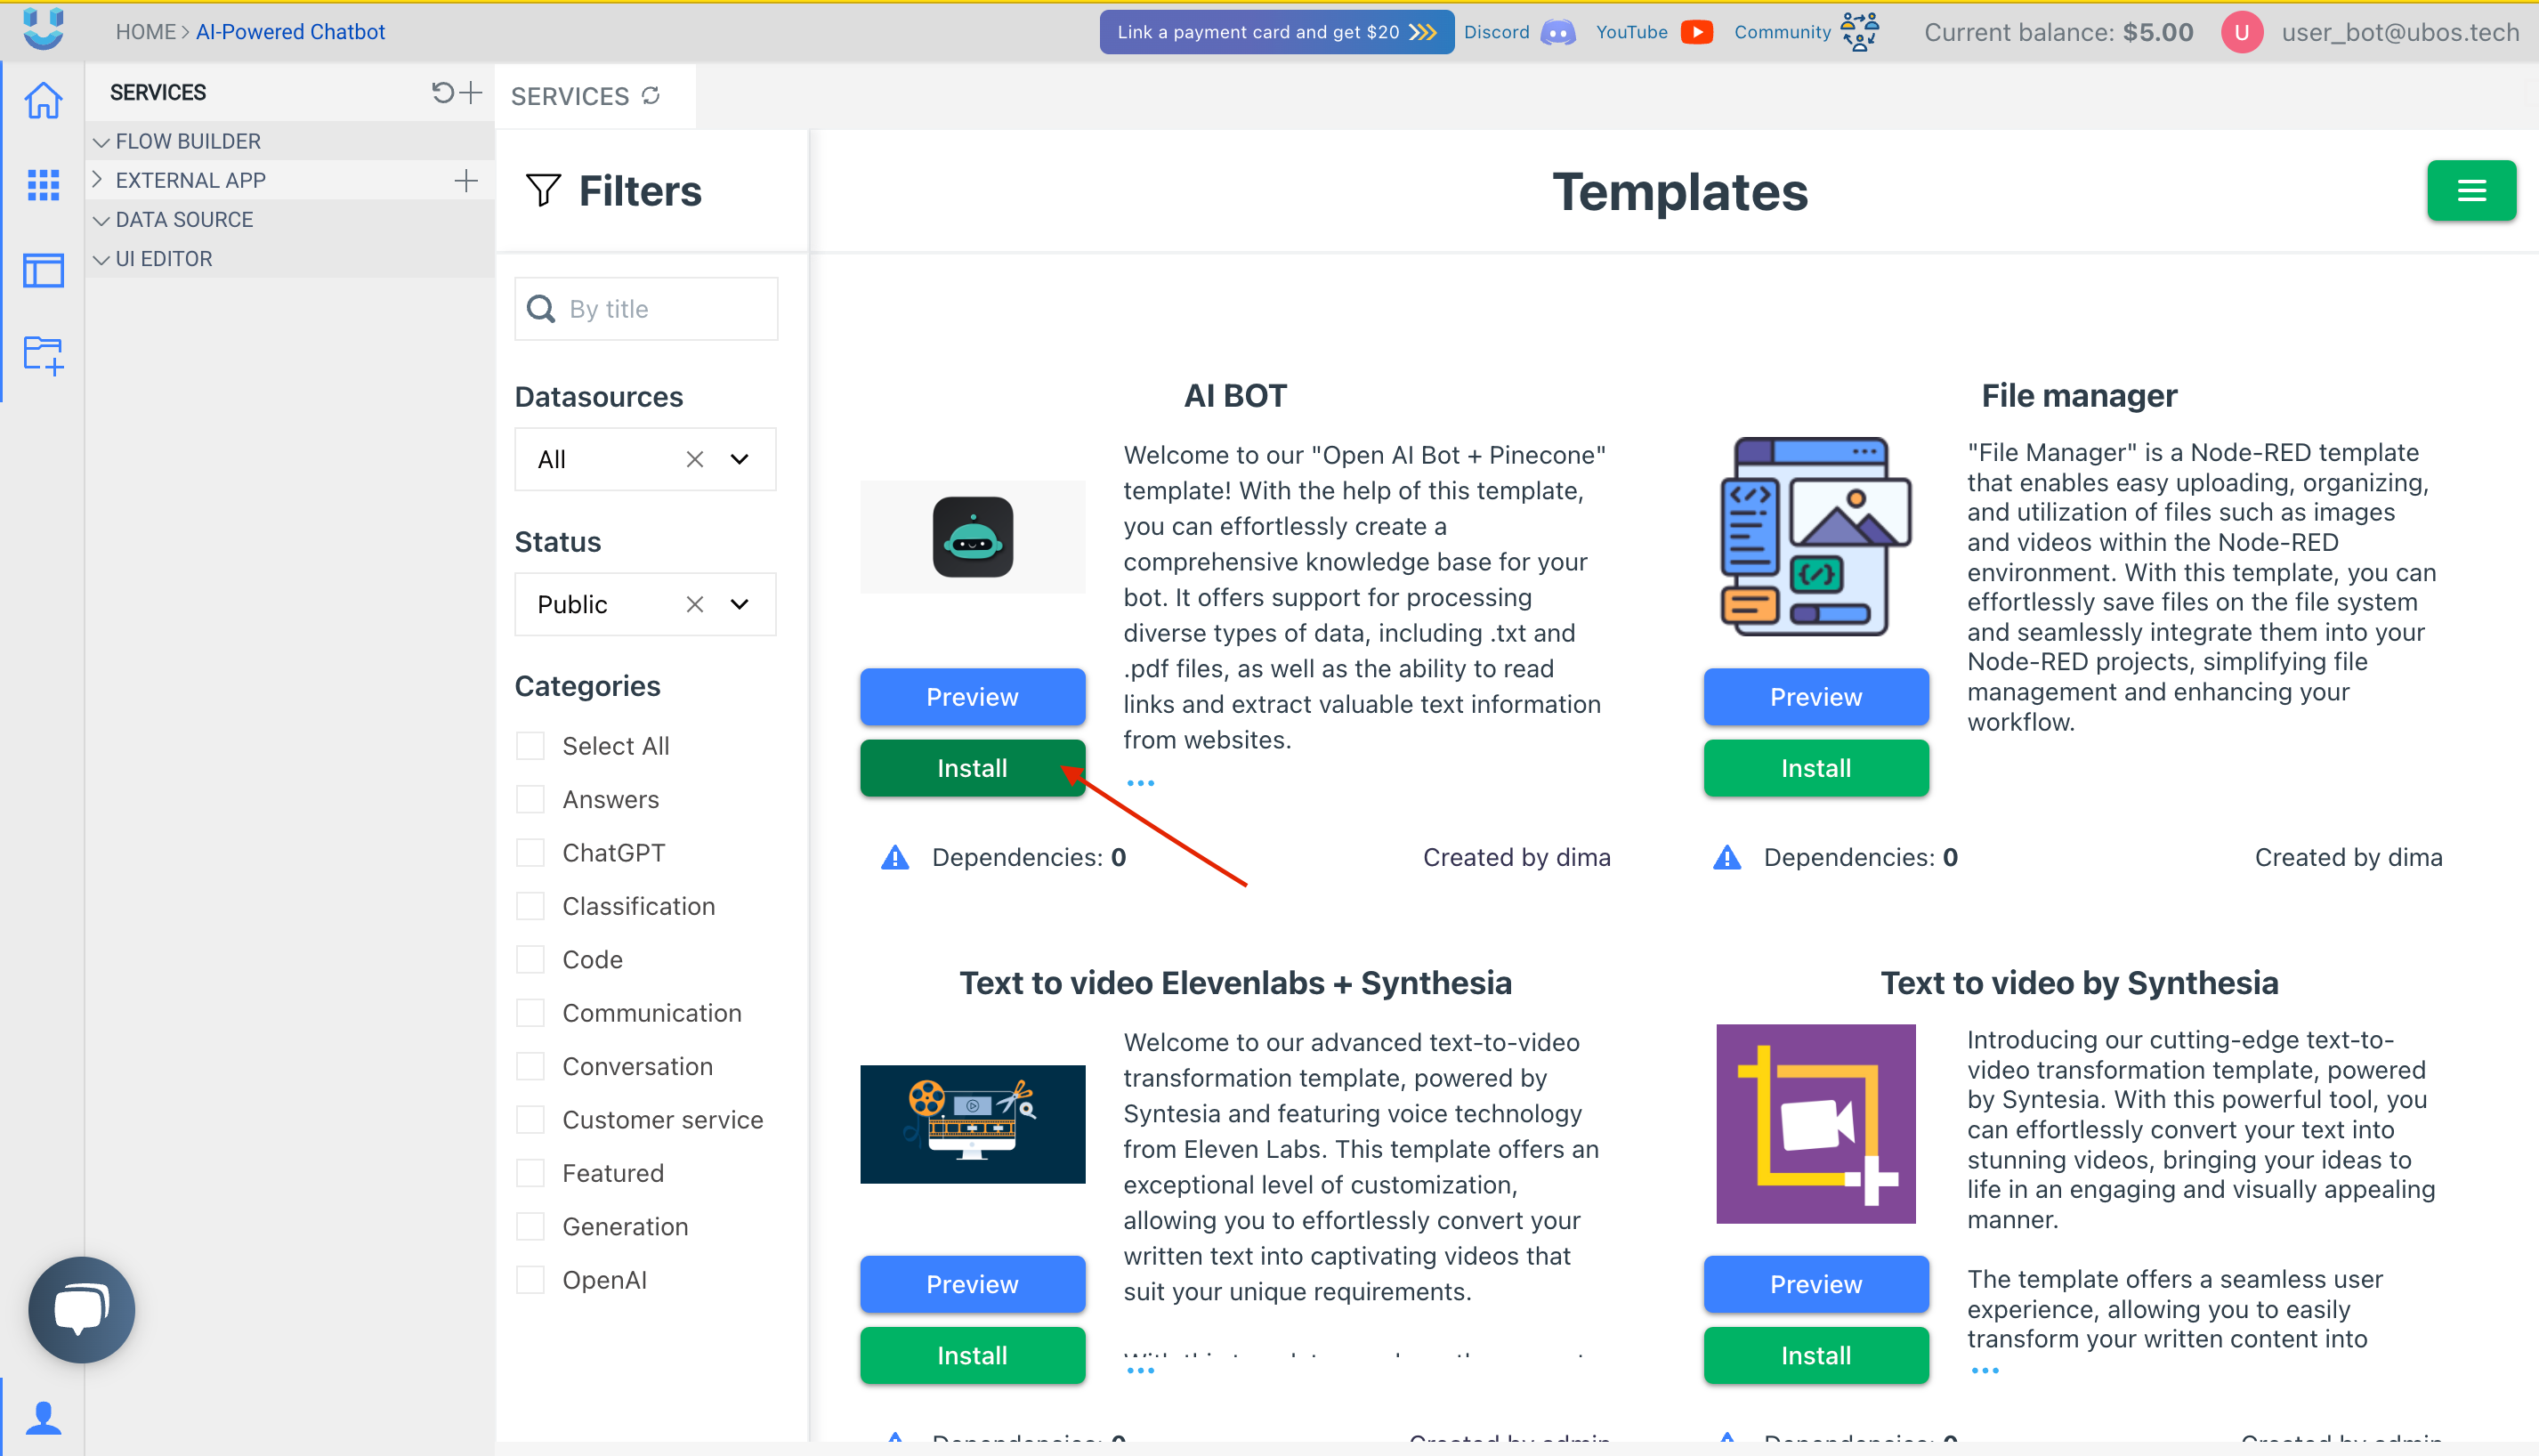
Select the option "Start from a template."
Then click on the "Install" button next to your desired template.
Select the workspace where you want to install the template, and then click on the "Fork template" option.

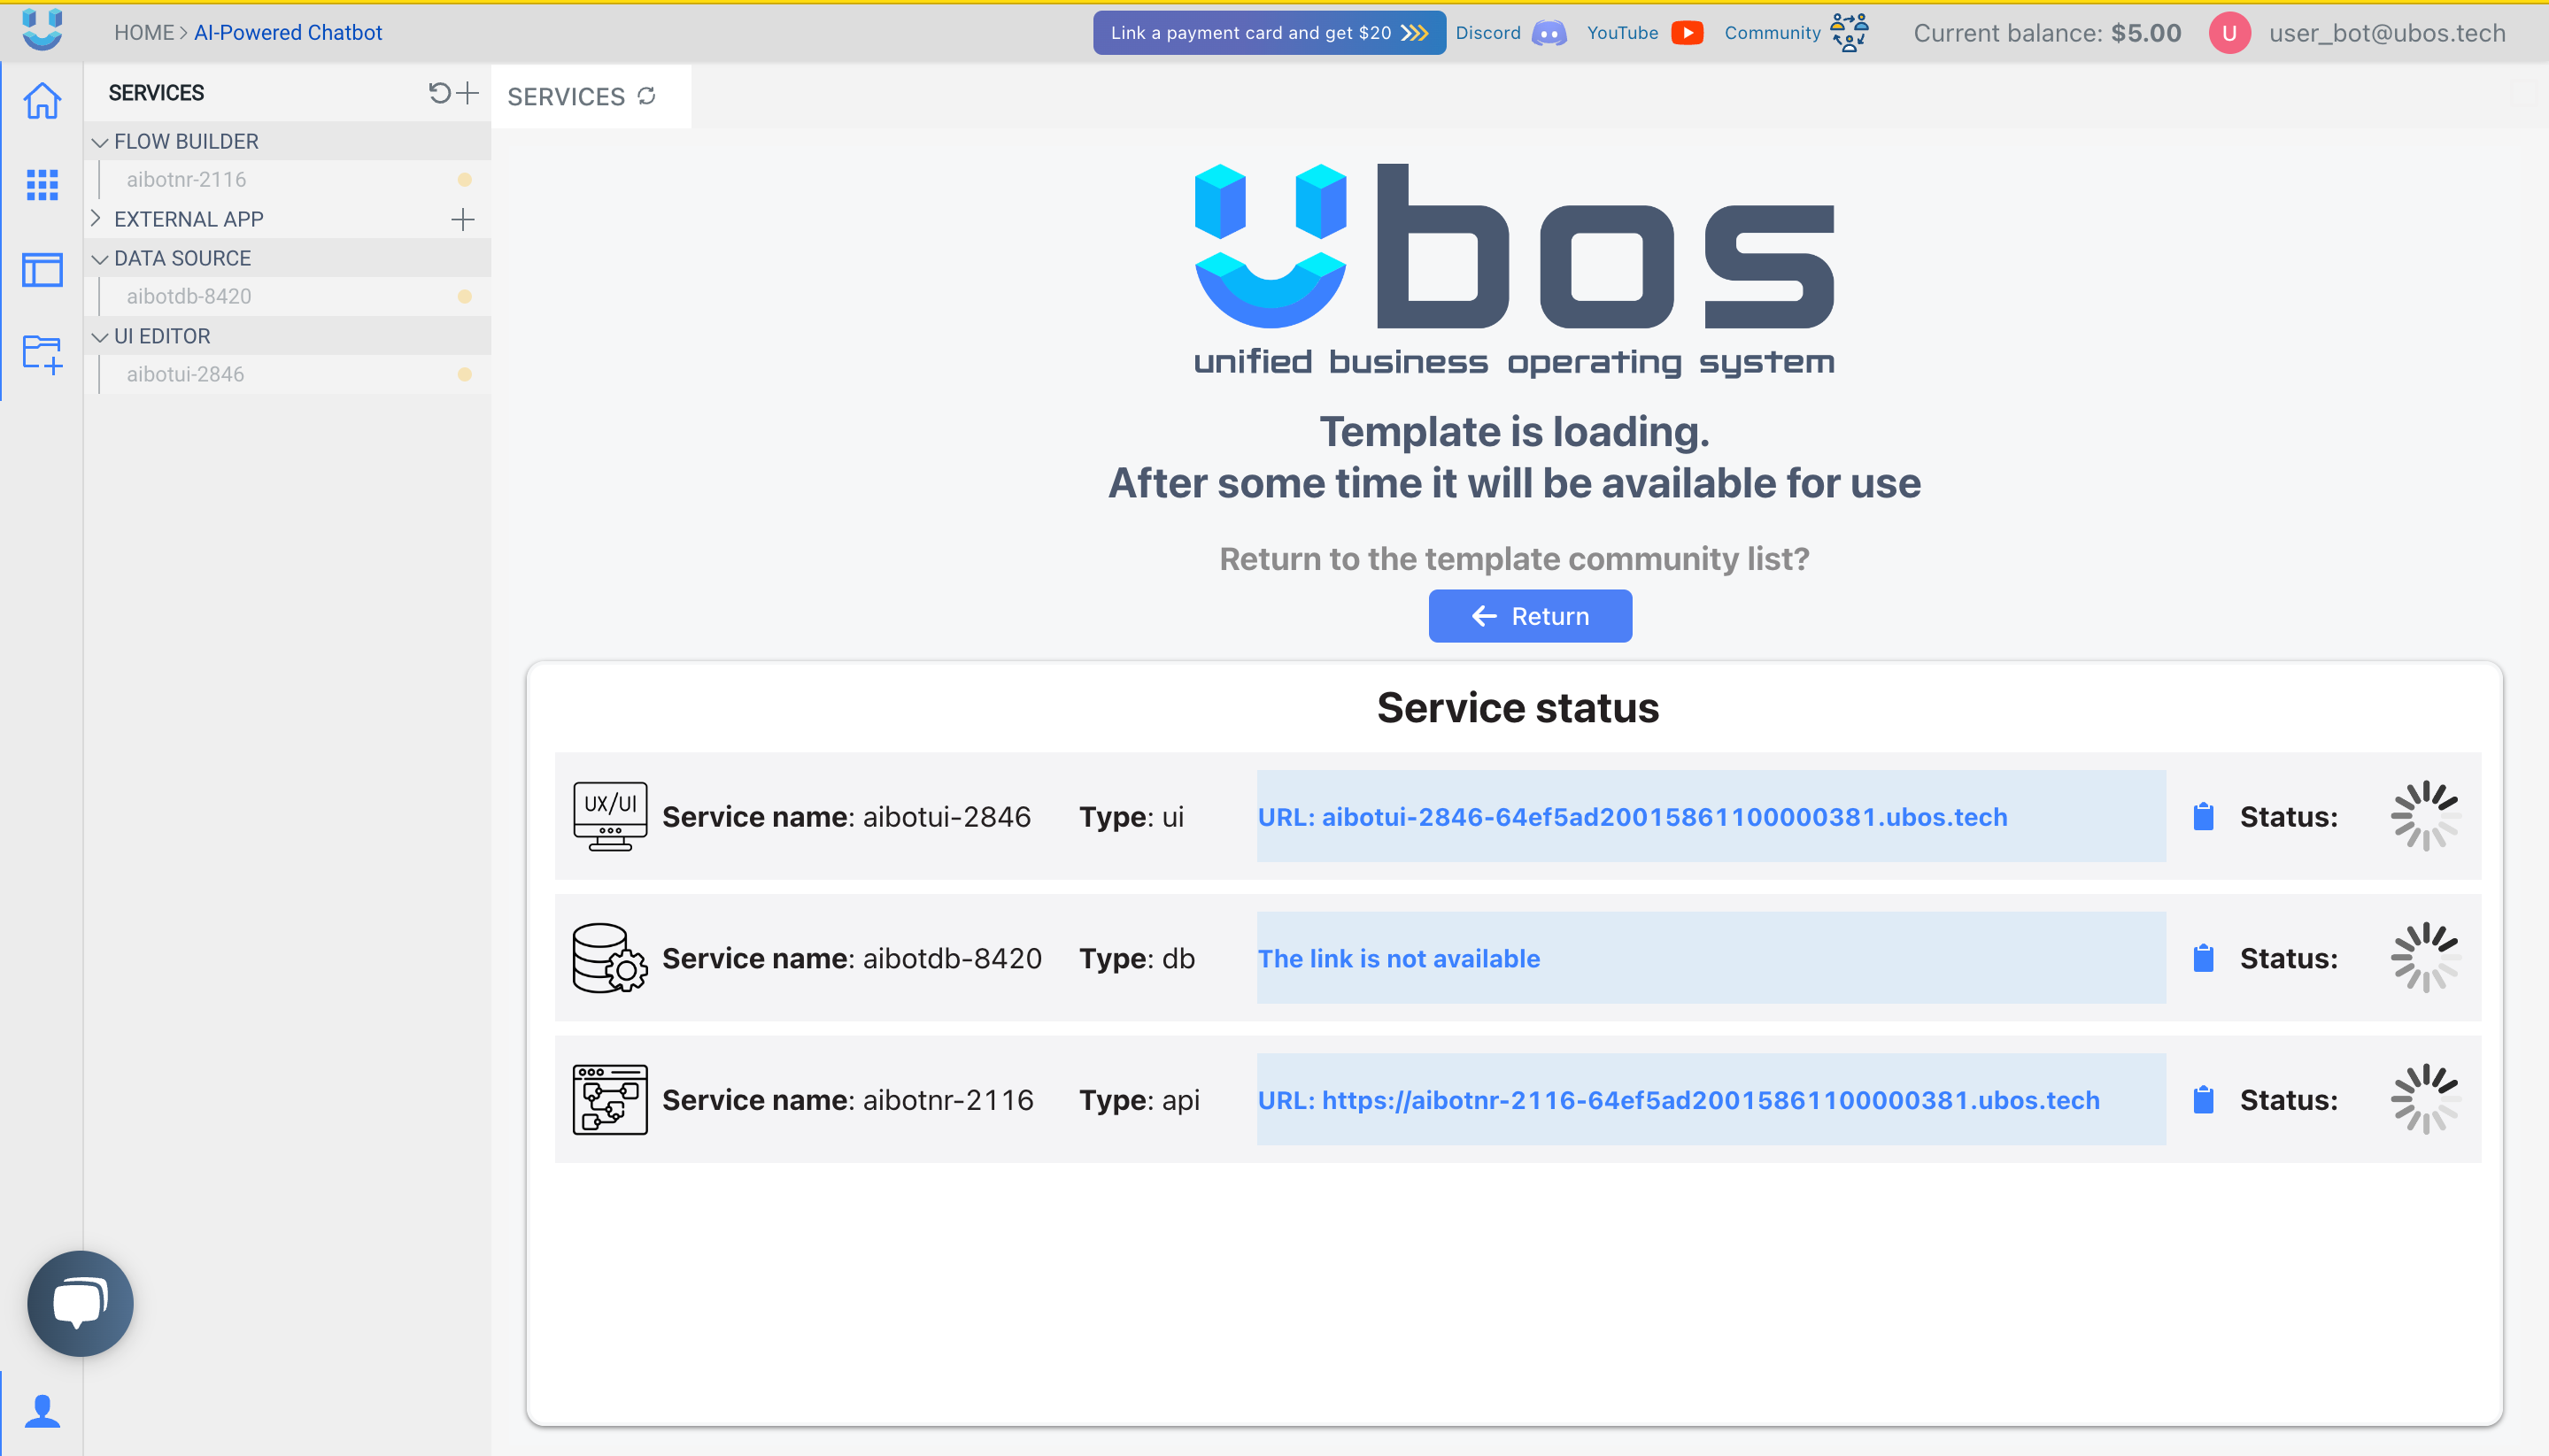
Wait until a green light appears next to all services.
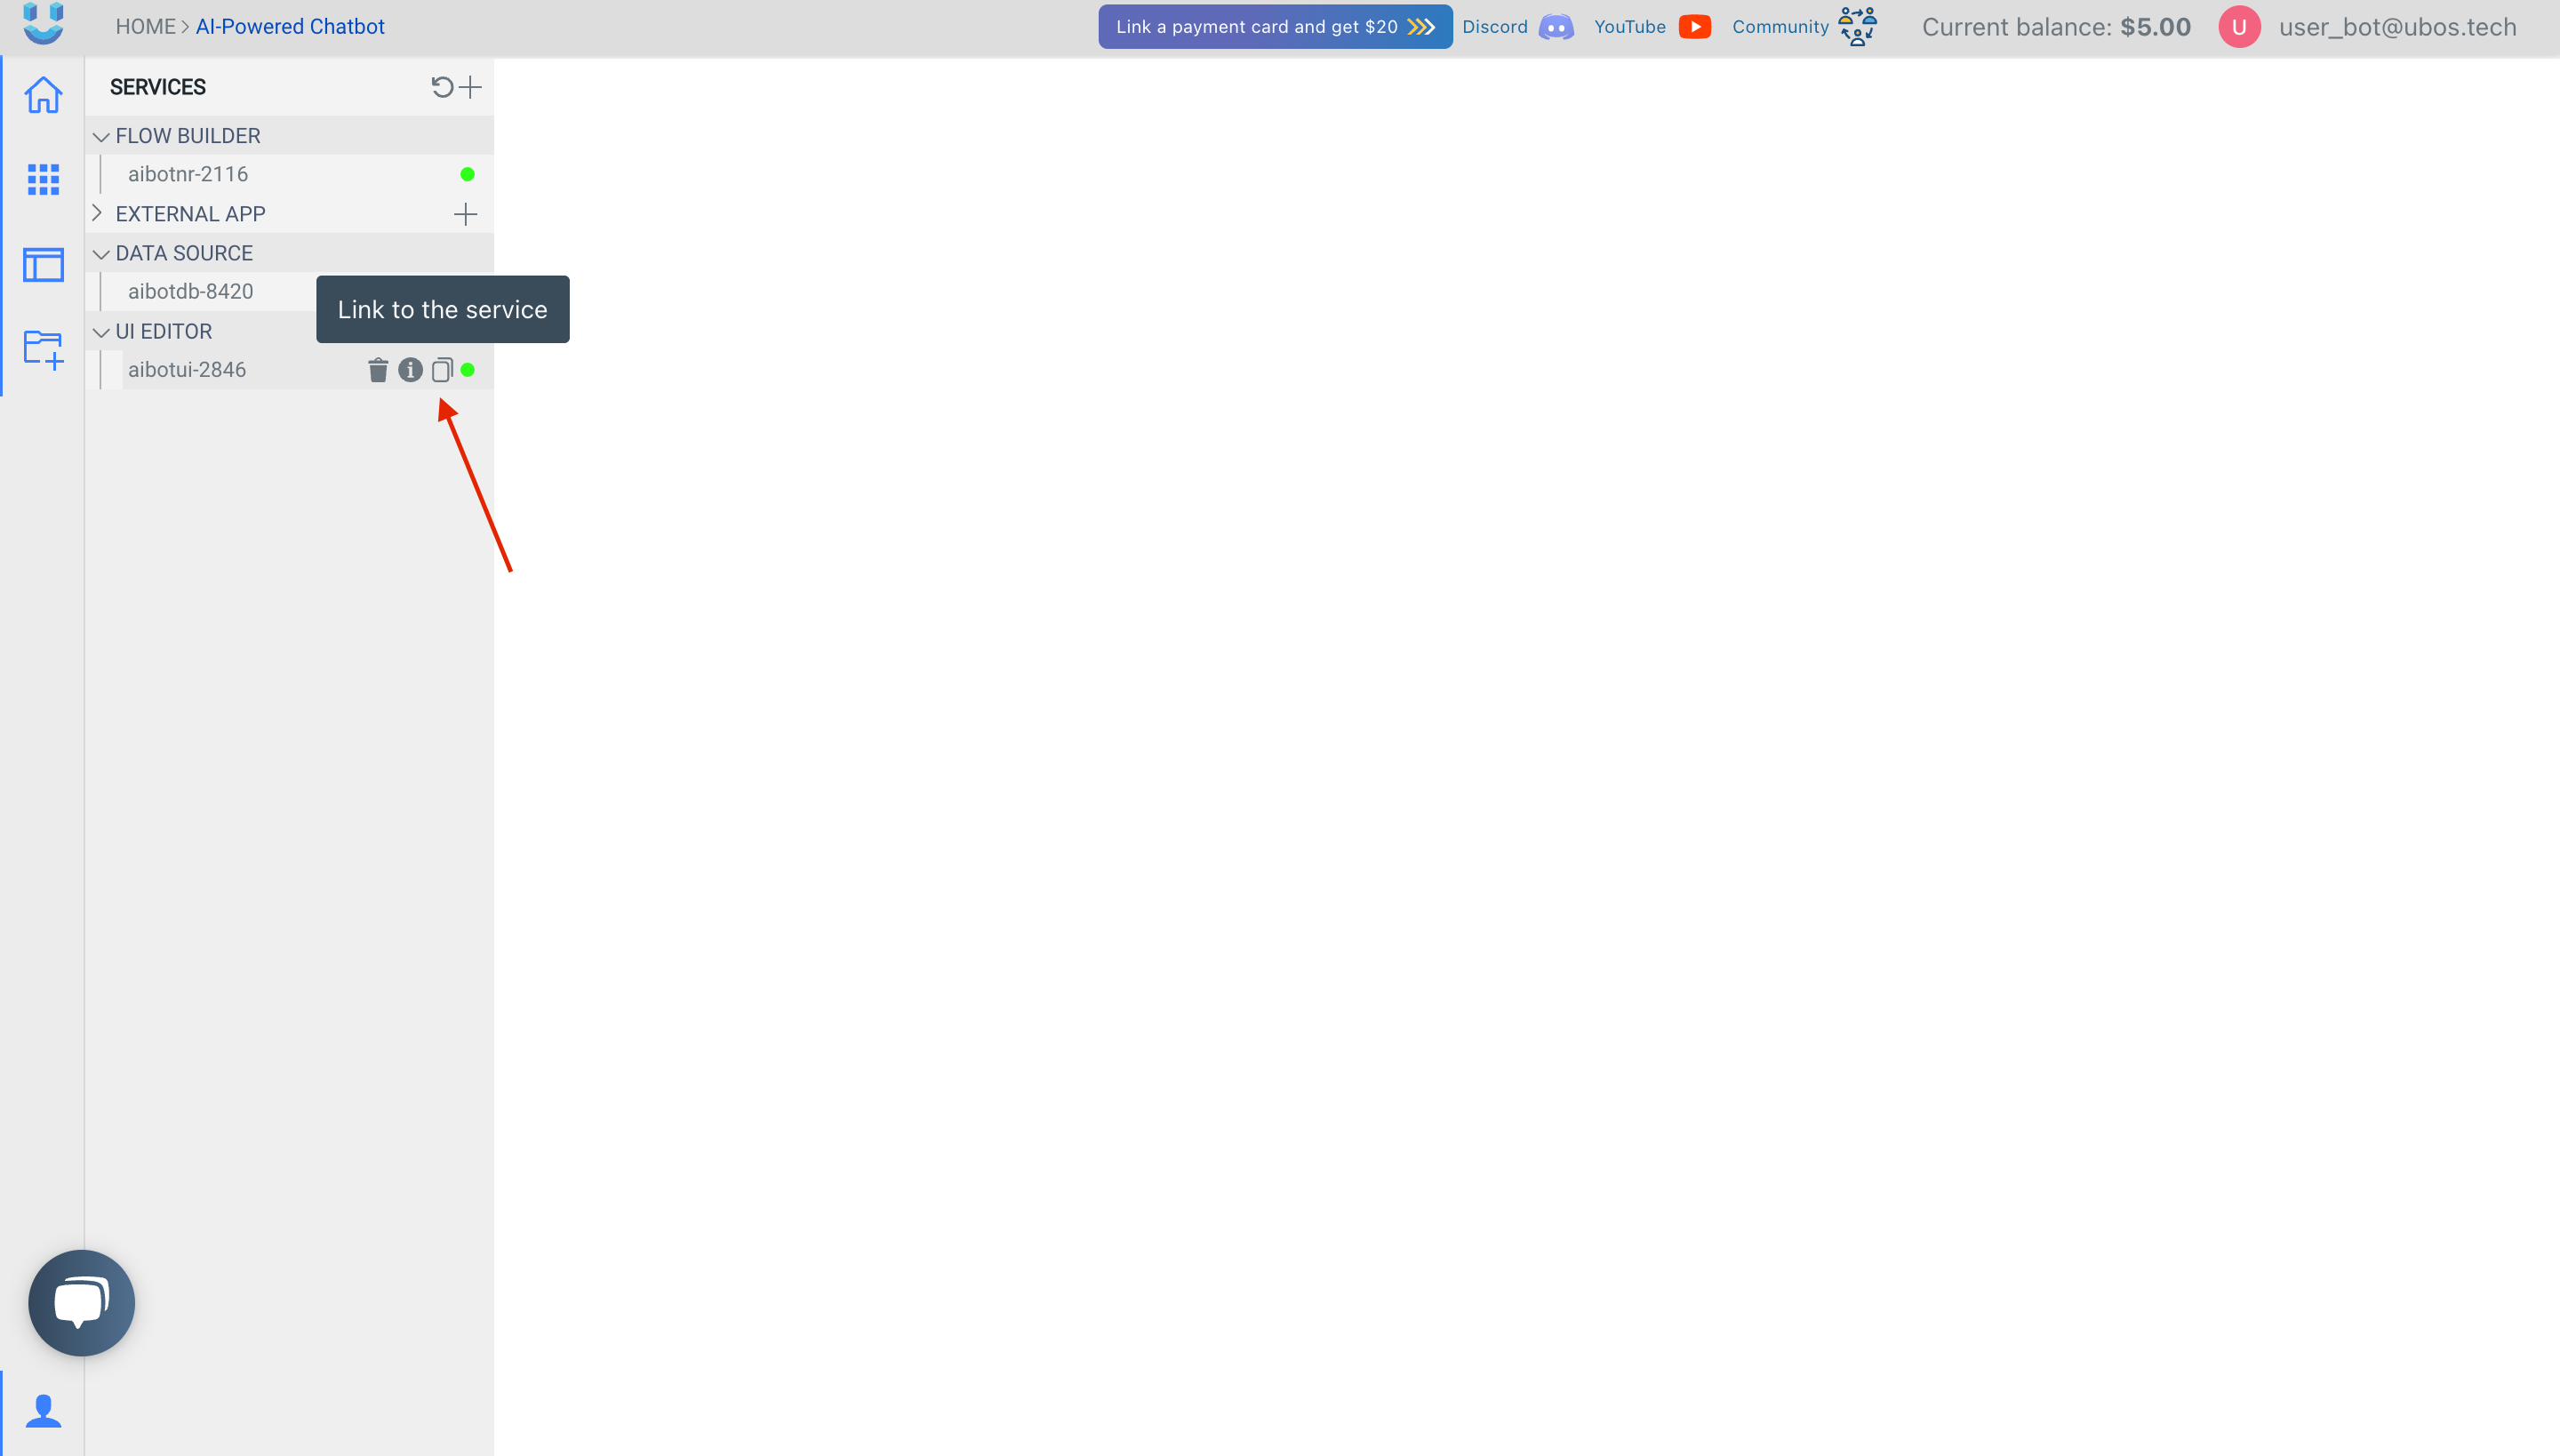
Copy the UI link and paste it into a new browser window.
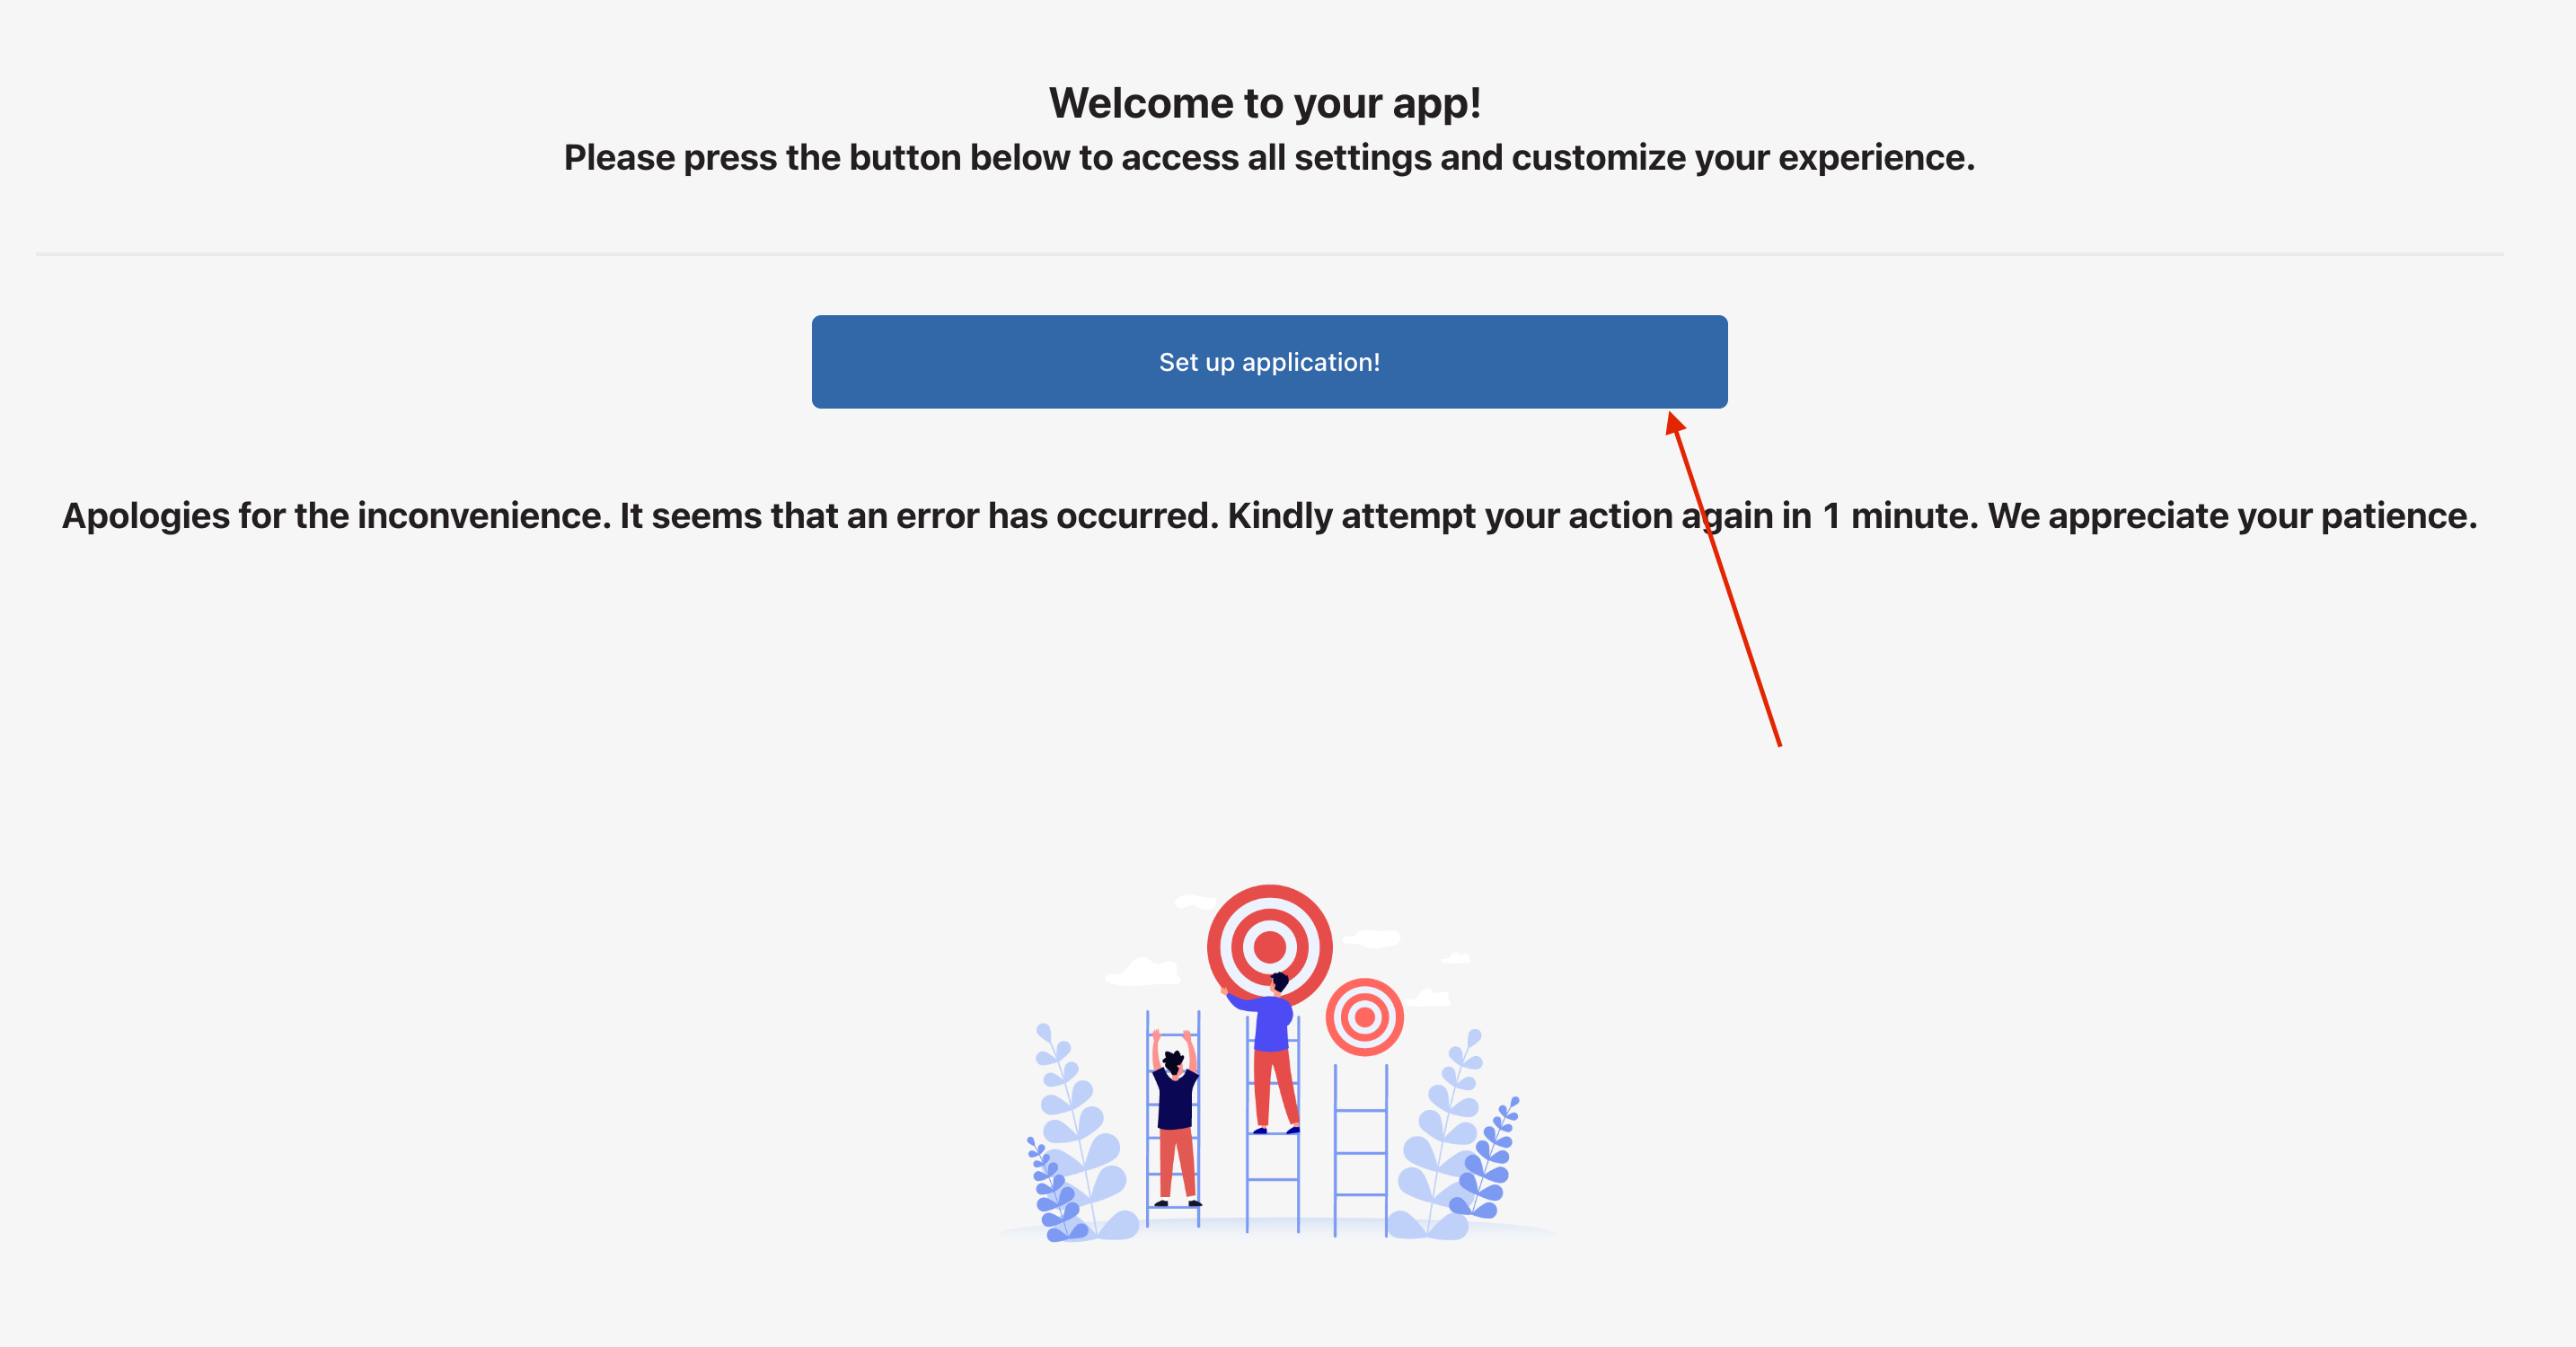
Click the "Setup application!" button.
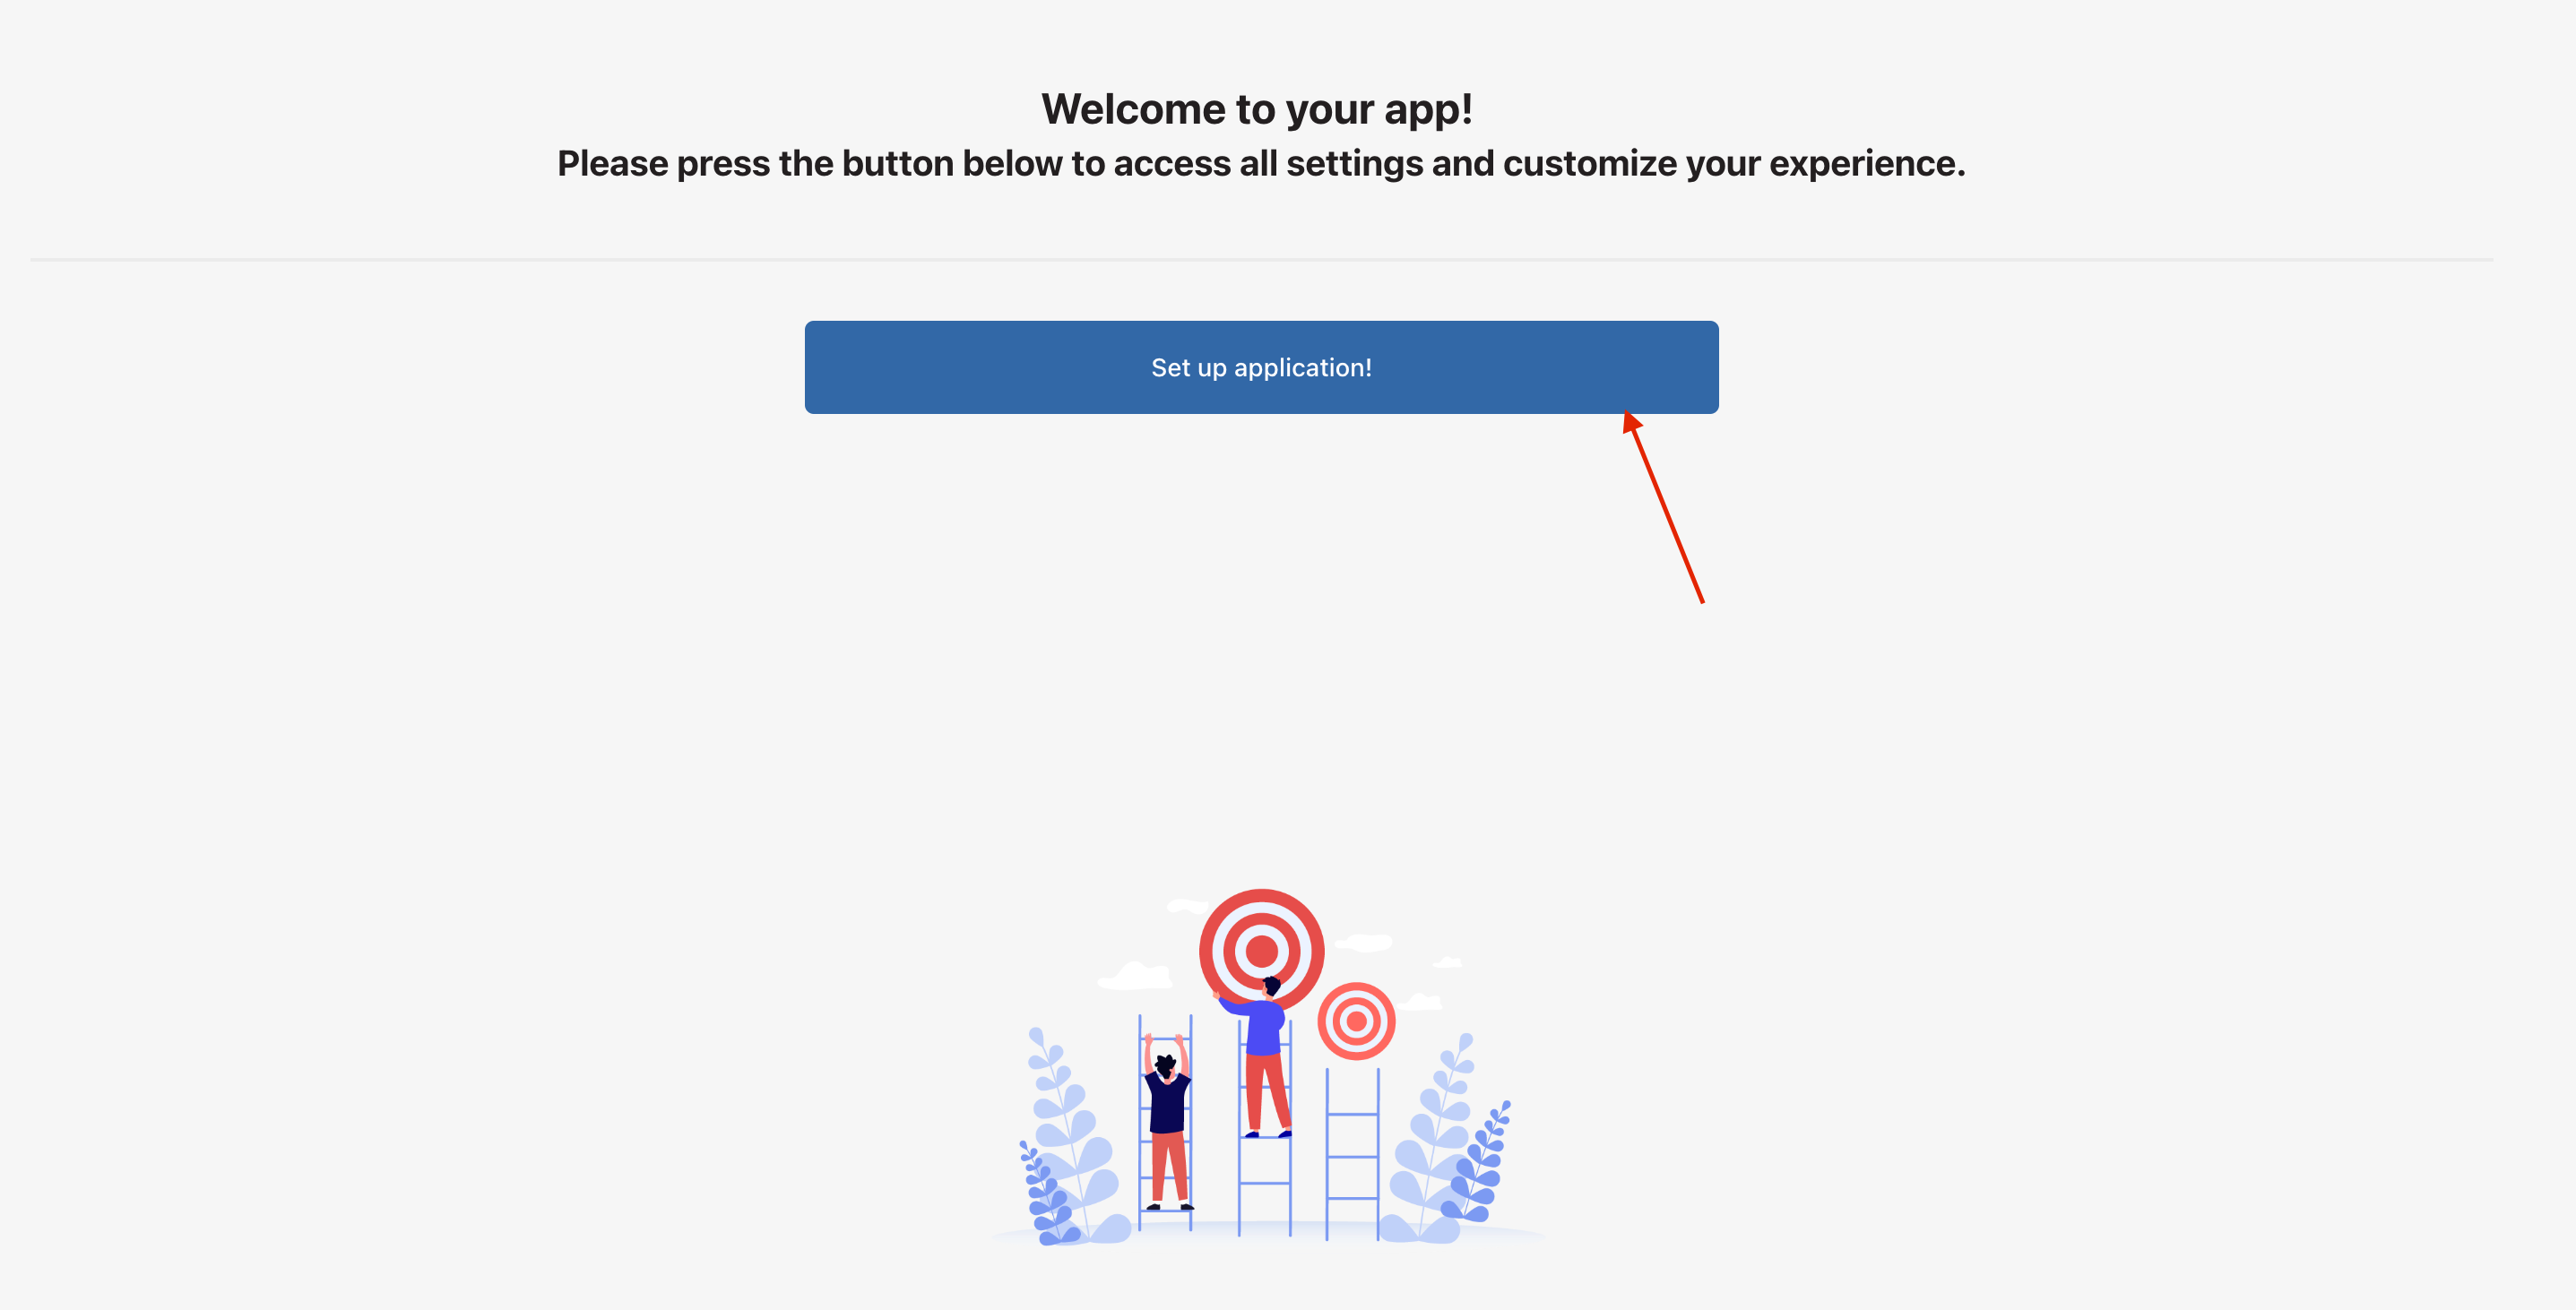
You can see this message, you need to wait a bit and click on the button again.
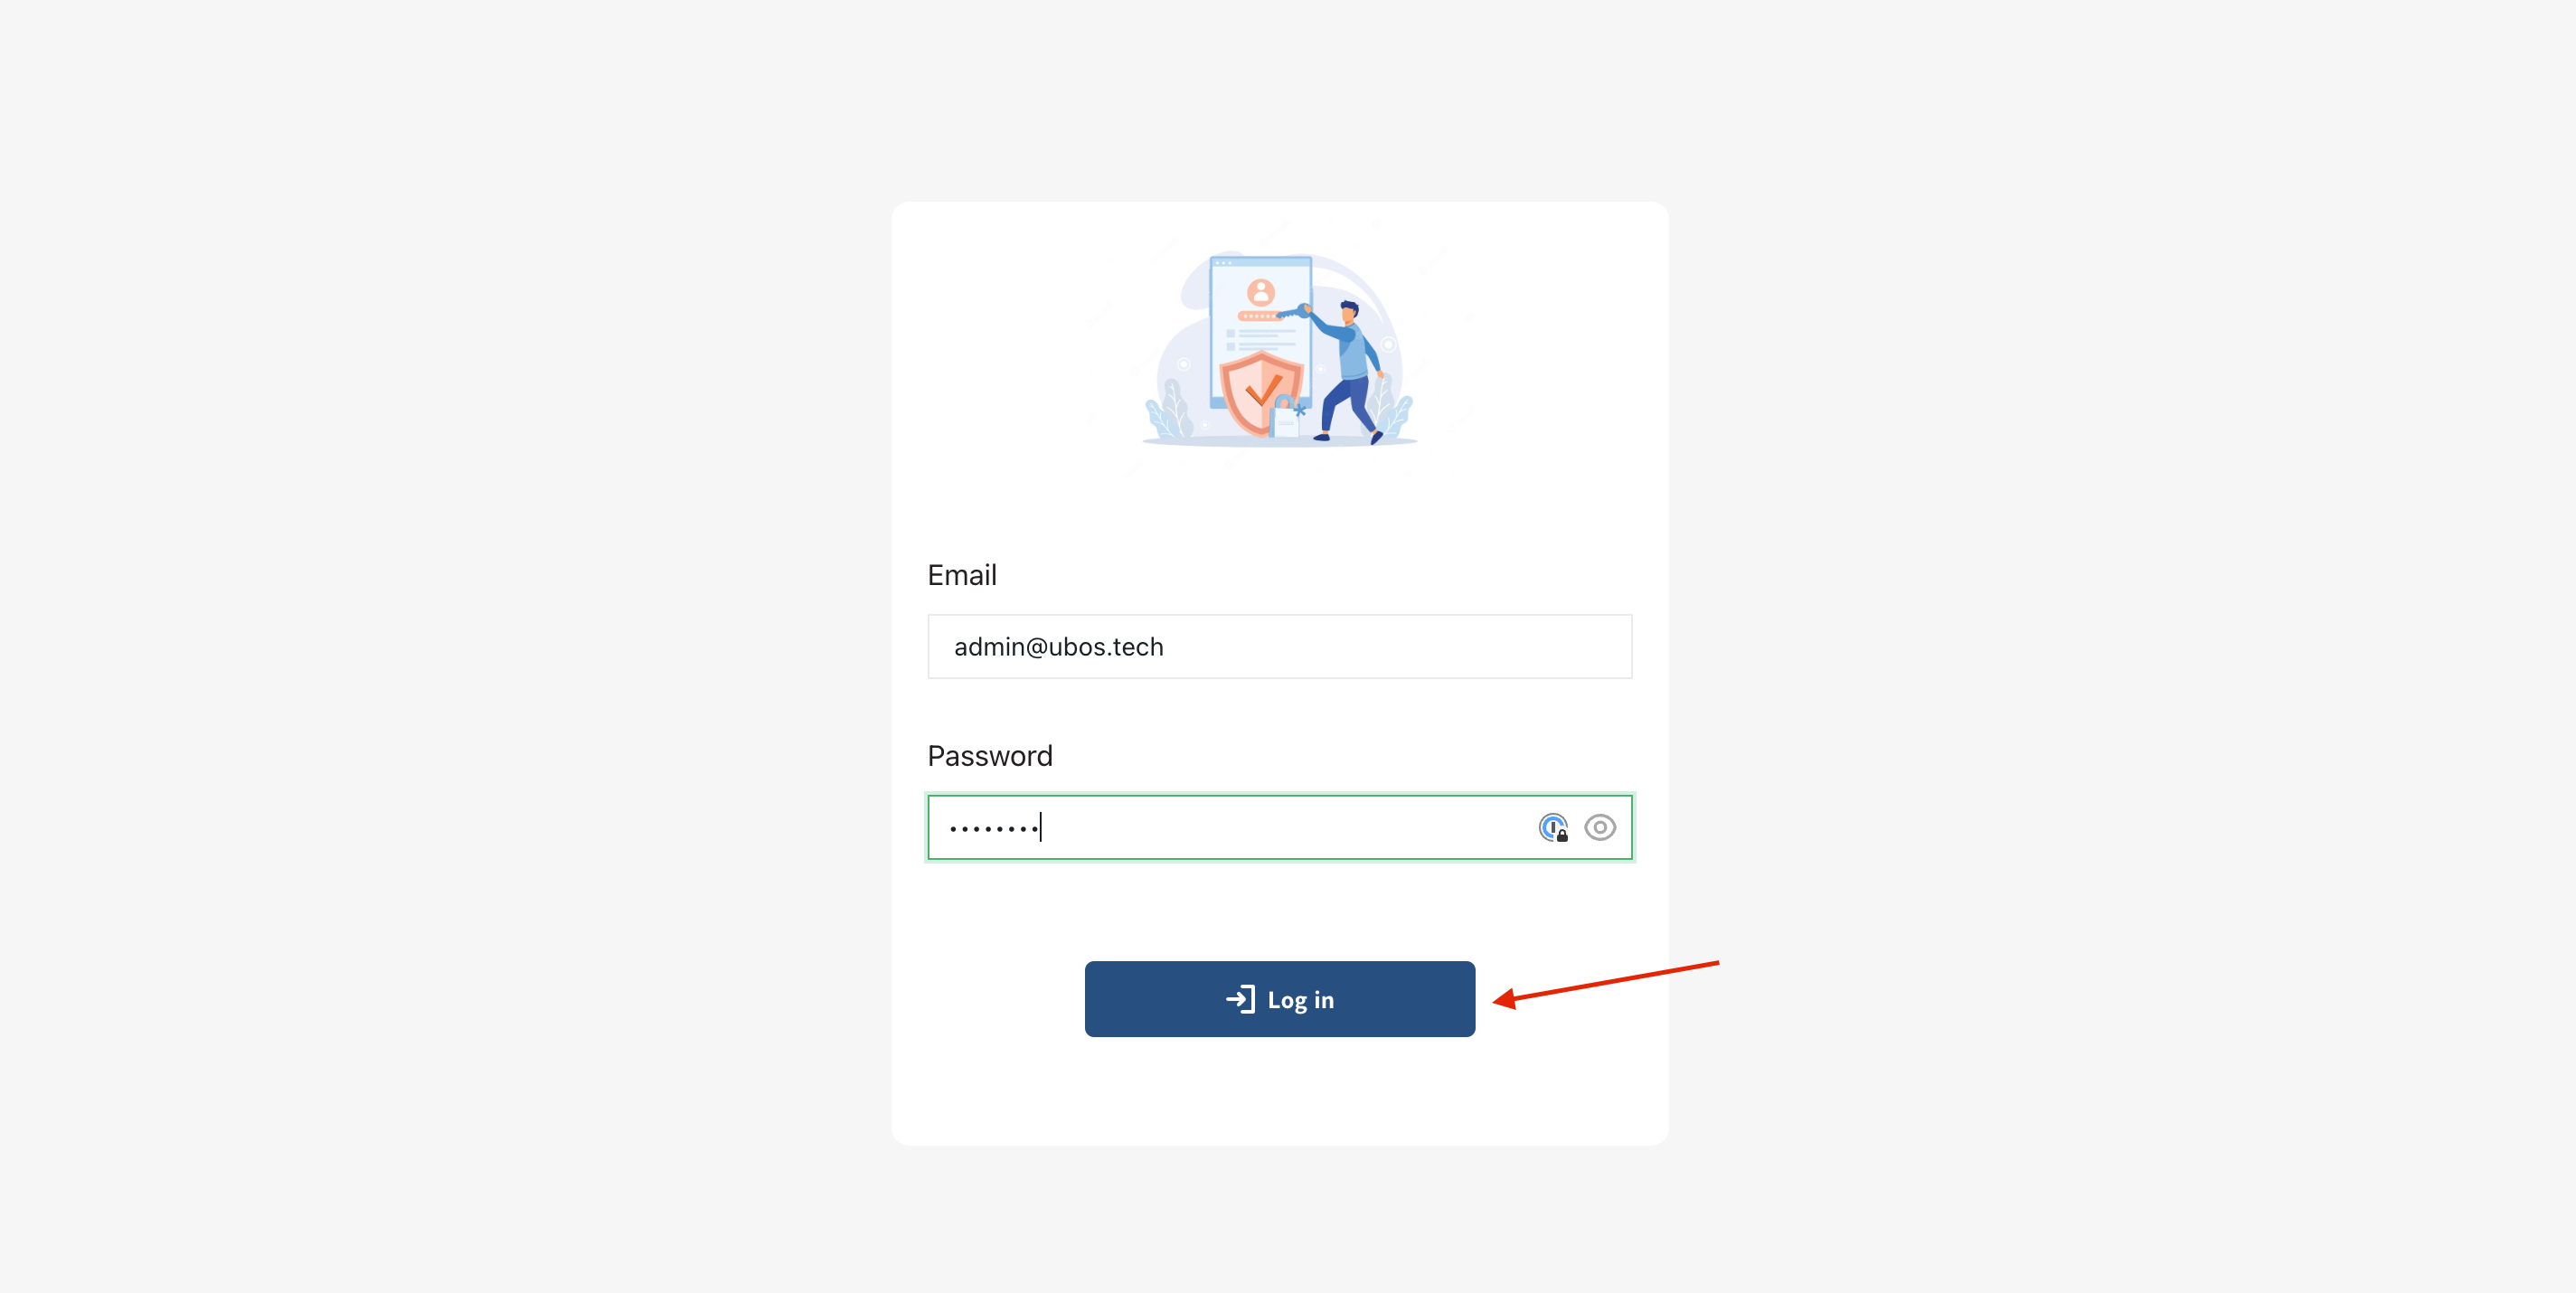
Save or remember the password and login.

Enter your password and login into the fields of the login form to access your admin panel.
Now, let's take a closer look at what our template consists of, how to customize it, and create a knowledge base.
The admin panel consists of several modules, the main ones being "App settings" and "Base".Let's start with "App settings".
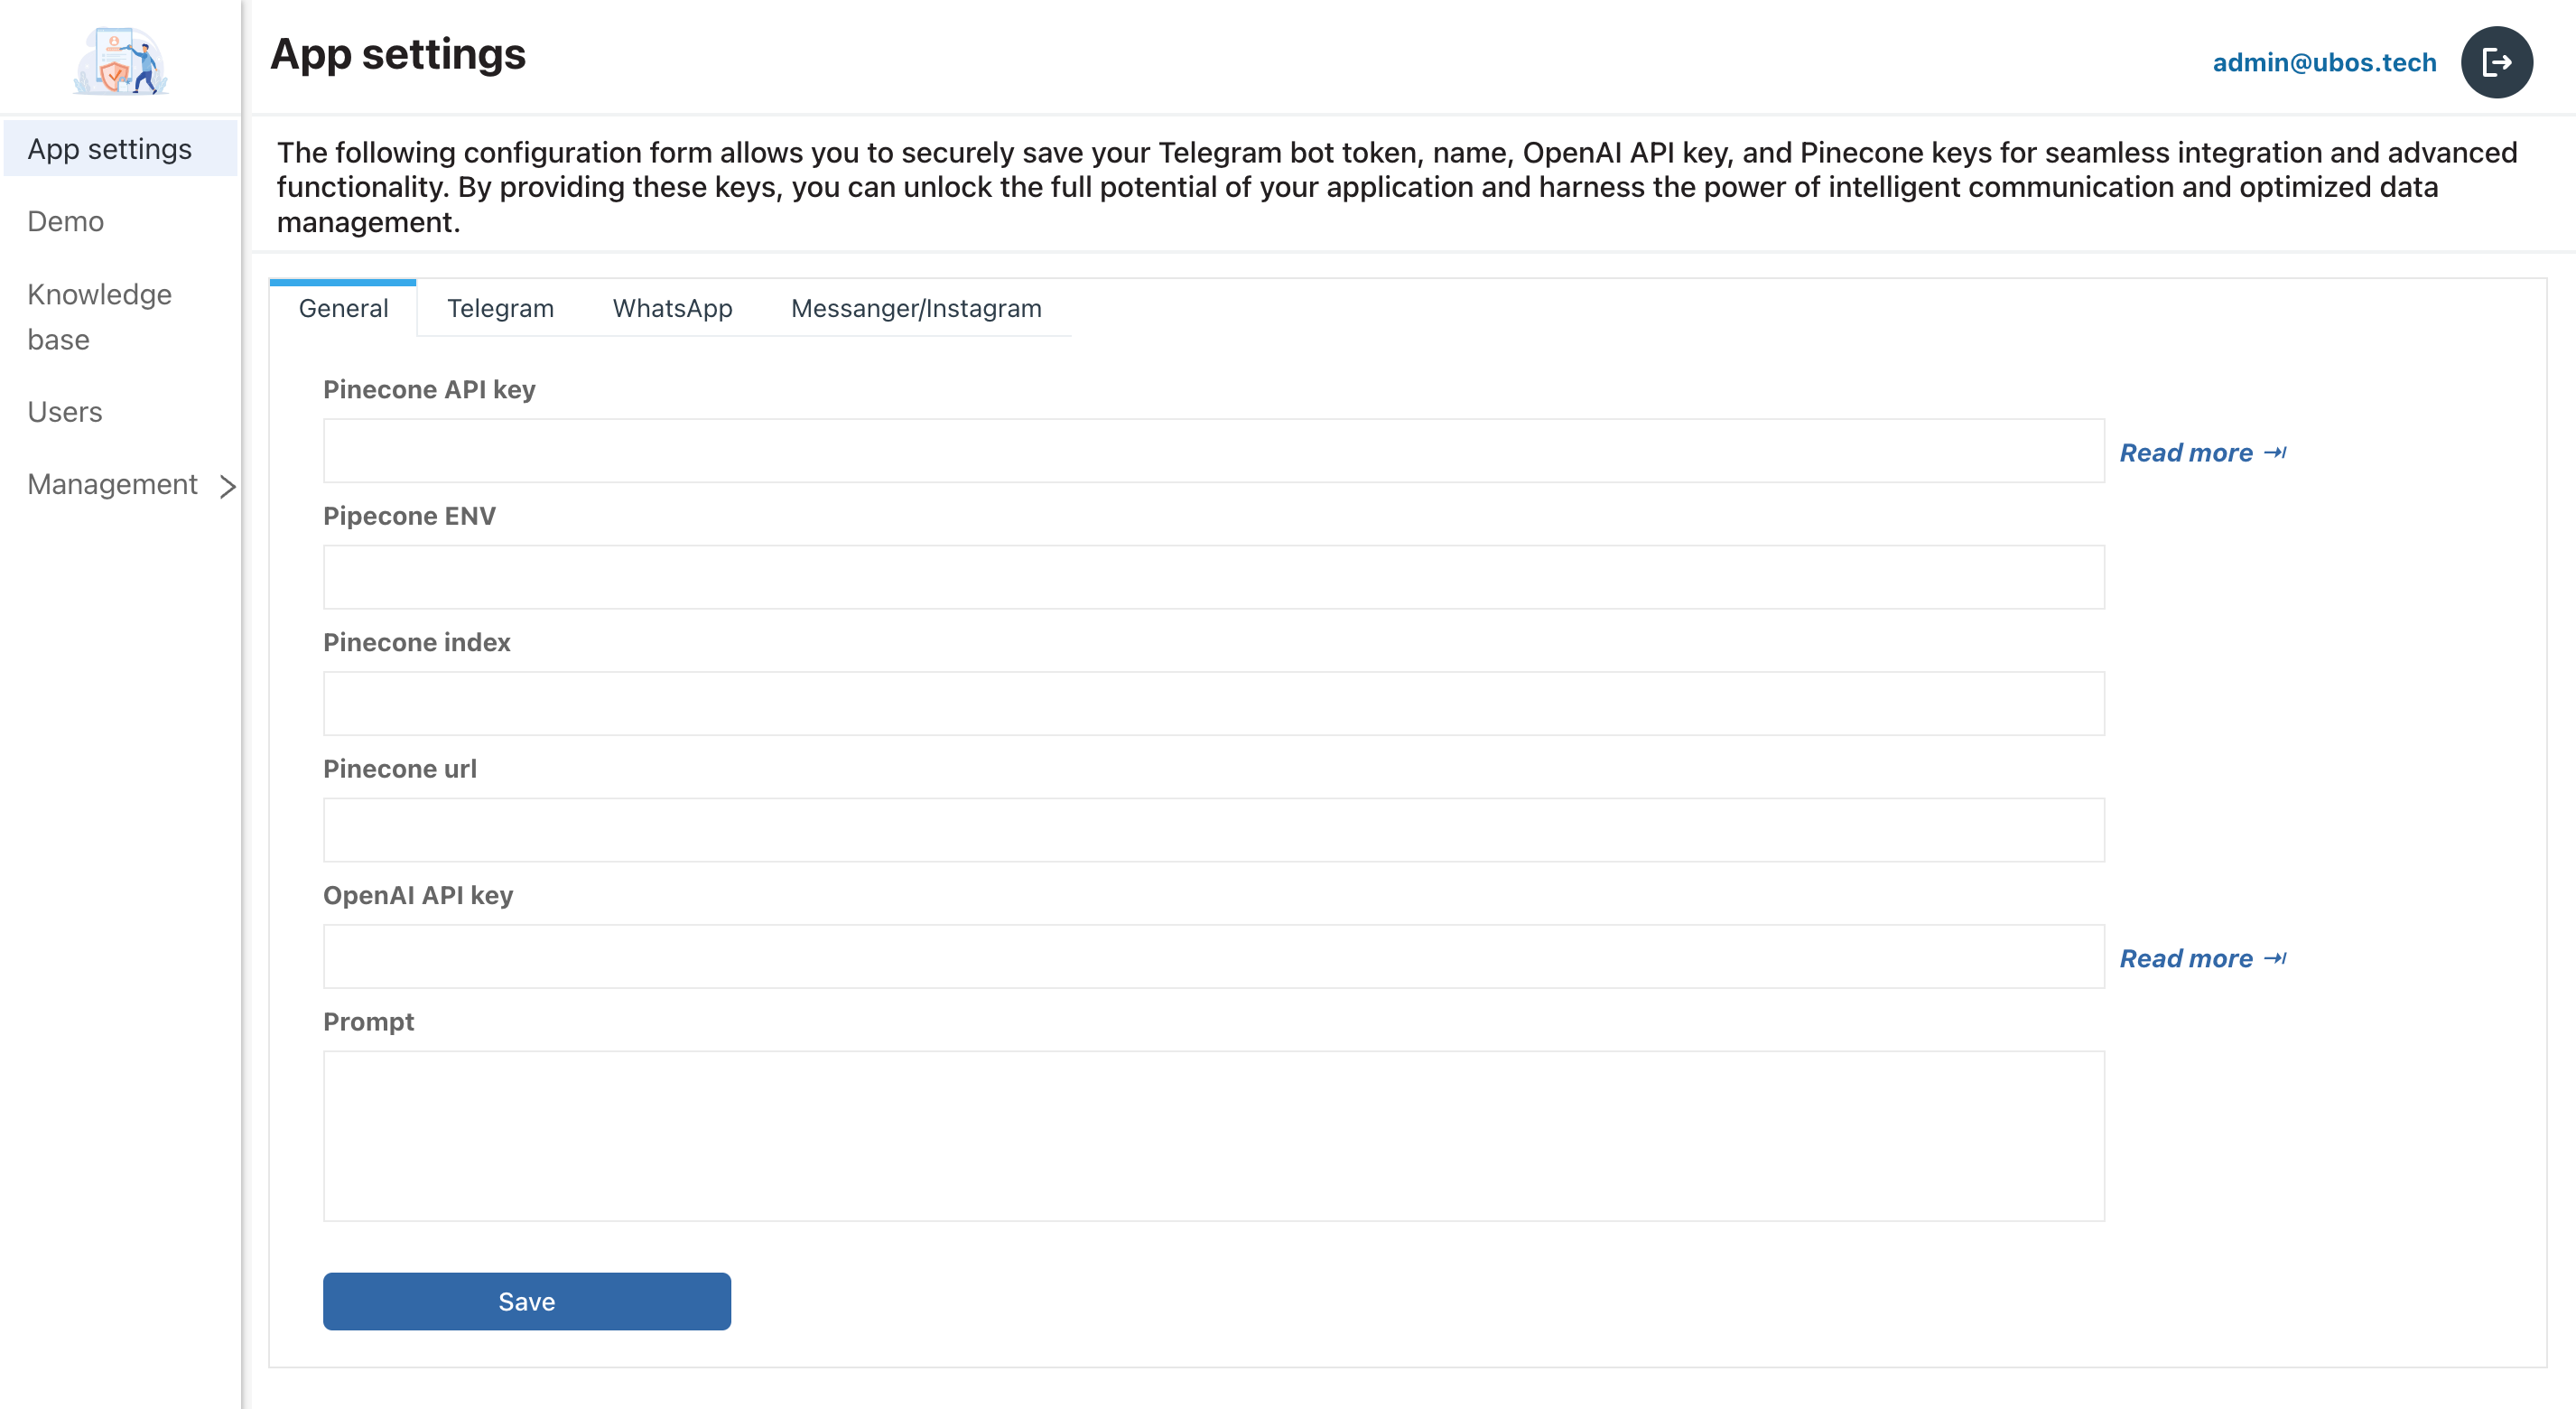
General settings are required to create a knowledge base and serve as the foundation. Here, there is integration with two third-party services: Pinecone, which is a vector database, and OpenAI. You can find information on how to obtain all the necessary keys and settings in the following link. Click here to know how to get the OpenAI keys. Be exercised caution and devote particular attention to the completion of the PROMPT section. This section serves as the guiding light for your AI assistant, shaping the manner and style in which the bot will engage with users.
The following tabs correspond to the type of messenger where your AI assistant will directly interact. Currently, this can include Telegram, Instagram, Messenger, and WhatsApp. You can choose one or multiple options.
After completing all the essential configurations, you can proceed to create and populate your knowledge base.
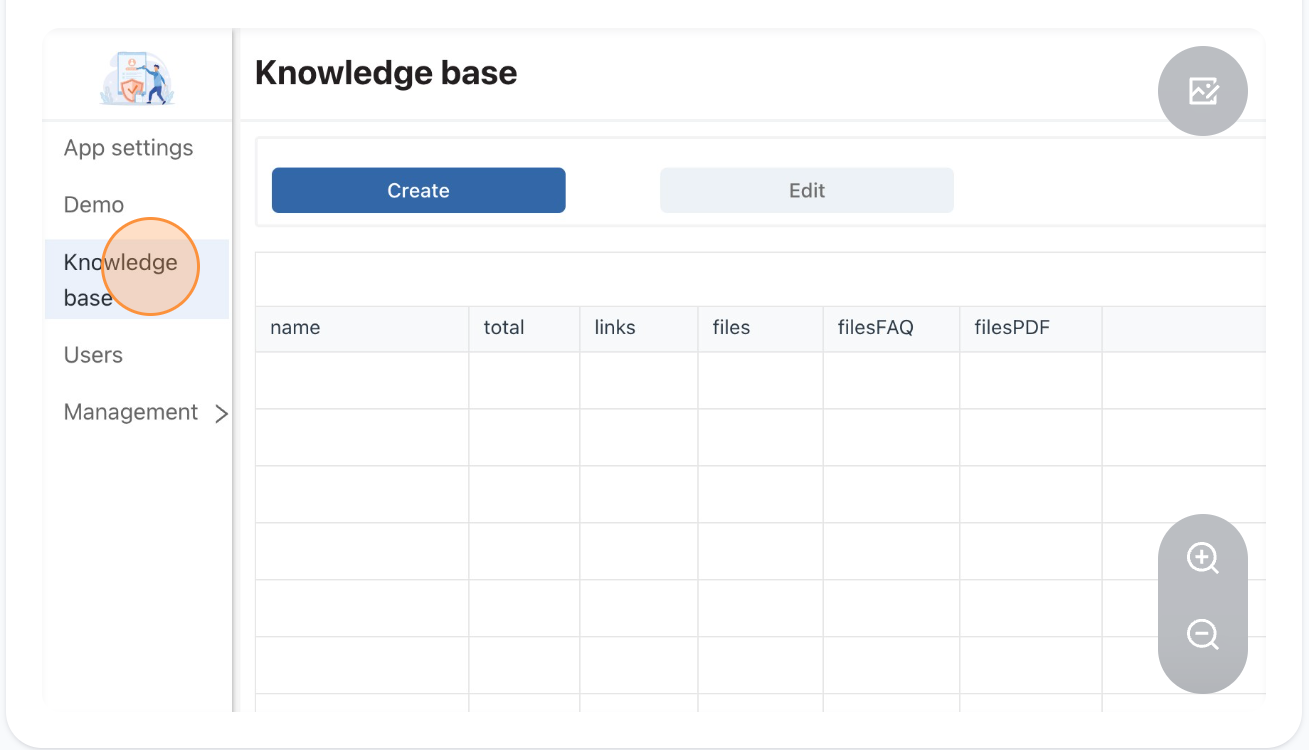
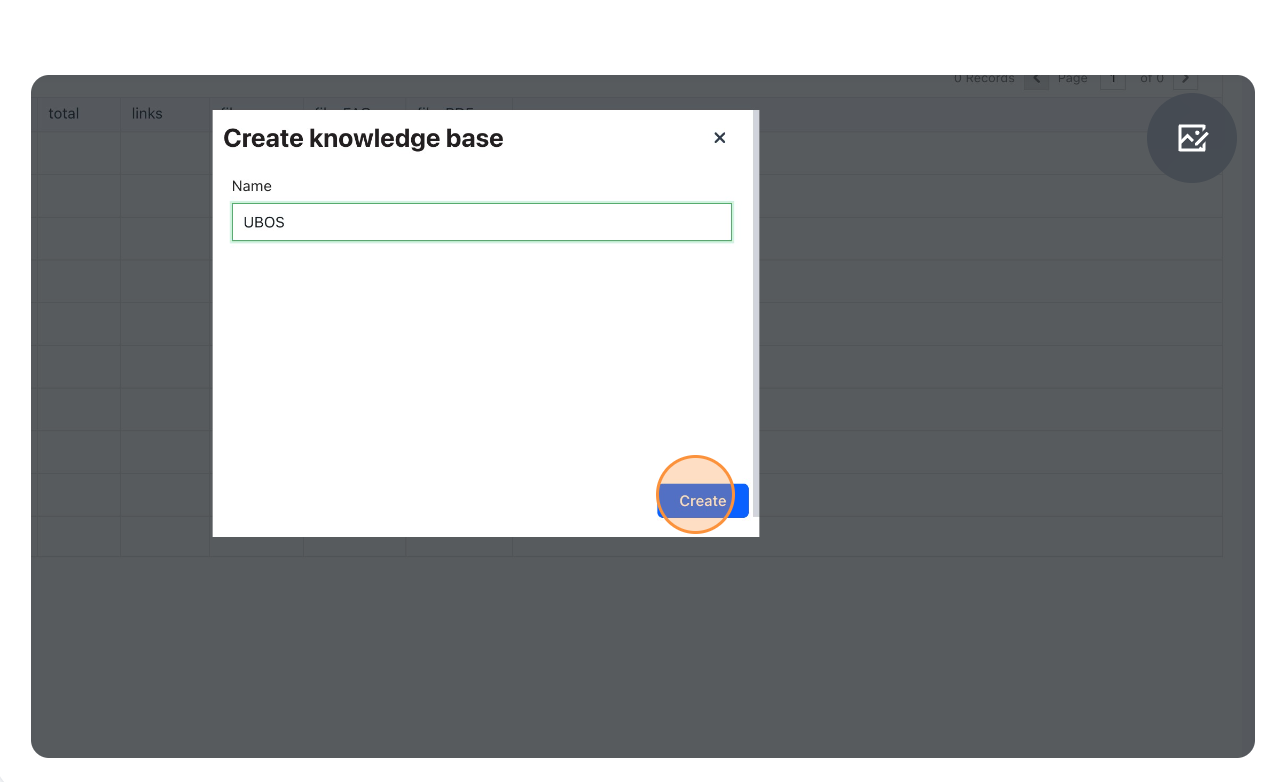
After creating the database, it should be populated by clicking the "Edit" button. Currently, there are several ways to achieve this:
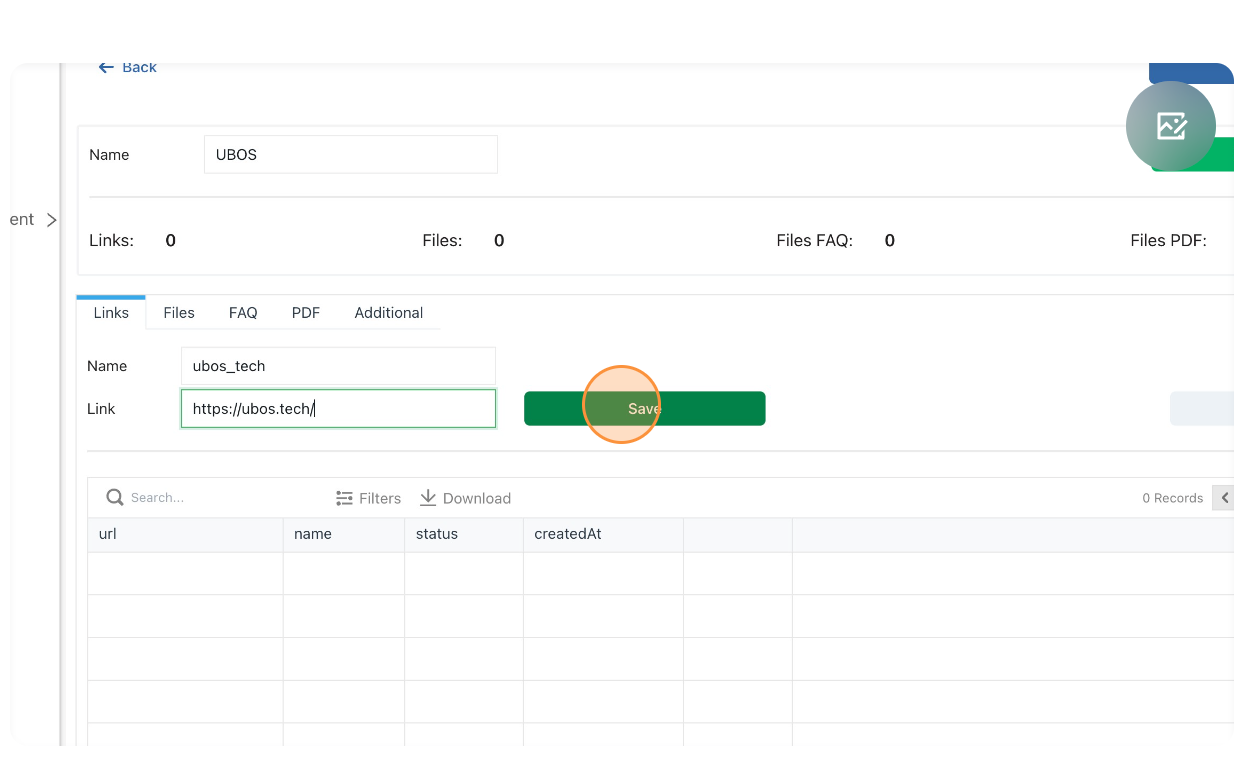
- If you have a website with the desired information that is well-programmed, you can retrieve all the textual content from it. This can be done in the "Links" tab by simply filling in the inputs following the example shown in the screenshot.
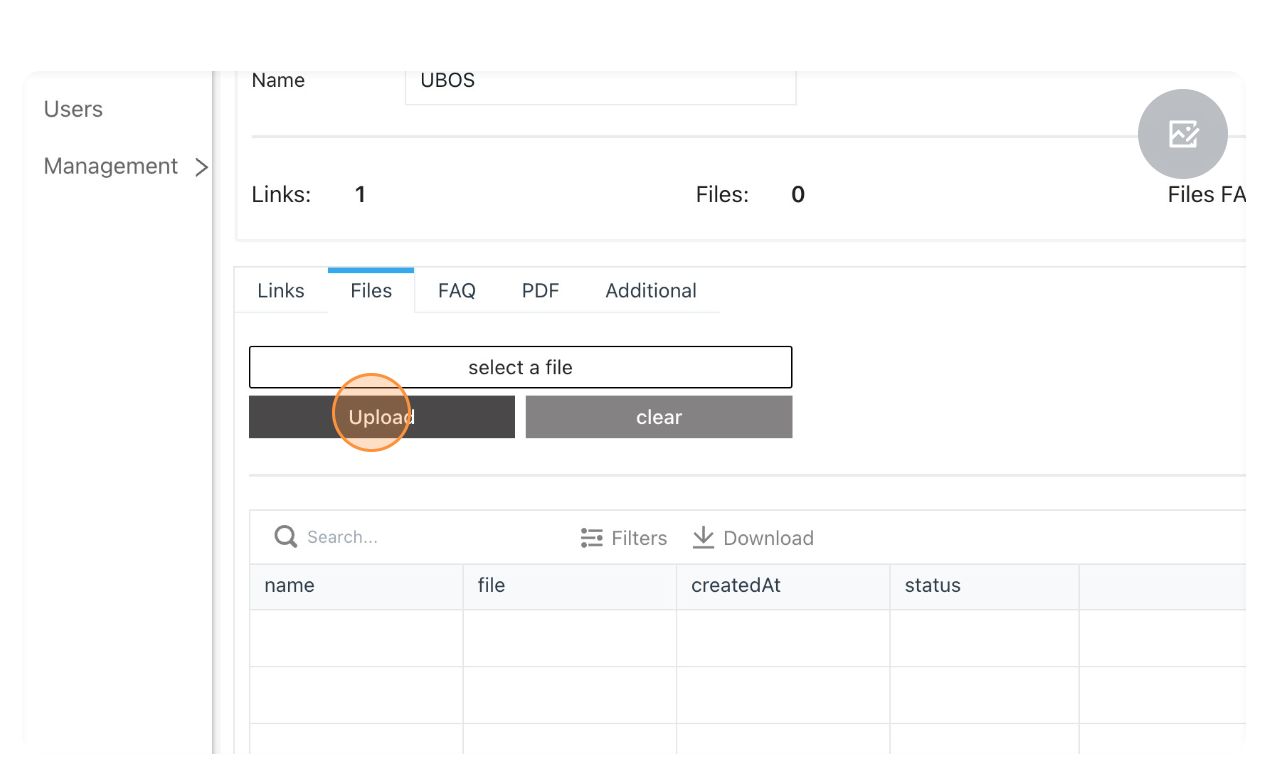
- In the "Files" tab, you can upload existing information in .txt format. It is preferable that these files are free from grammatical errors, contain proper punctuation, and are divided into paragraphs for preliminary editing. Google Docs is an ideal tool for this purpose. The higher the quality of your file, the less subsequent editing of vectors (knowledge chunks for the bot) will be required.
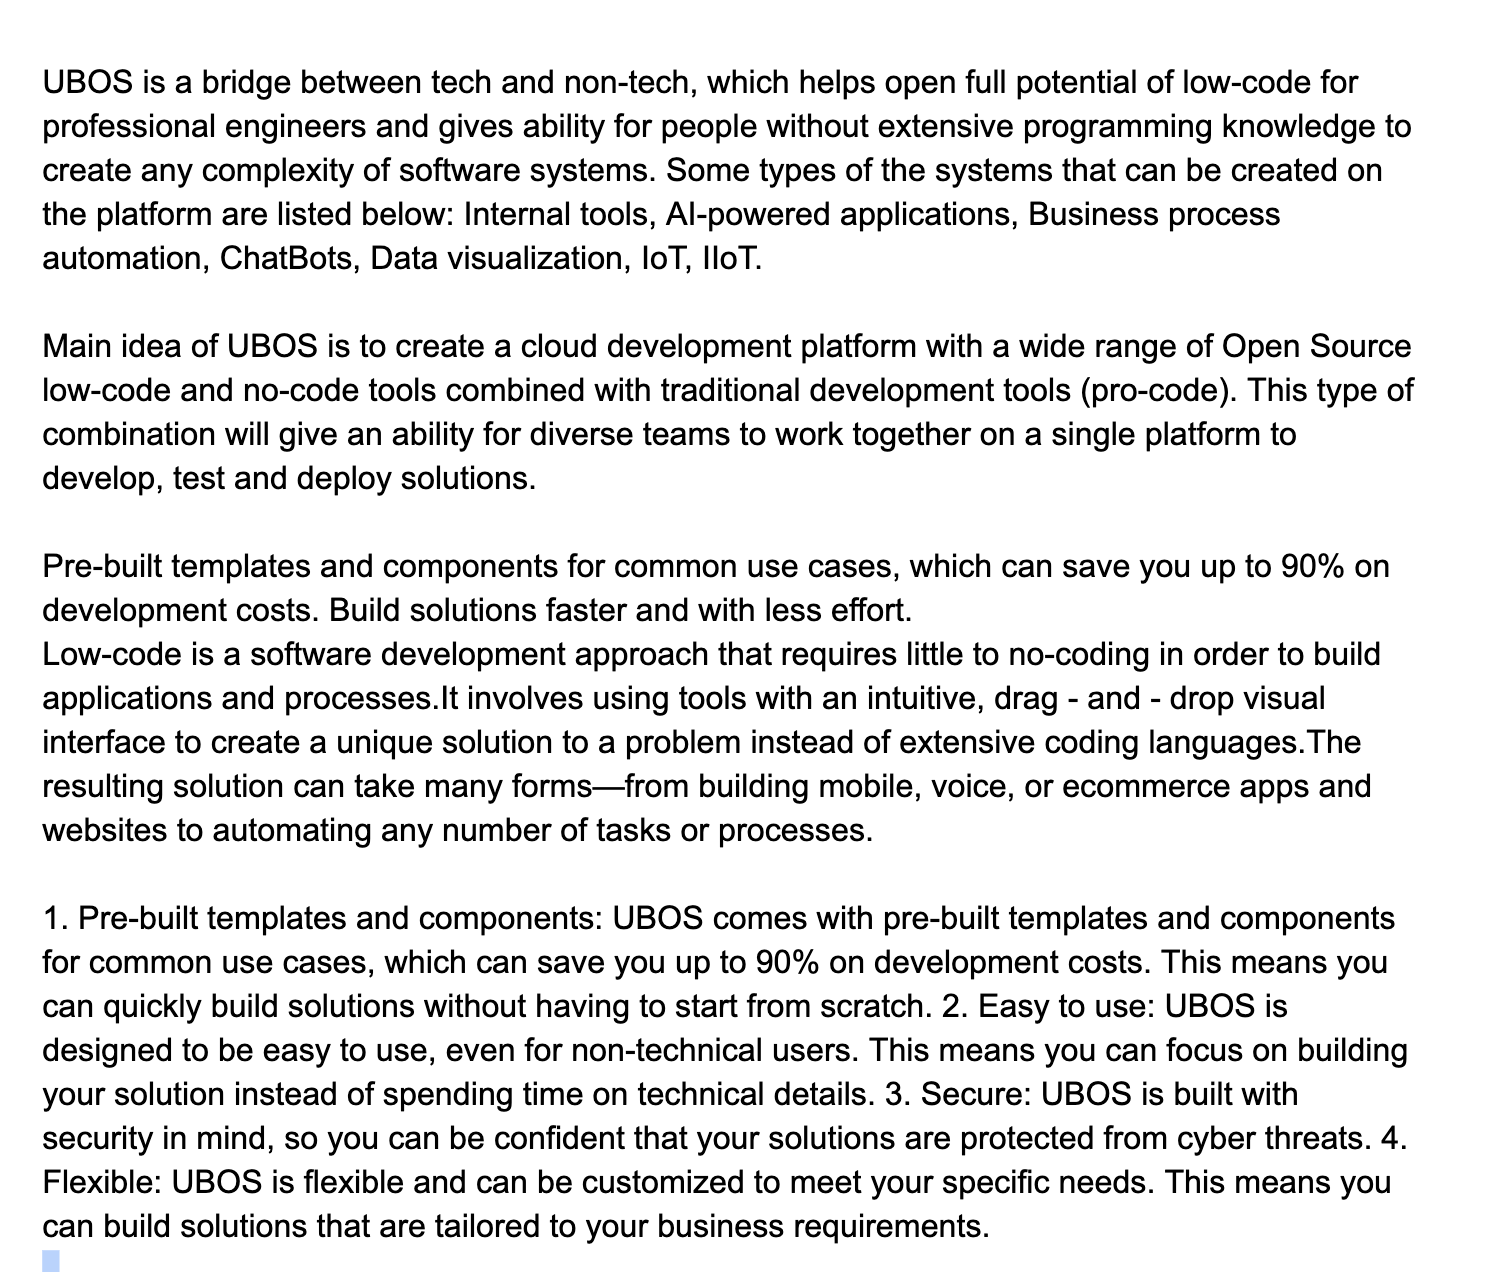
Here is an example of a text file where there is a division into paragraphs and concise information.
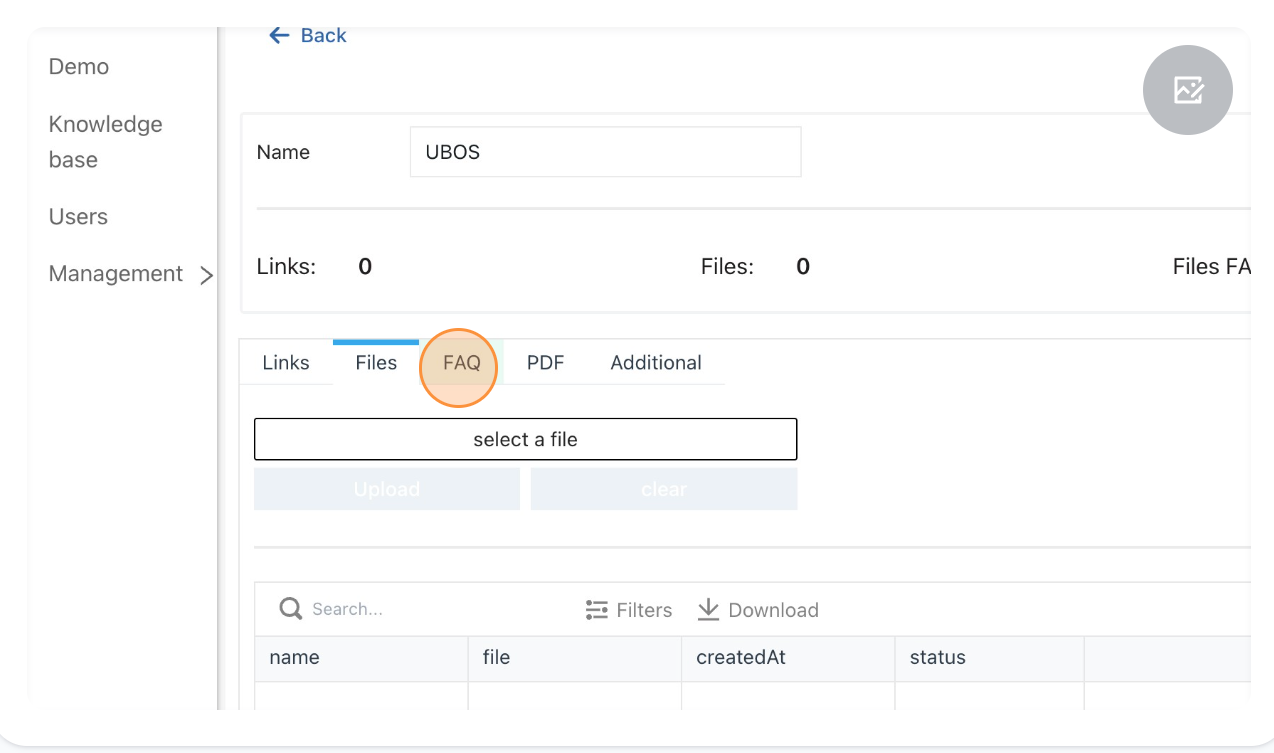
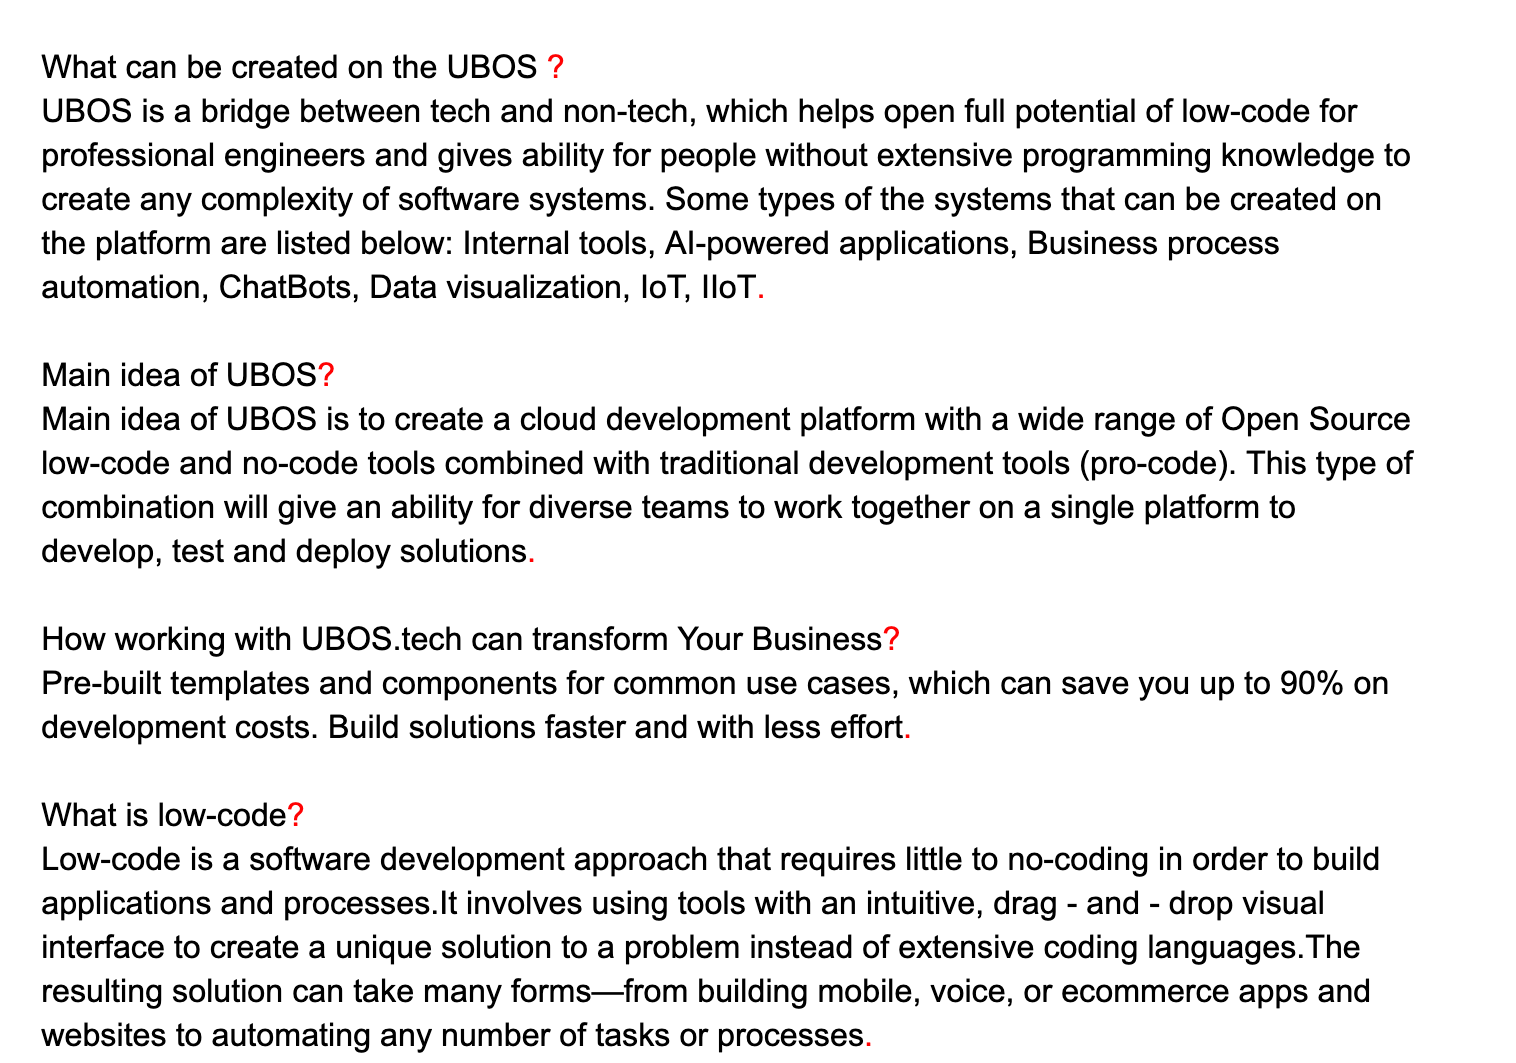
- In the 'FAQ' tab, you can upload a .txt file consisting of questions and answers. A mandatory requirement is to use a '?' after each question and a '.' after each answer.
Here is an example of a text file where there is a division into FAQ and concise information.
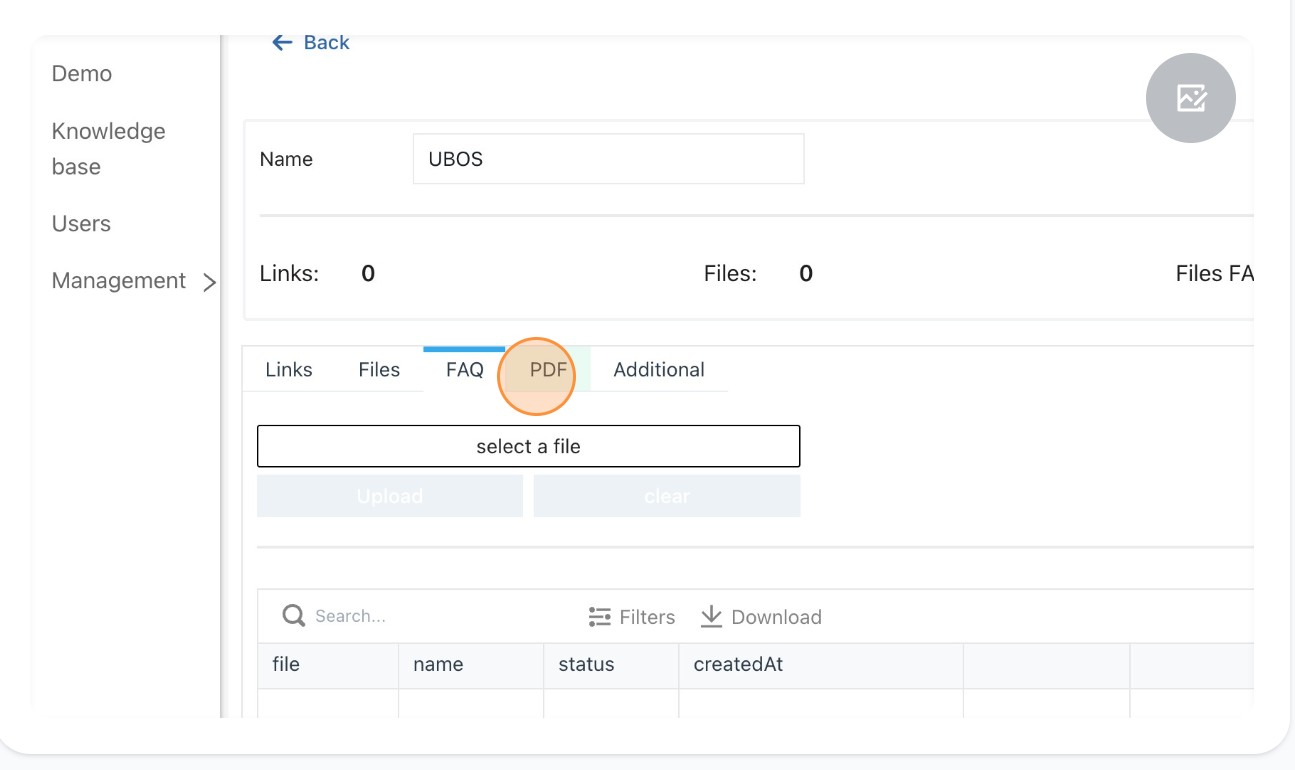
- Additionally, you can upload a file in PDF format.
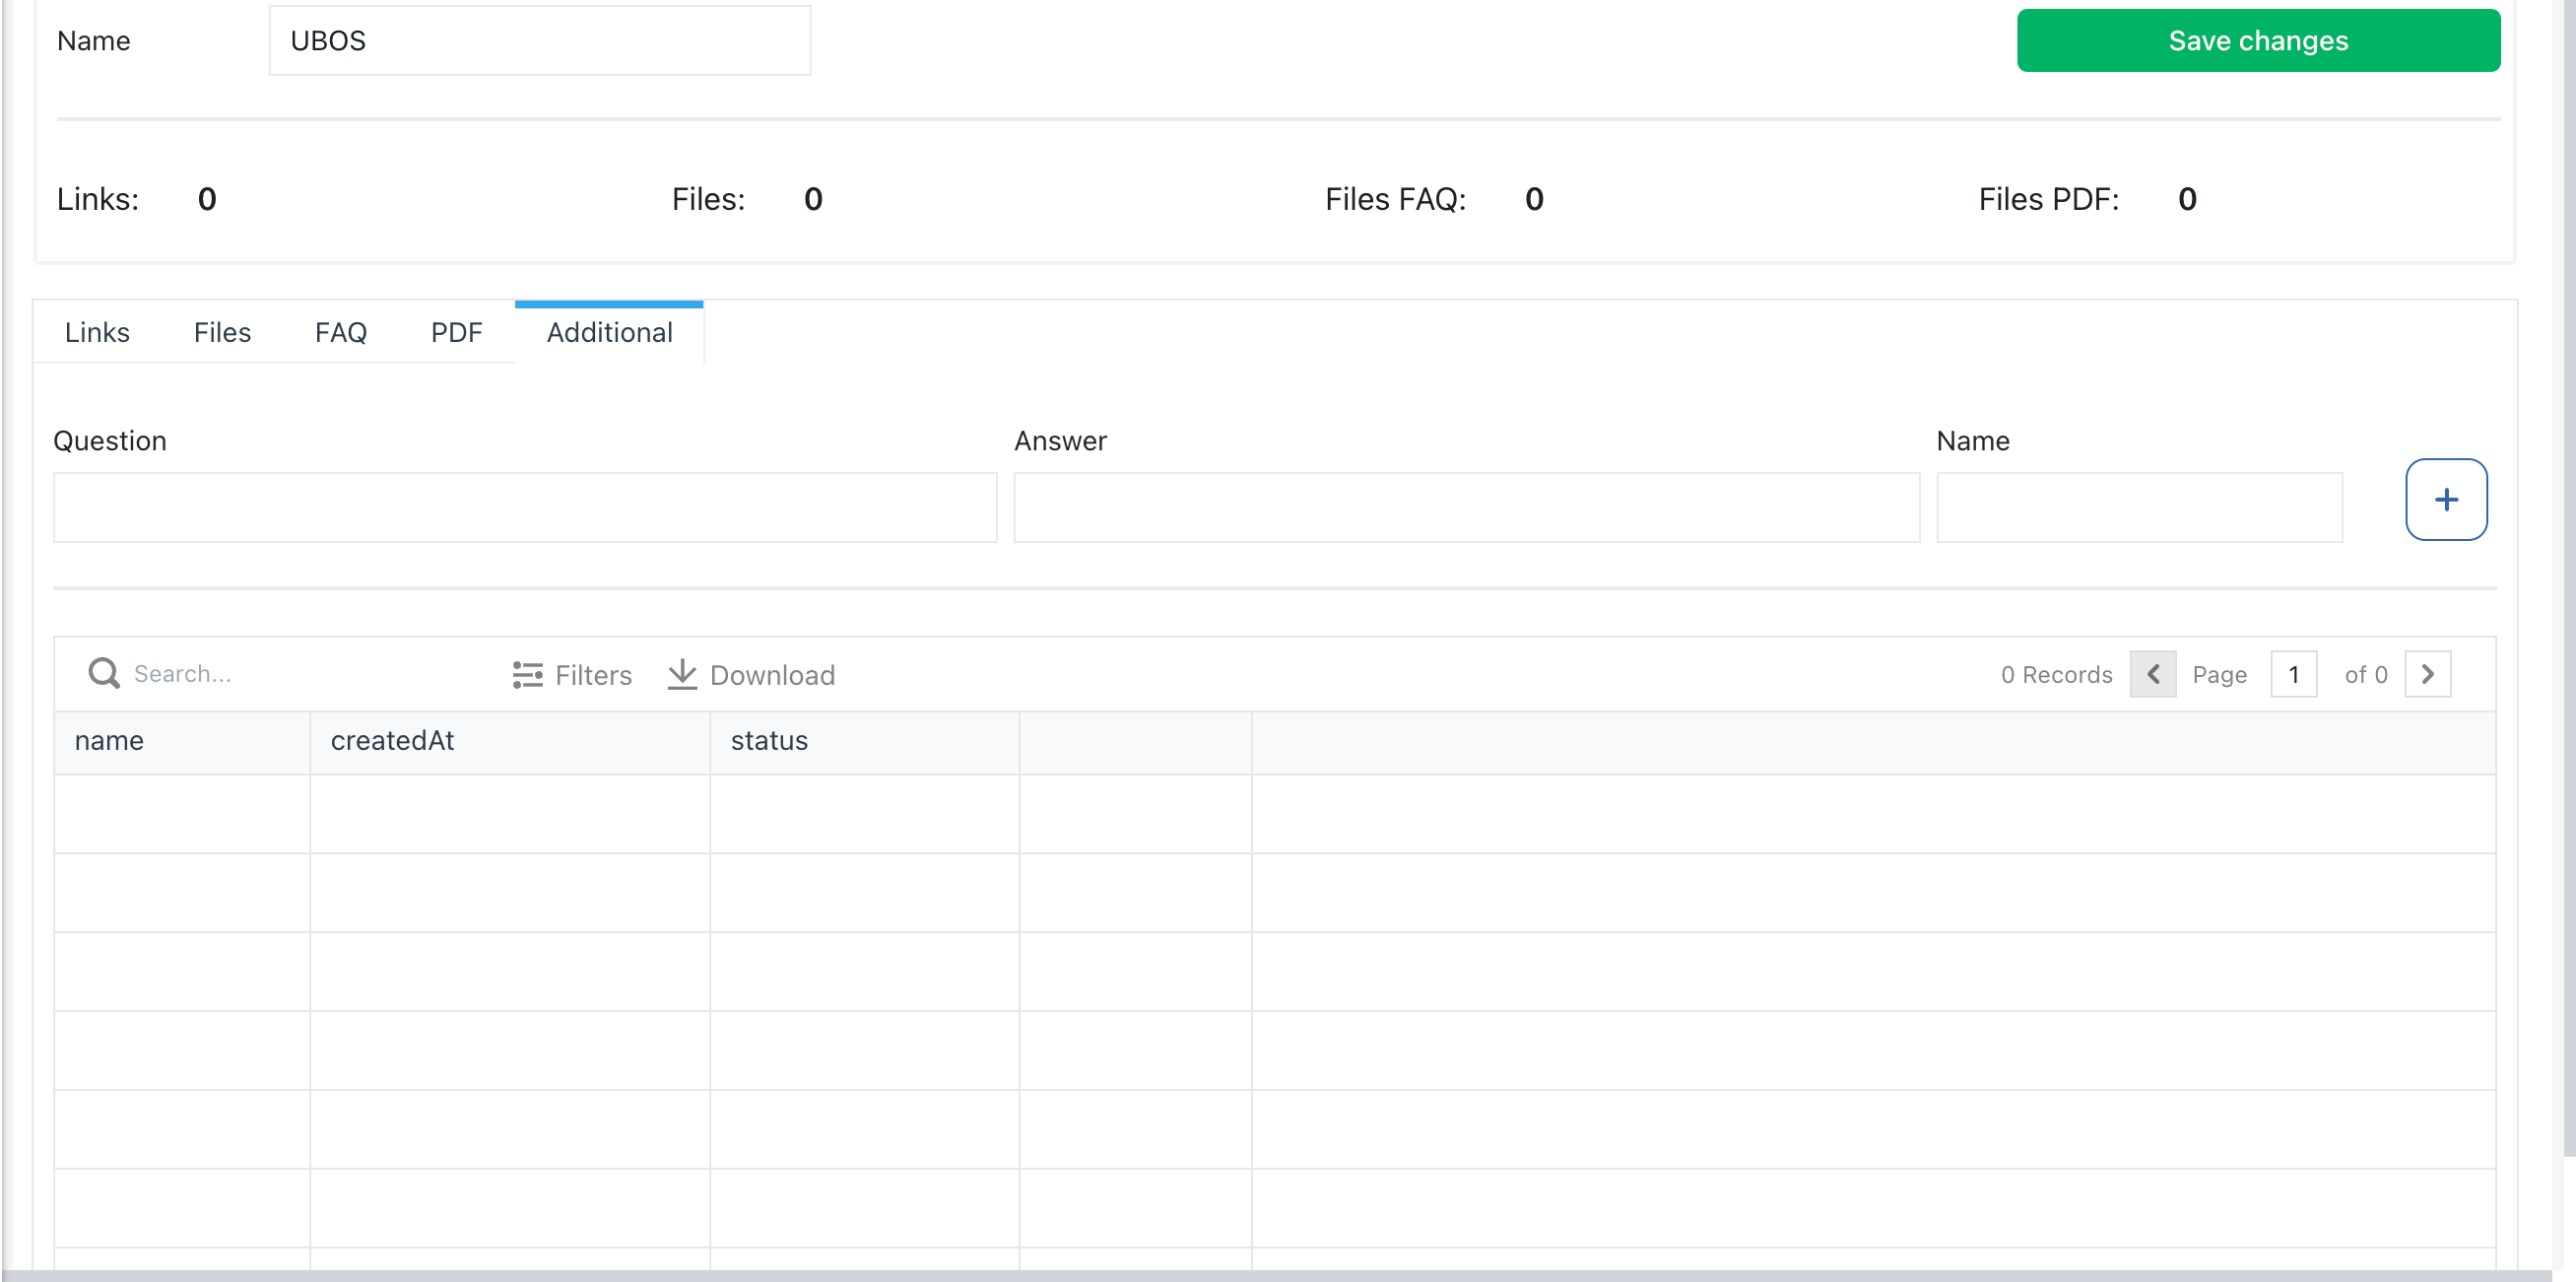
If you need to manually add short information, such as a single question and answer or multiple ones, you can do so in the "Additional" tab.
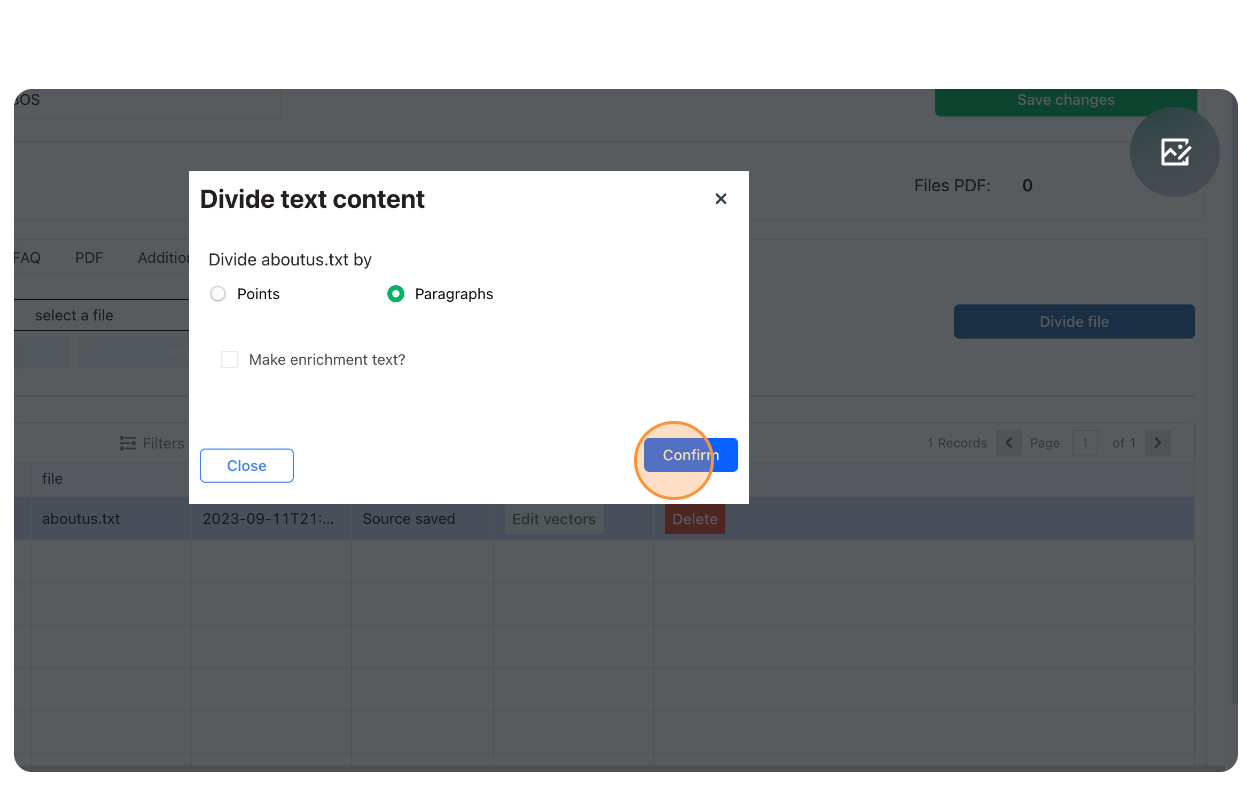
Once all the necessary information is uploaded, you can begin dividing the data into smaller data chunks (create vectors). This can be achieved through several methods. ----> push the button Divide file

After this, you will see a modal window where you can choose the file dividing type:
Divide by sentences.
Divide by paragraphs.
An additional option is to divide by paragraphs or sentences using an increment. In this method, artificial intelligence generates several questions for each small piece of your information, aiding the bot in better understanding the user's context and providing accurate responses.
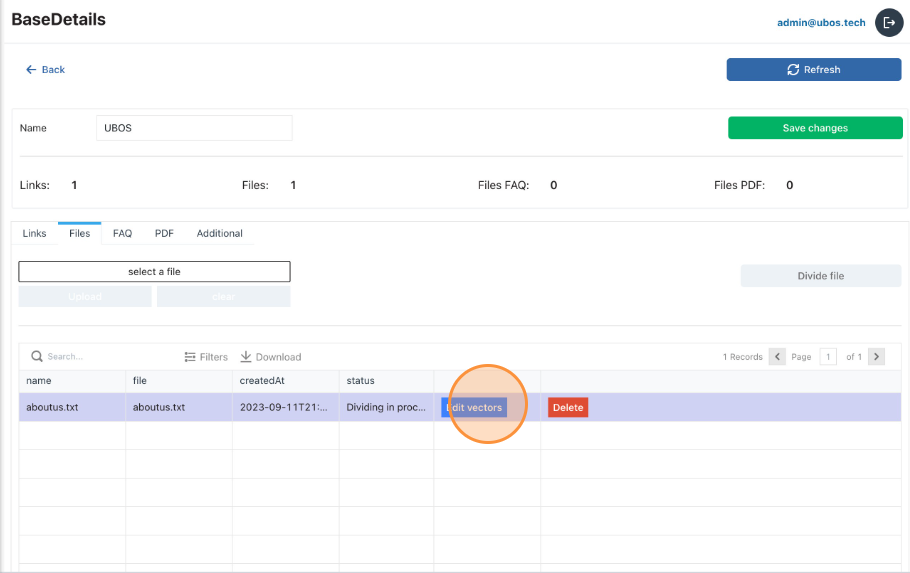
Division may take some time. Once the data is divided, you can view the vectors and make edits by navigating to the editing page and pressing the button “Edit vectors”. To activate it after starting the division, press the “Refresh” button.
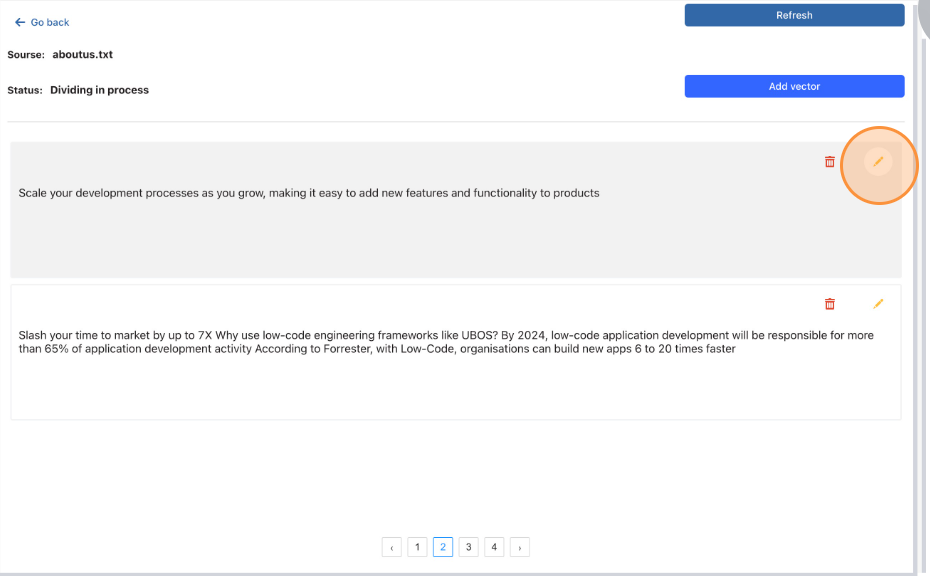
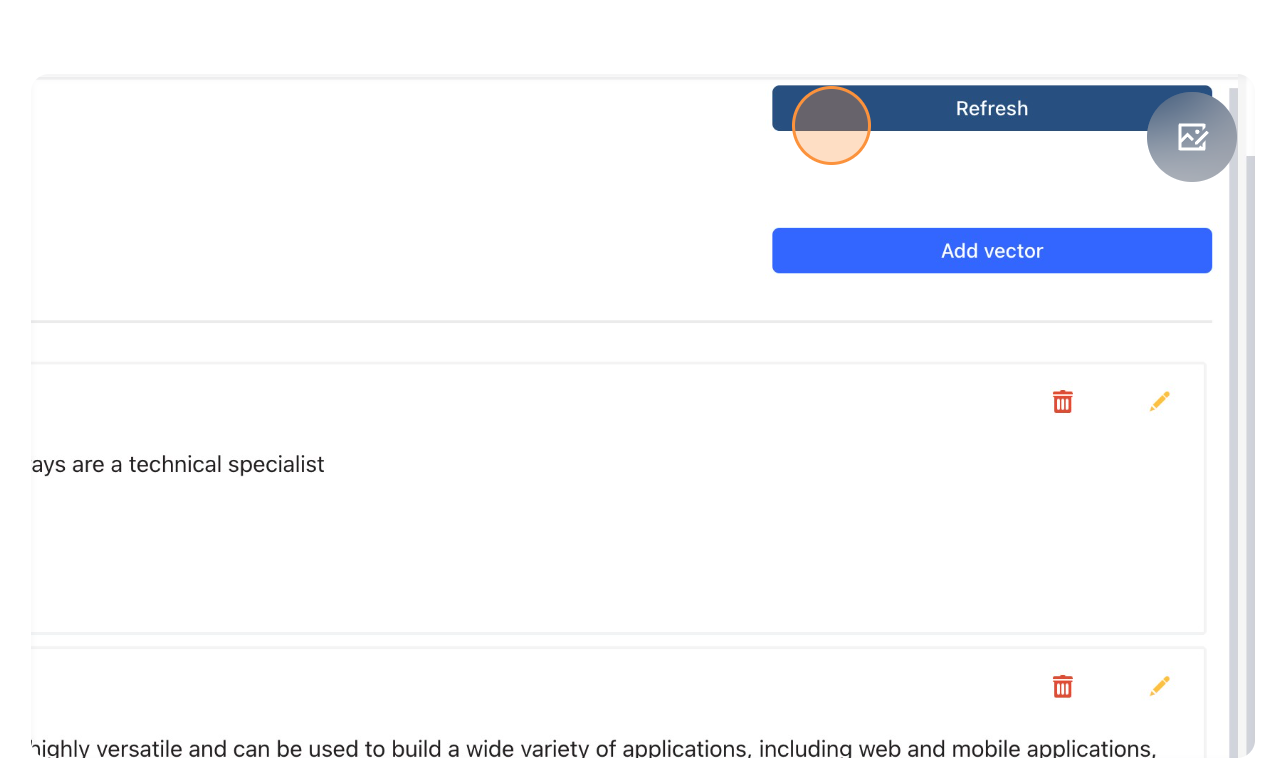
In the vector editing page, you will find vectors and their statuses. By clicking the 'Refresh' button, you can view new vectors and monitor status updates as the division progresses. Once the division is completed, you can go through the vectors for any necessary edits.
When you are satisfied with the results, you can make this database accessible to your BOT by clicking the 'Save in Pinecone' button.
Please note that saving may take some time, and you can monitor the status updates by clicking the 'Refresh' button.

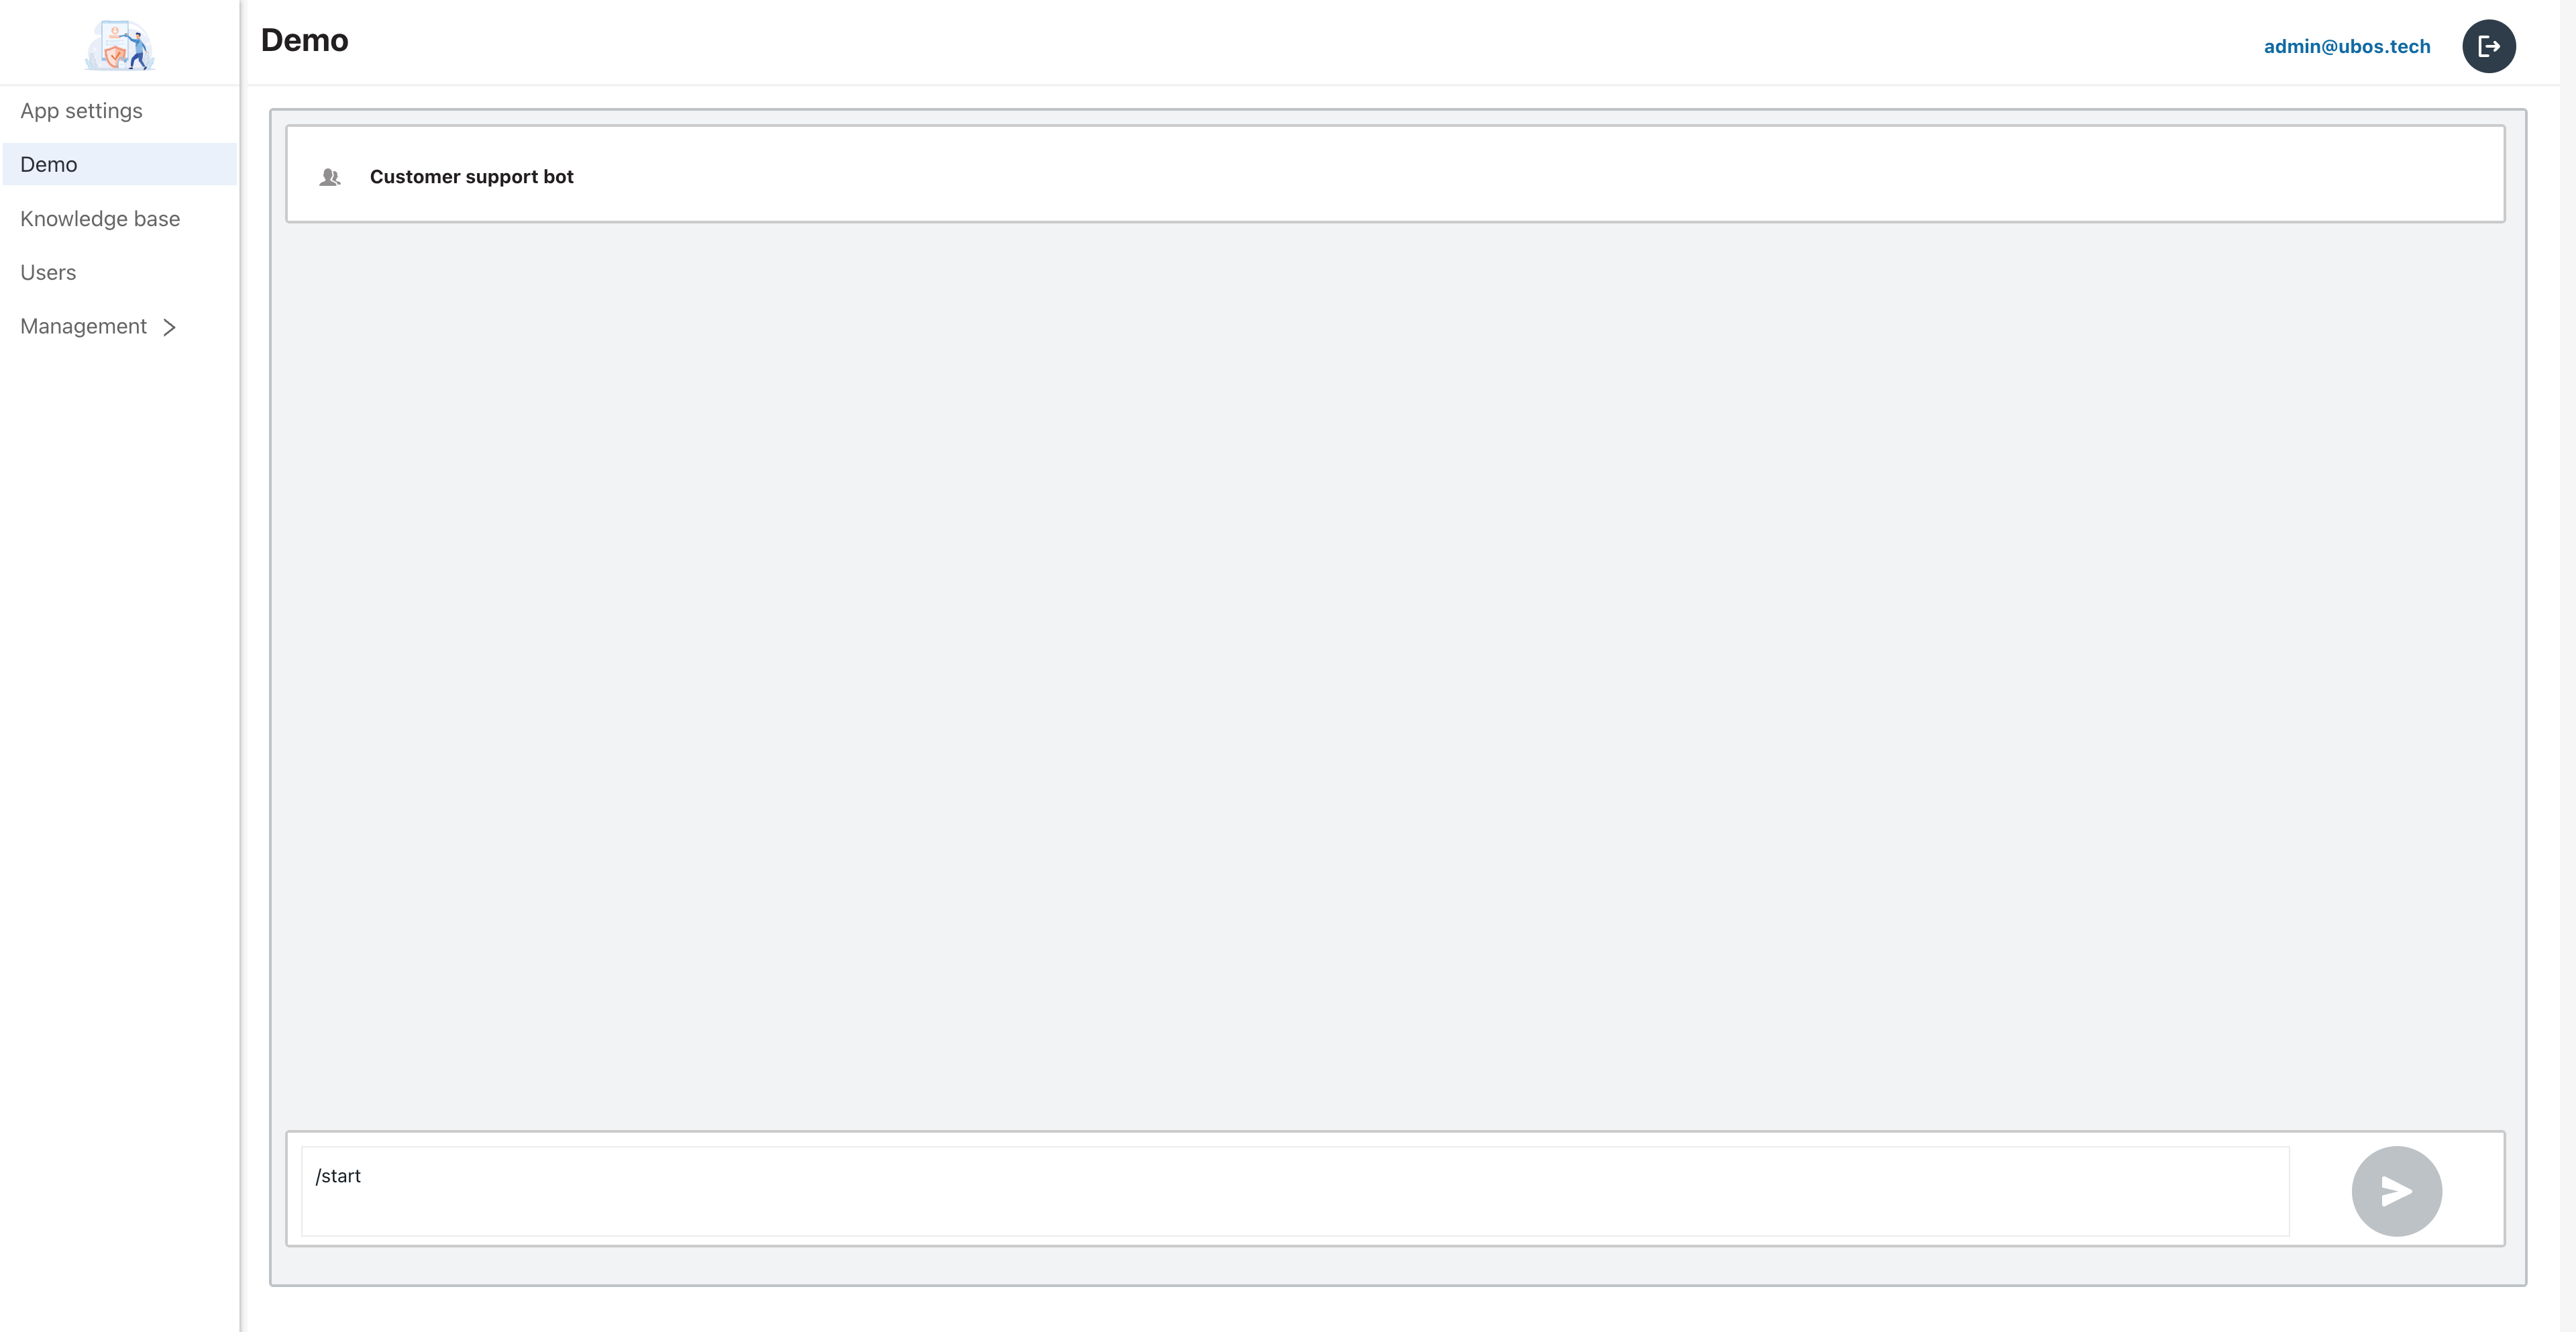
If you wish to test how the BOT responds and you haven't yet connected with managers, you can do so on the Demo page.
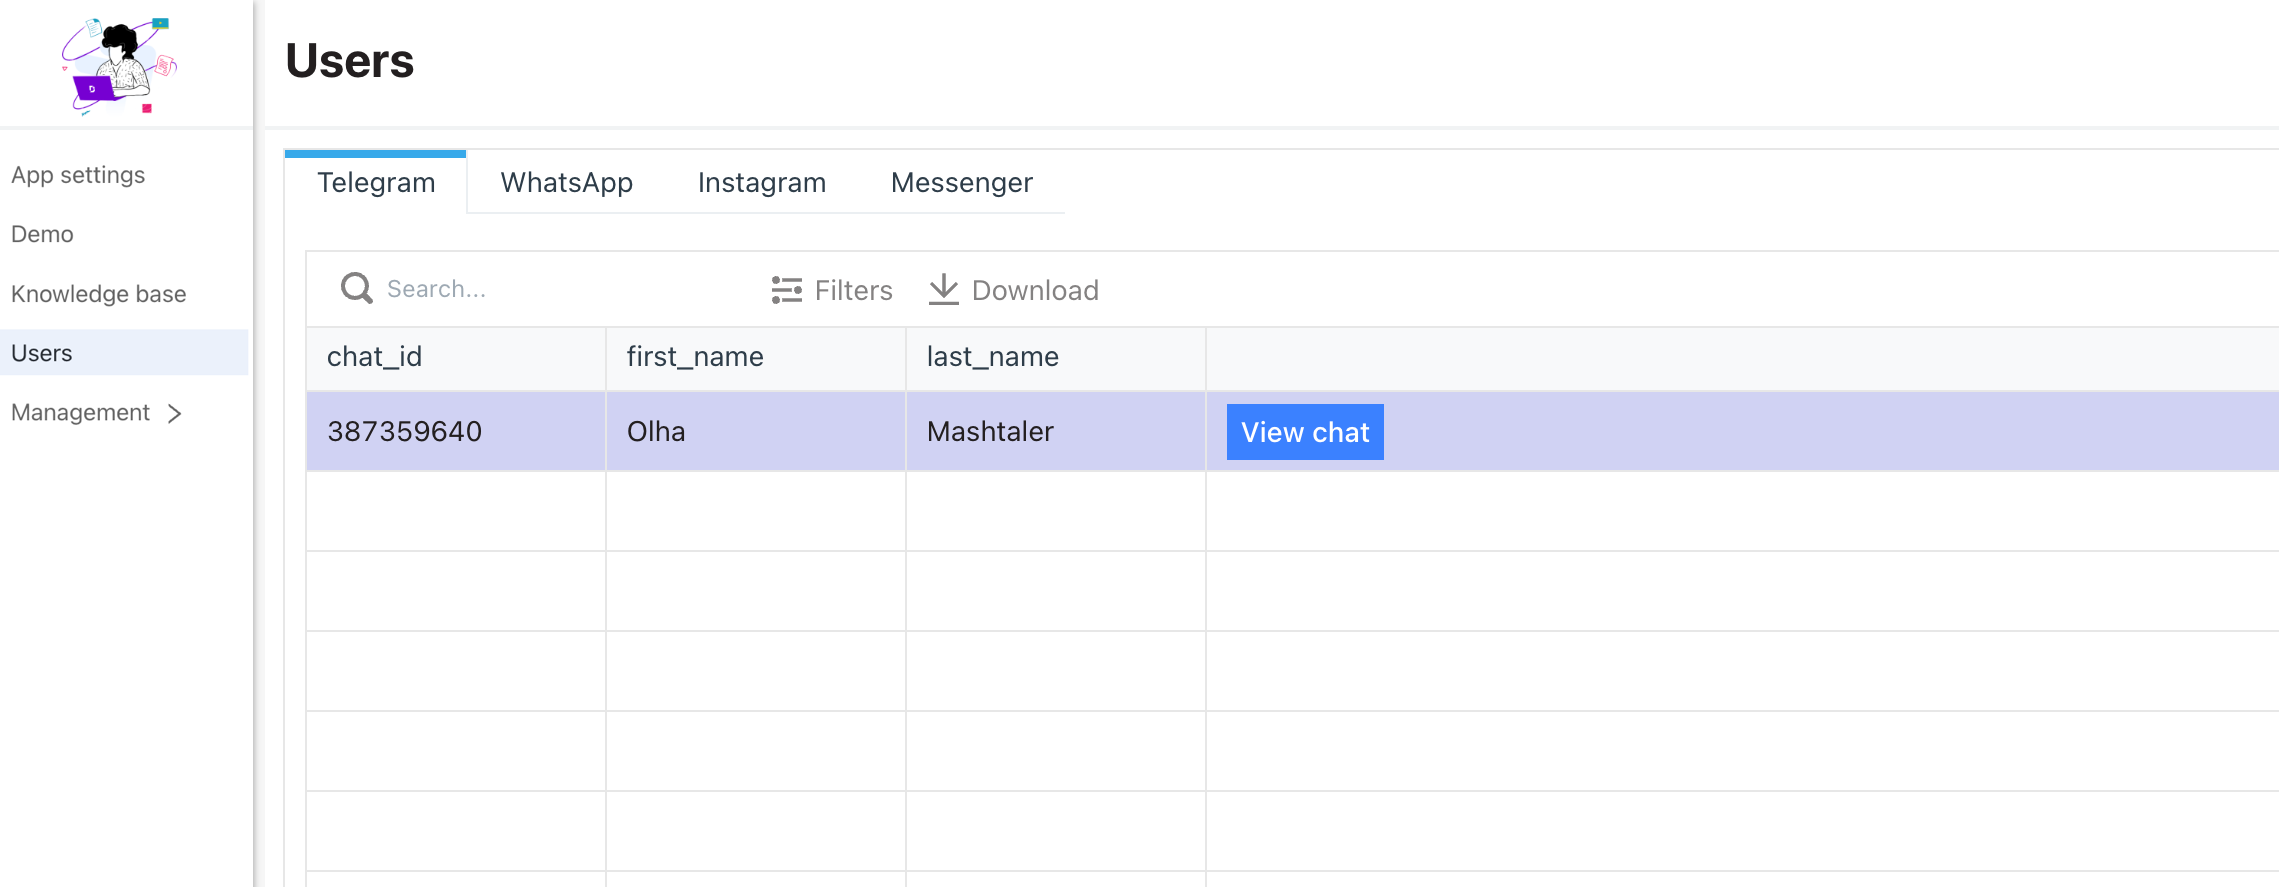
If you already have your BOT on messaging platforms and wish to observe its responses to users for finer AI analysis and data adjustments, you can do so by visiting the 'Users' page.
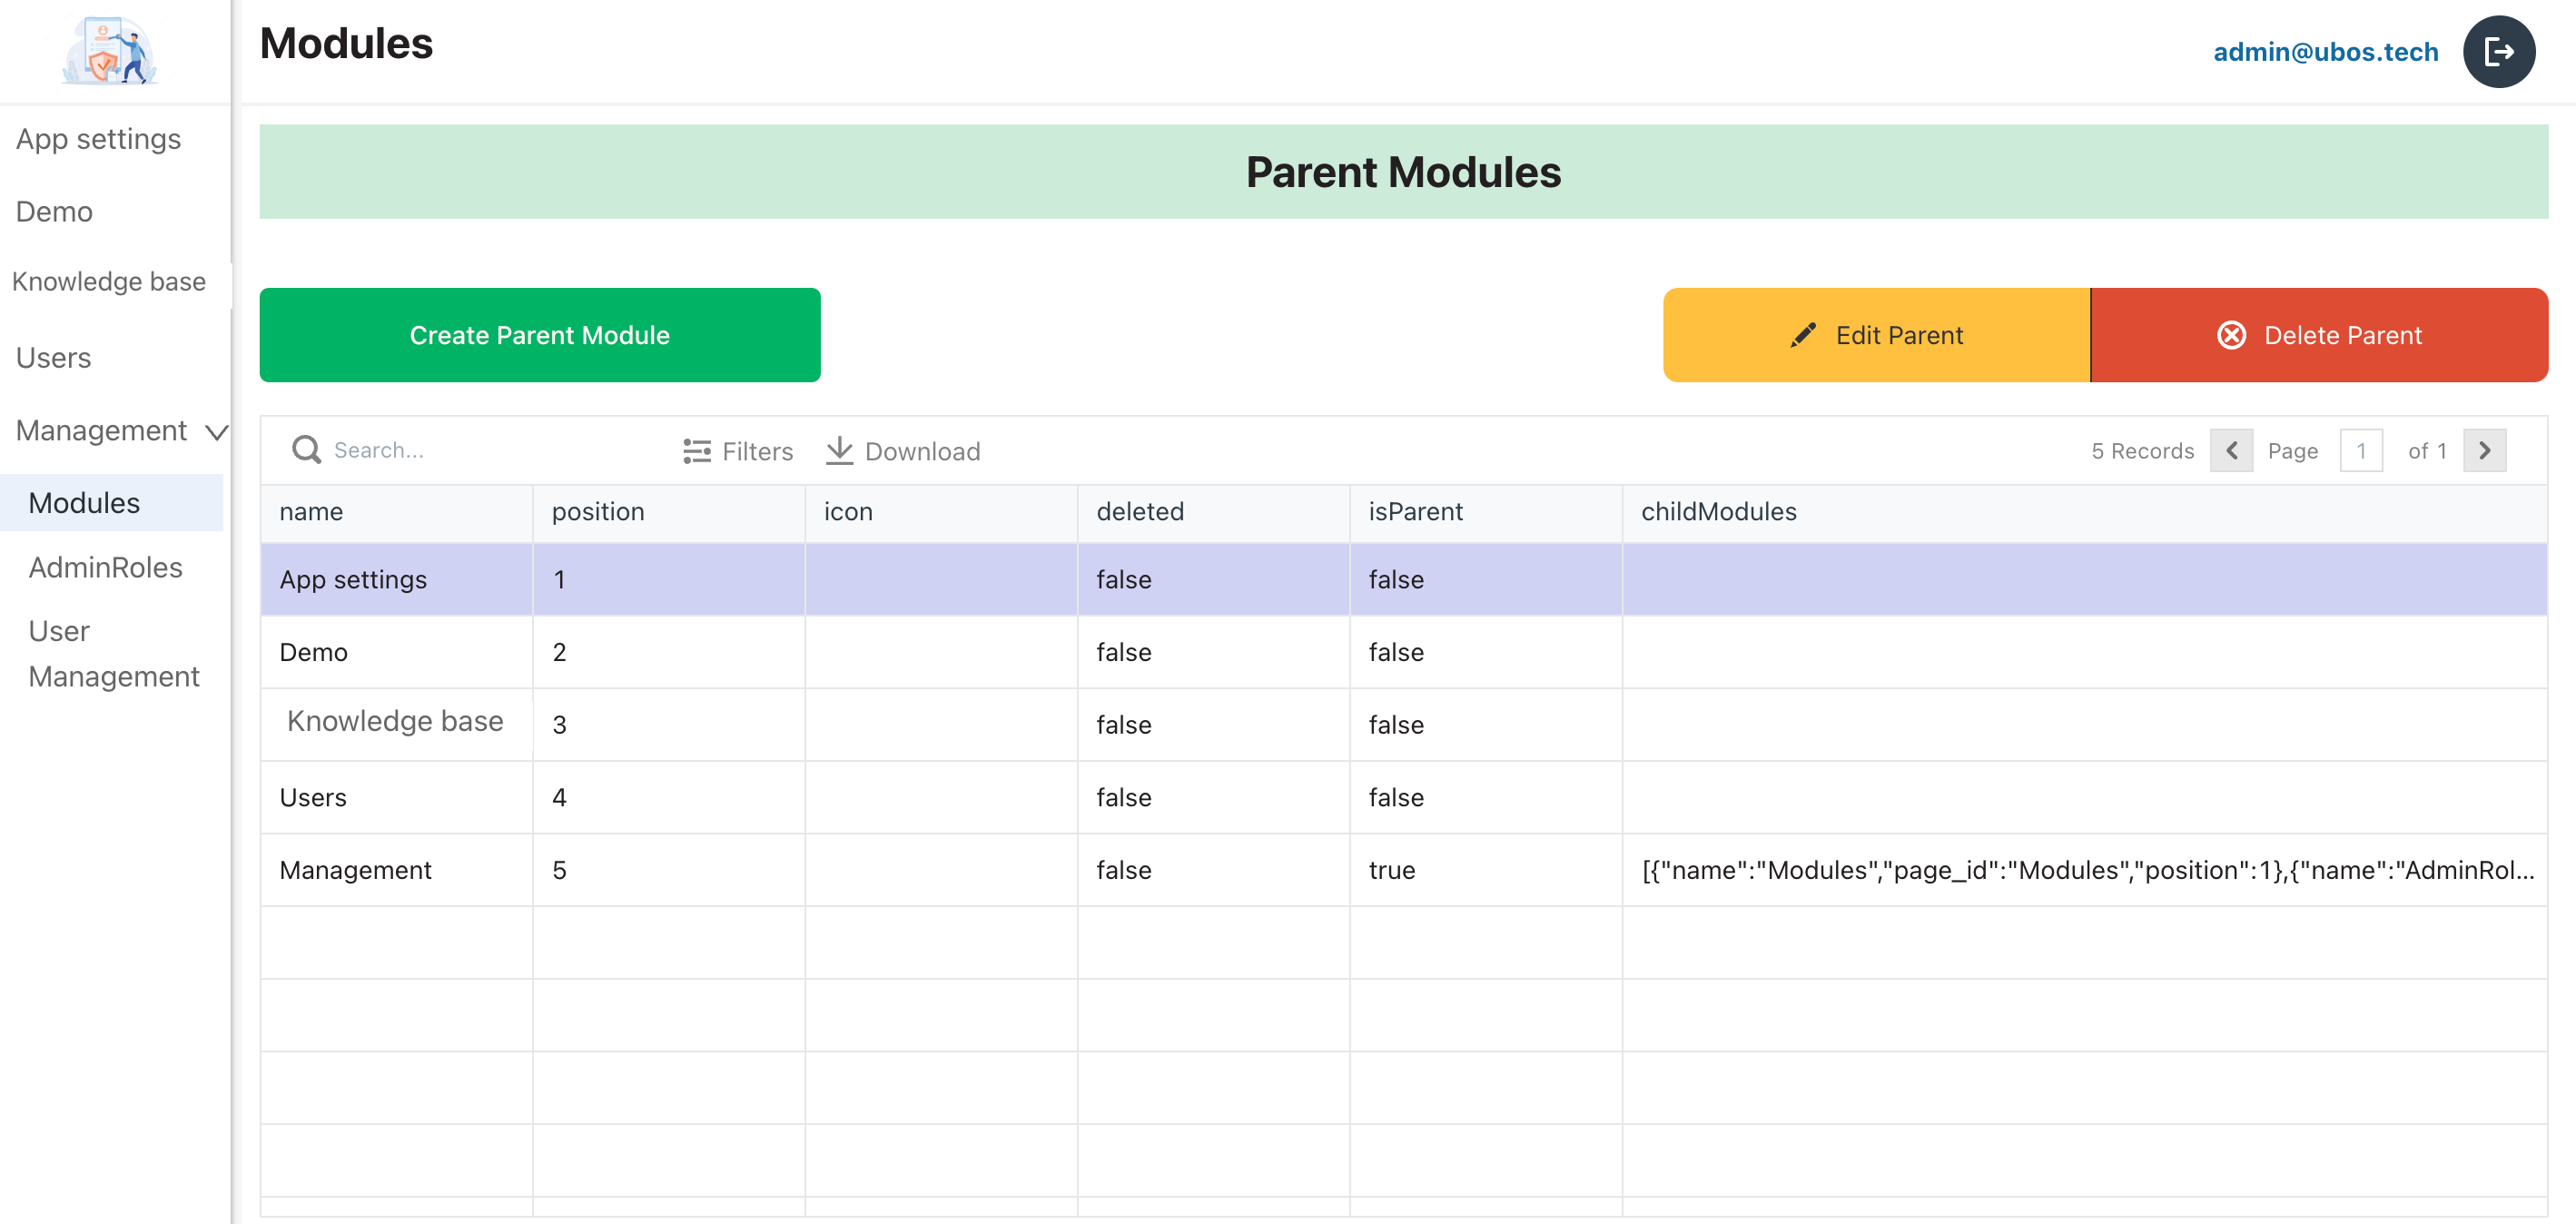
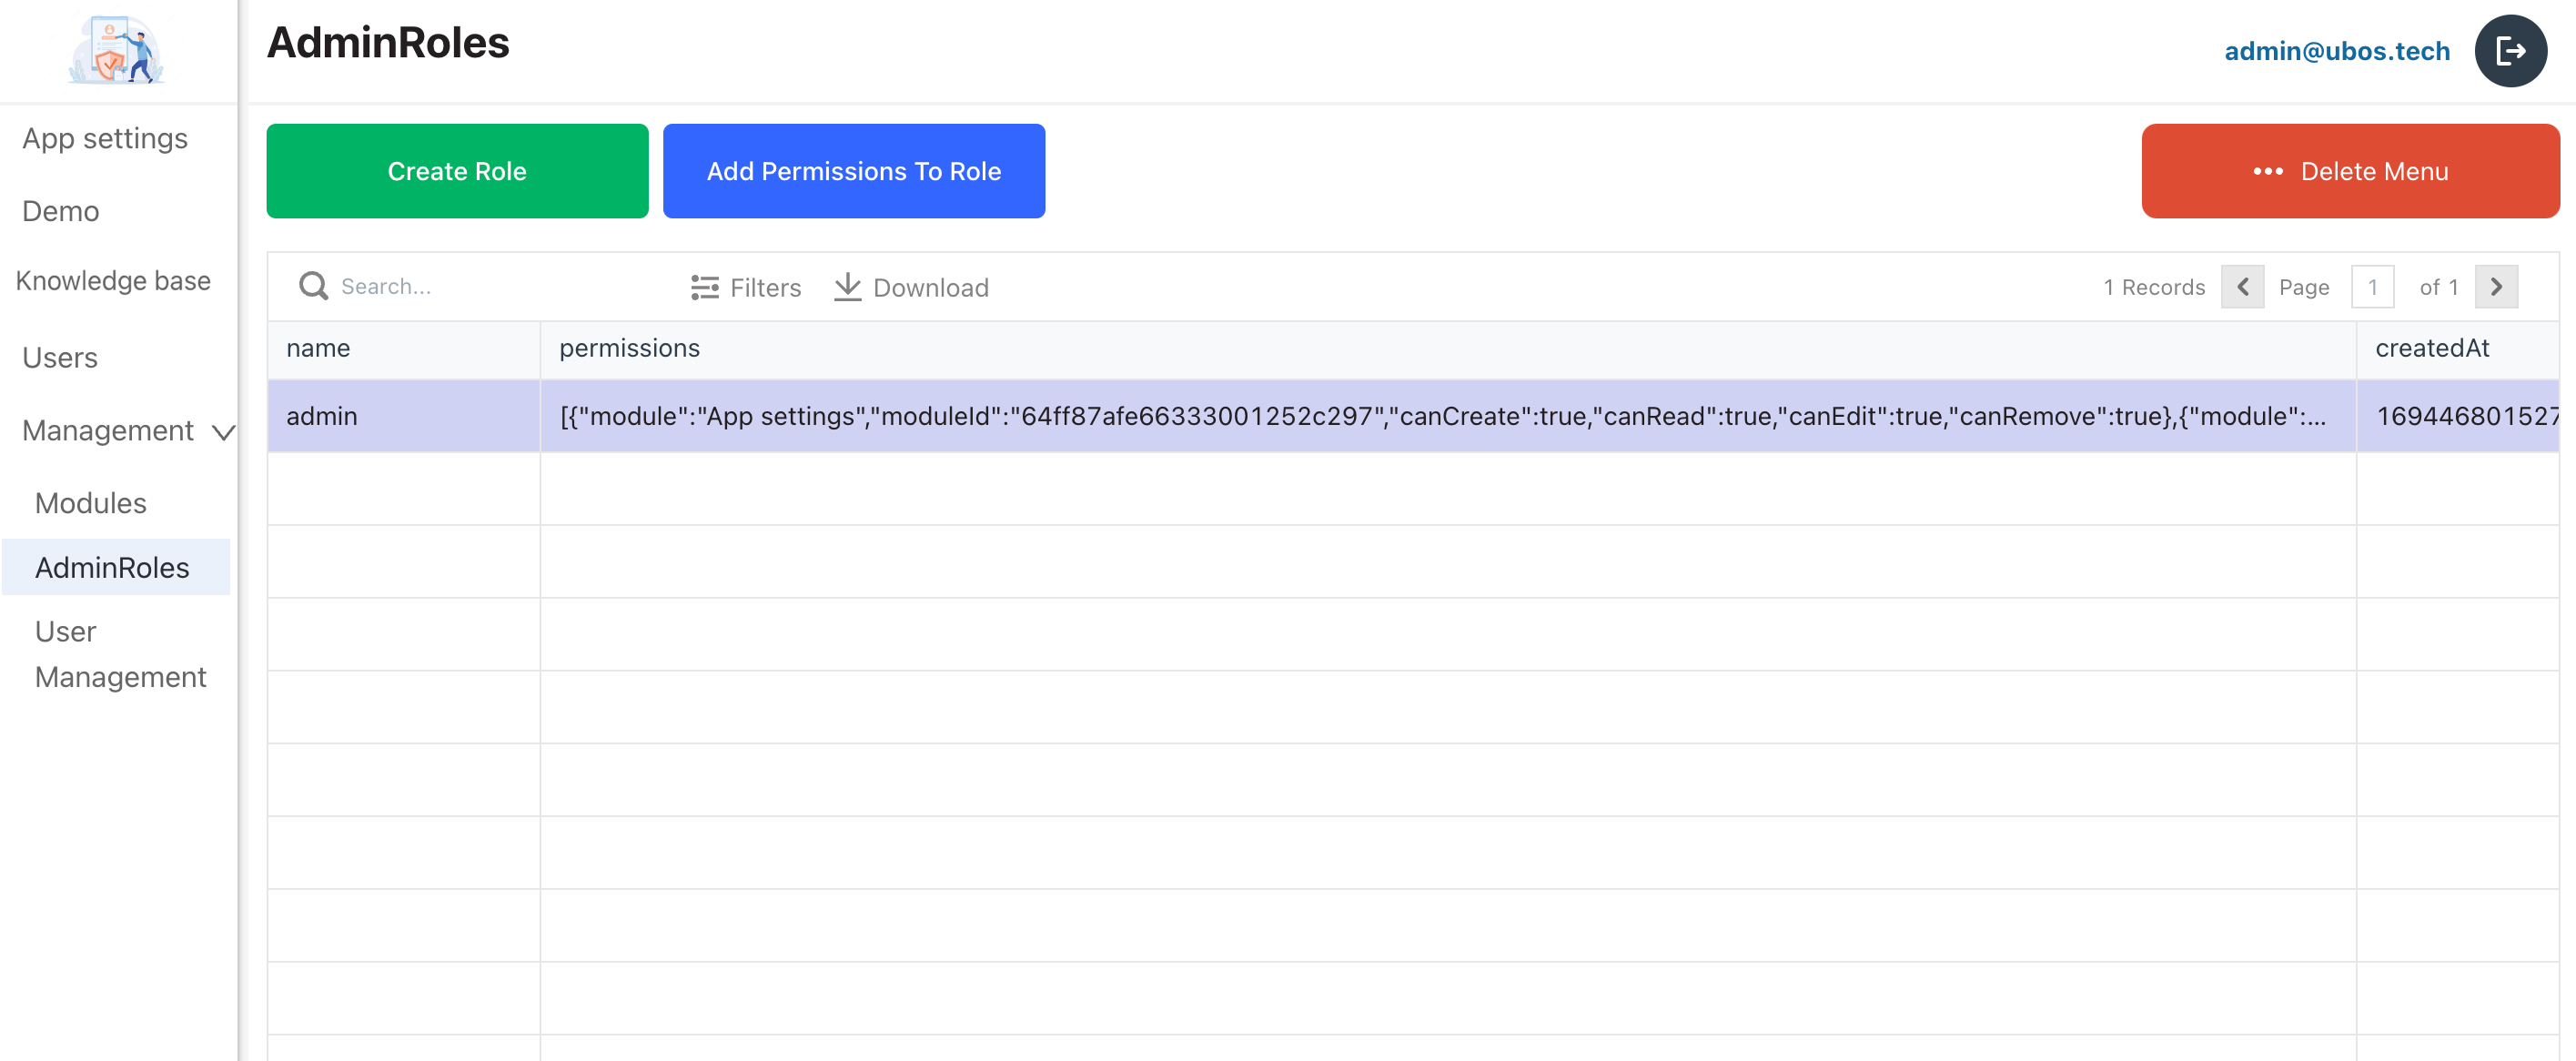
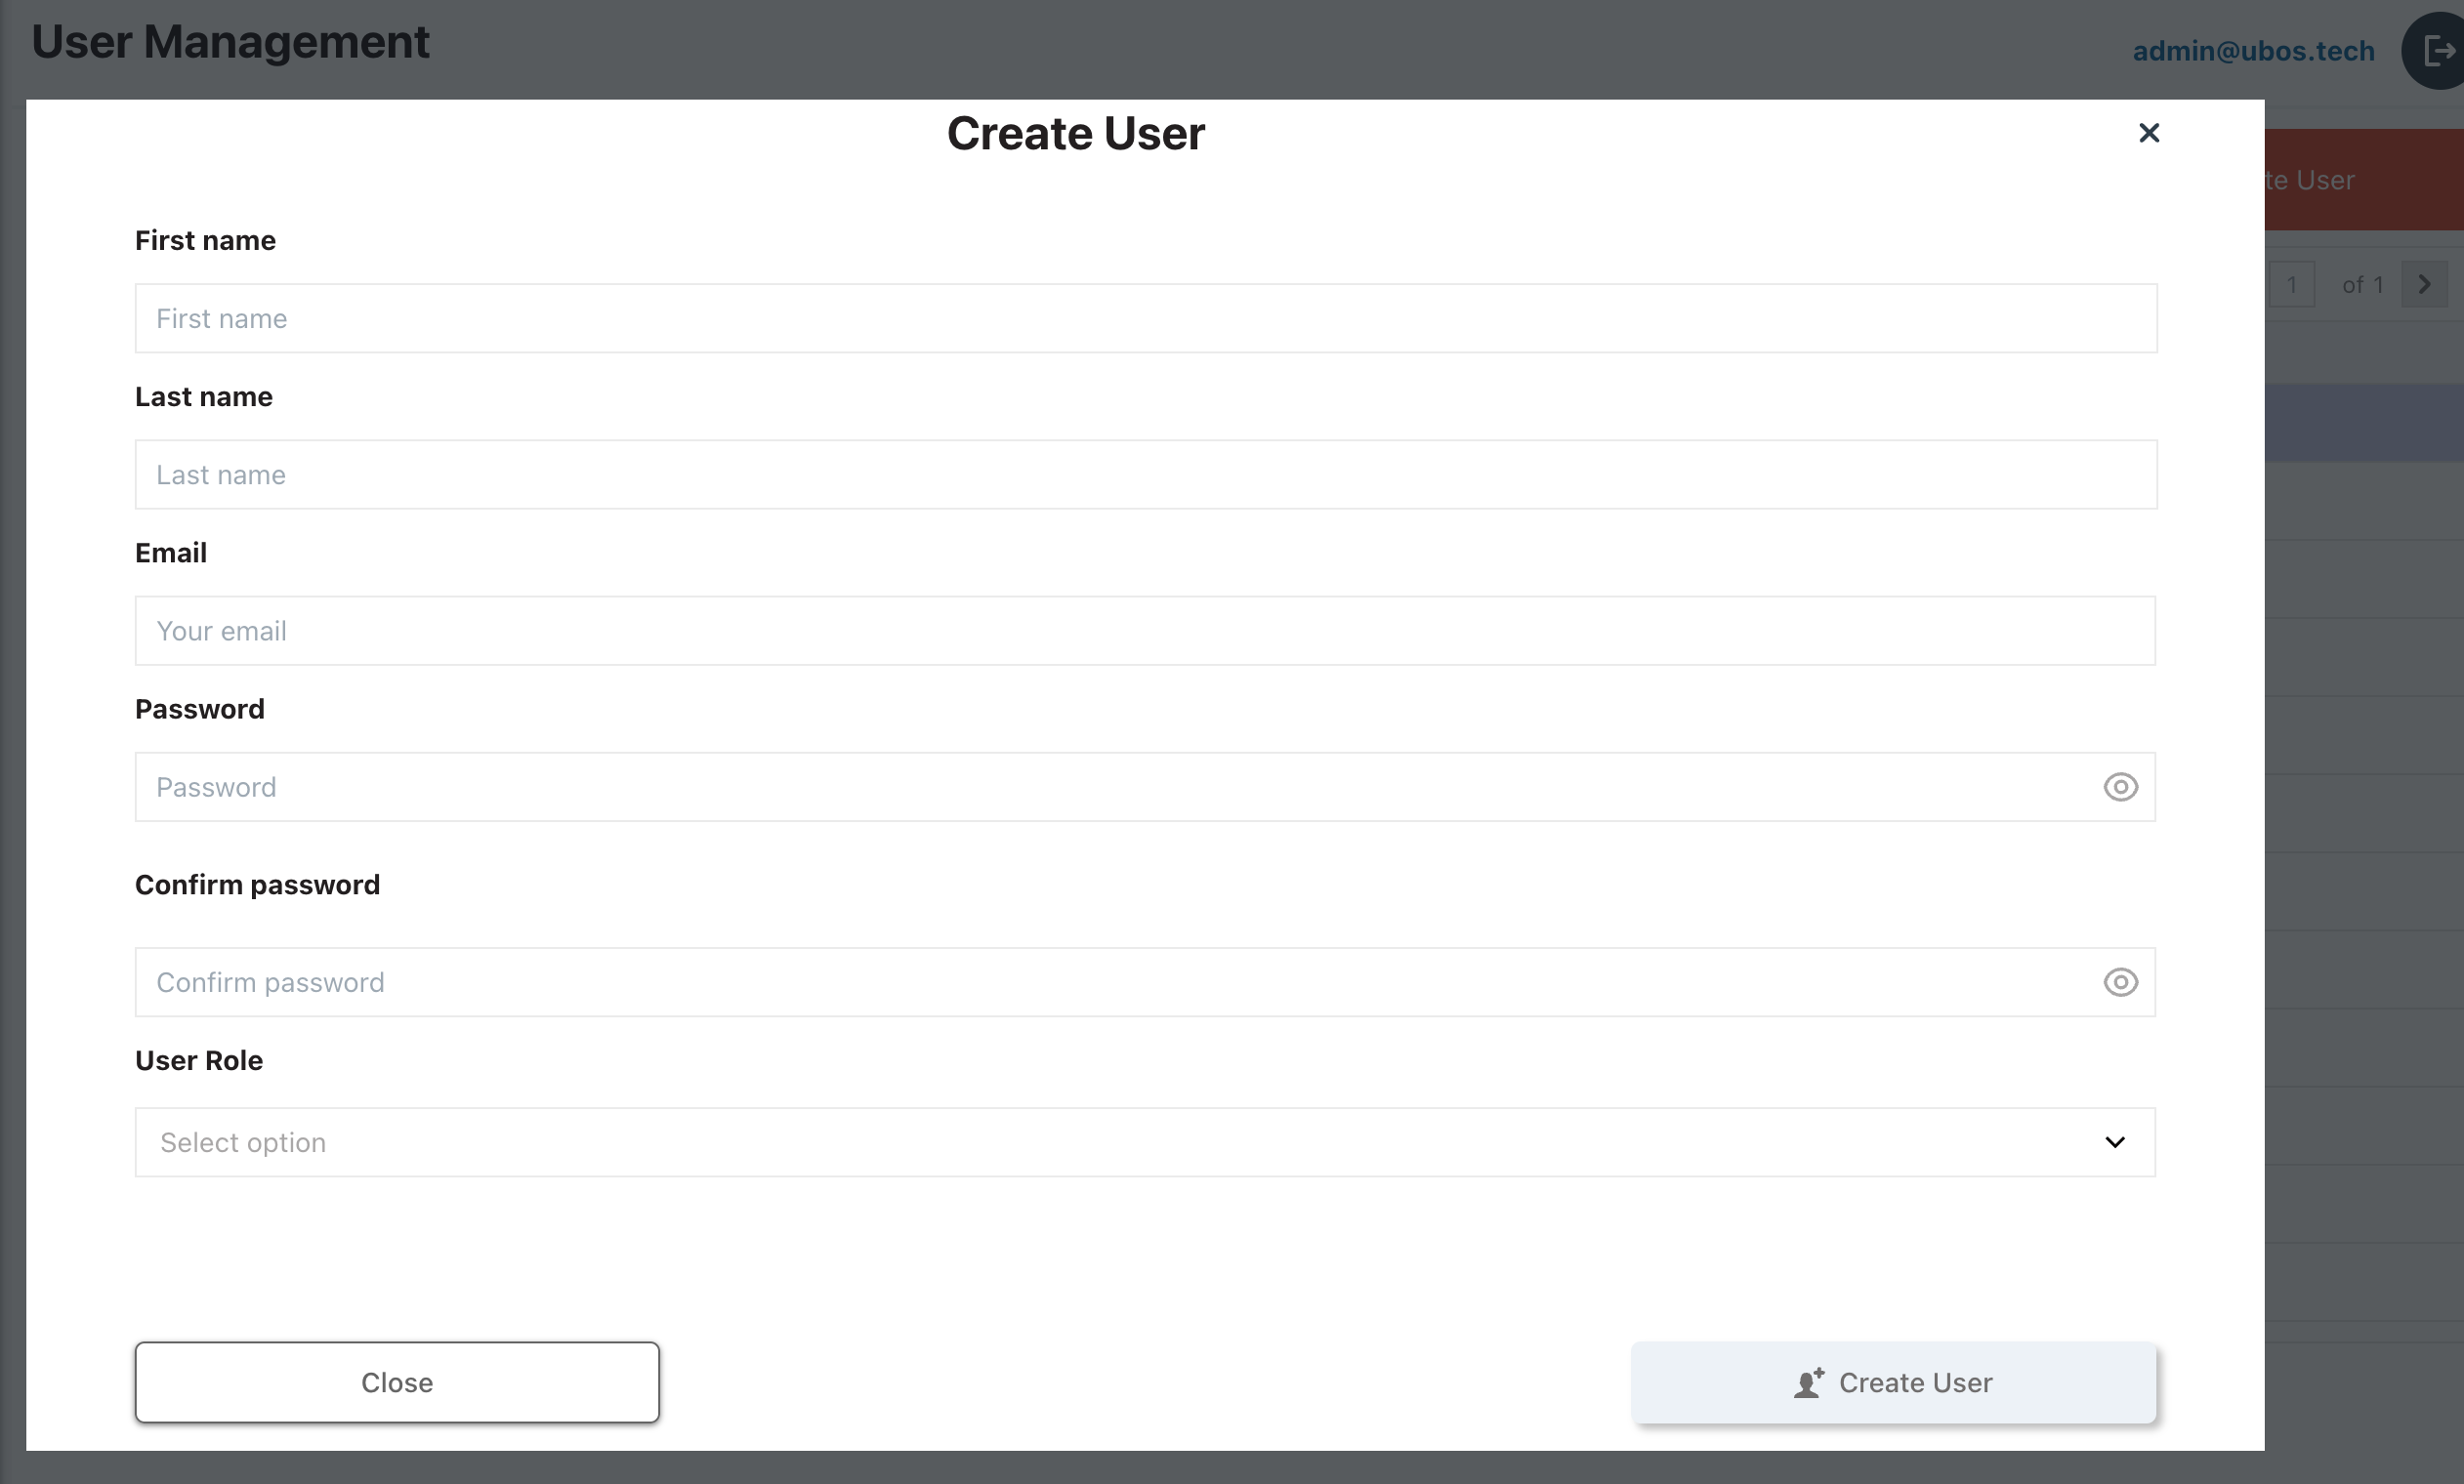
On the Management page, you can create new users for your application and, depending on their roles, hide or add accessible pages. For instance, users with an 'Admin' *role can view all pages and create new users, while *'Analyst' role users may only access chat with a bot, and so on. It all depends on your preferences.
Important Addition: If you delete the knowledge base, individual files, or vectors, all data will be removed from the bot's knowledge base. Please exercise caution.Our team is always ready to assist and address any issues that may arise.
With respect, UBOS.

Top comments (0)