One of the most popular uses of Node-RED is to send and receive SMS messages using the Twilio API.
In this article, we will show you how to create a flow in Node-RED that sends an SMS message to a specified phone number.
Before starting work:
Step 1: Create a Twilio Account
The first step in sending SMS messages with Node-RED and Twilio is to create a Twilio account.
Link: https://www.twilio.com/console.
You need to sign up and create a project on twilio then you will able to find your Account SID under the "Project Info" section.
Also, you can find your Auth token under the "Project Info" section.
Please keep in mind that you should keep your Account SID and Auth token secure, as they allow access to your Twilio account.
Step 2: Install the Twilio Node
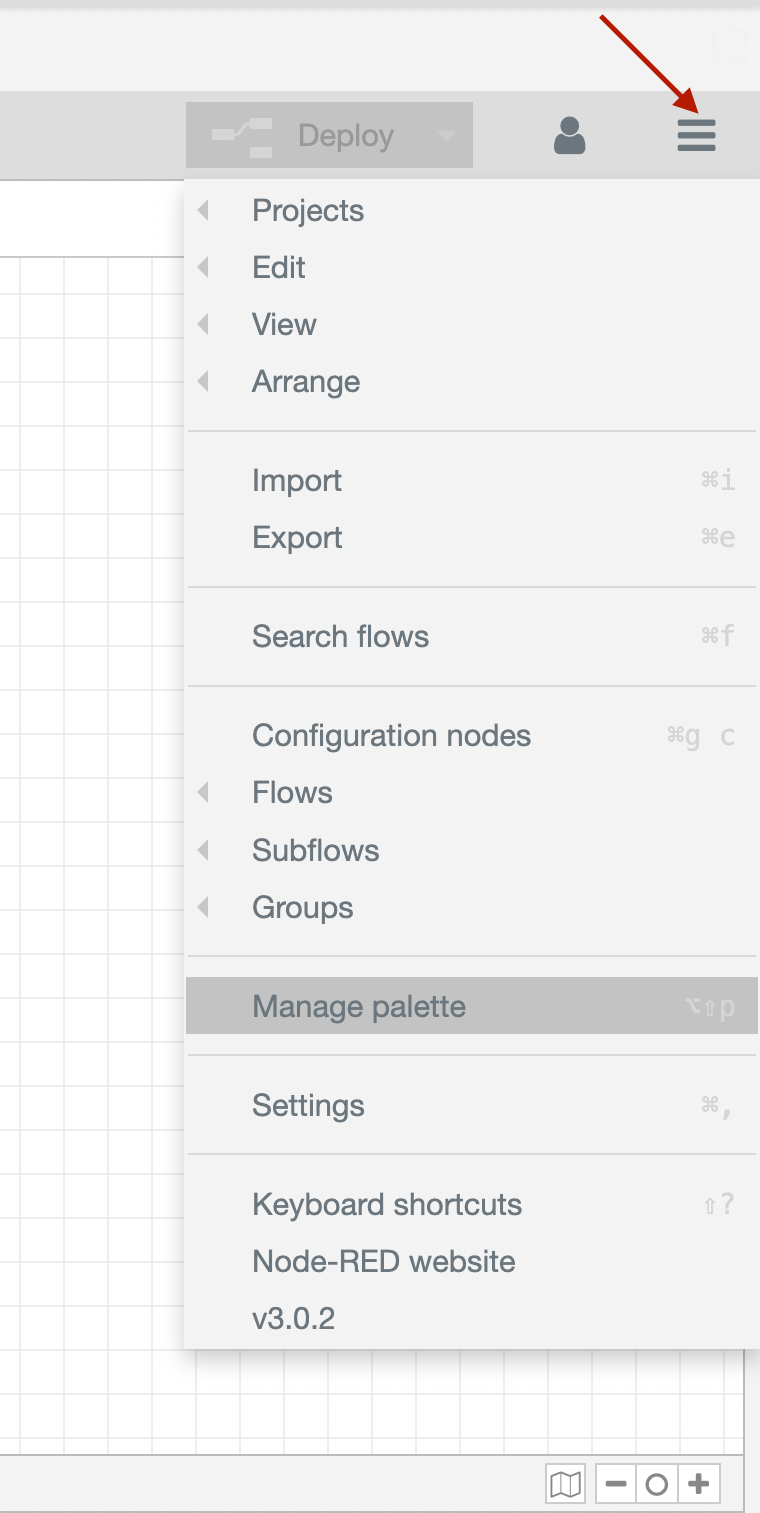
Next, you will need to install the node-red-contrib-twilio package in Node-RED. This package provides a set of nodes that allow you to interact with the Twilio API. You can install it directly from the Palette Manager in the Node-RED interface:
- Open the Node-RED editor in your web browser.
- Go to the menu on the top right corner and select "Manage palette"
- Select the "install" tab.
- Search for "node-red-contrib-twilio" in the search bar.
- Click on the "install" button next to the package.
- Once the installation is complete, the Twilio node should be available in the palette and can be used in flows.
Step 3: Create a new flowFor.
Then you should use Flow Builder UBOS.
| NODE | INSTALL |
|---|---|
 |
Basic NODE node-red 3.0.2. |
 |
Basic NODE node-red 3.0.2
|
 |
Basic NODE node-red 3.0.2
|
 |
Need to install node-red-node-twilio 0.1.0
|

Add the Twilio node
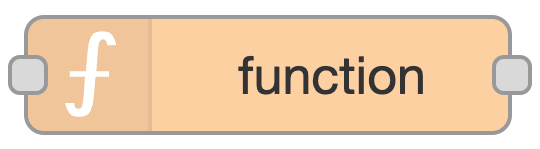
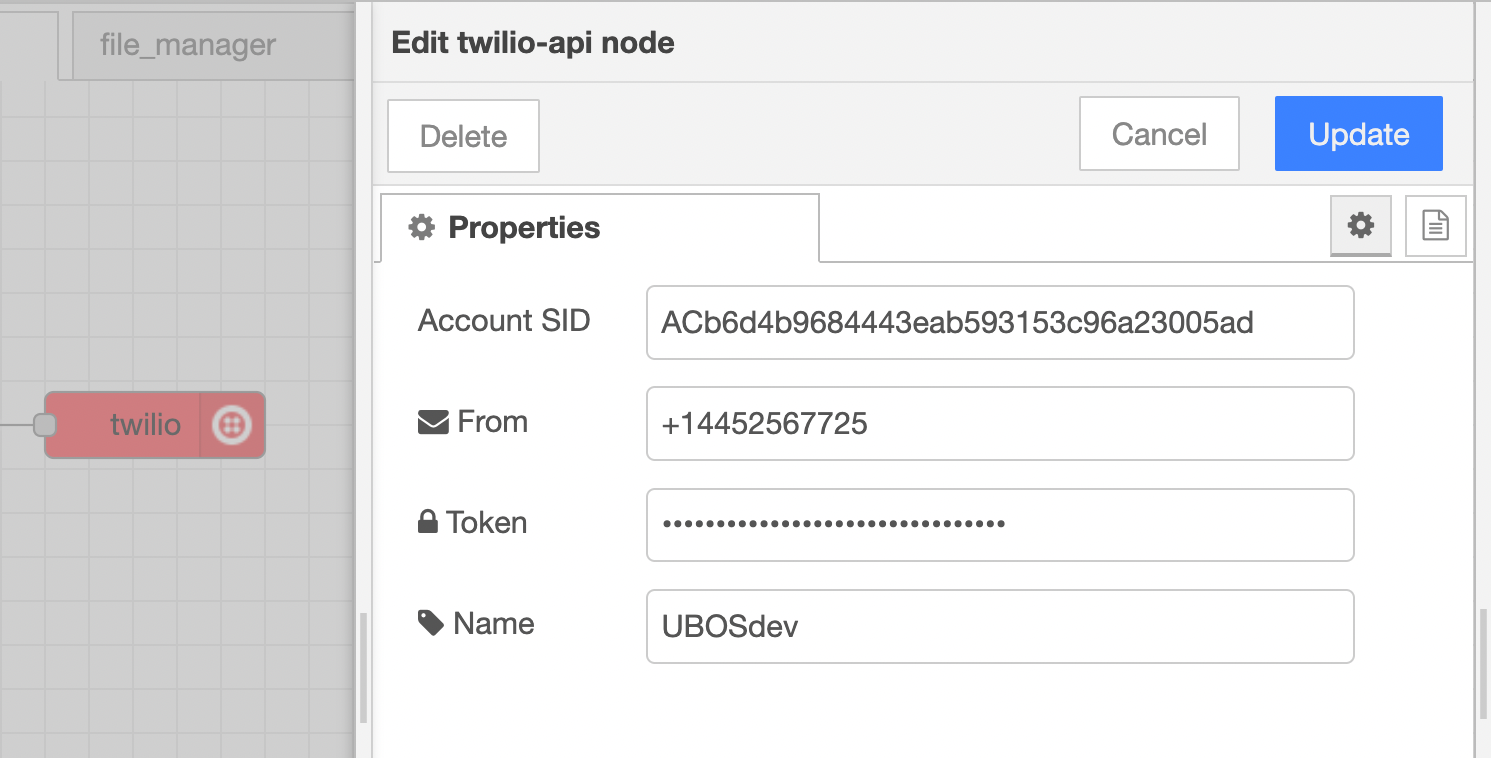
To send an SMS message with Node-RED and Twilio, you will need to add the Twilio node to your flow. To do this, go to the "function" section of the palette and drag the Twilio node onto the workspace. Double-click on the node to open its configuration options and enter your Twilio Account SID and Auth Token.
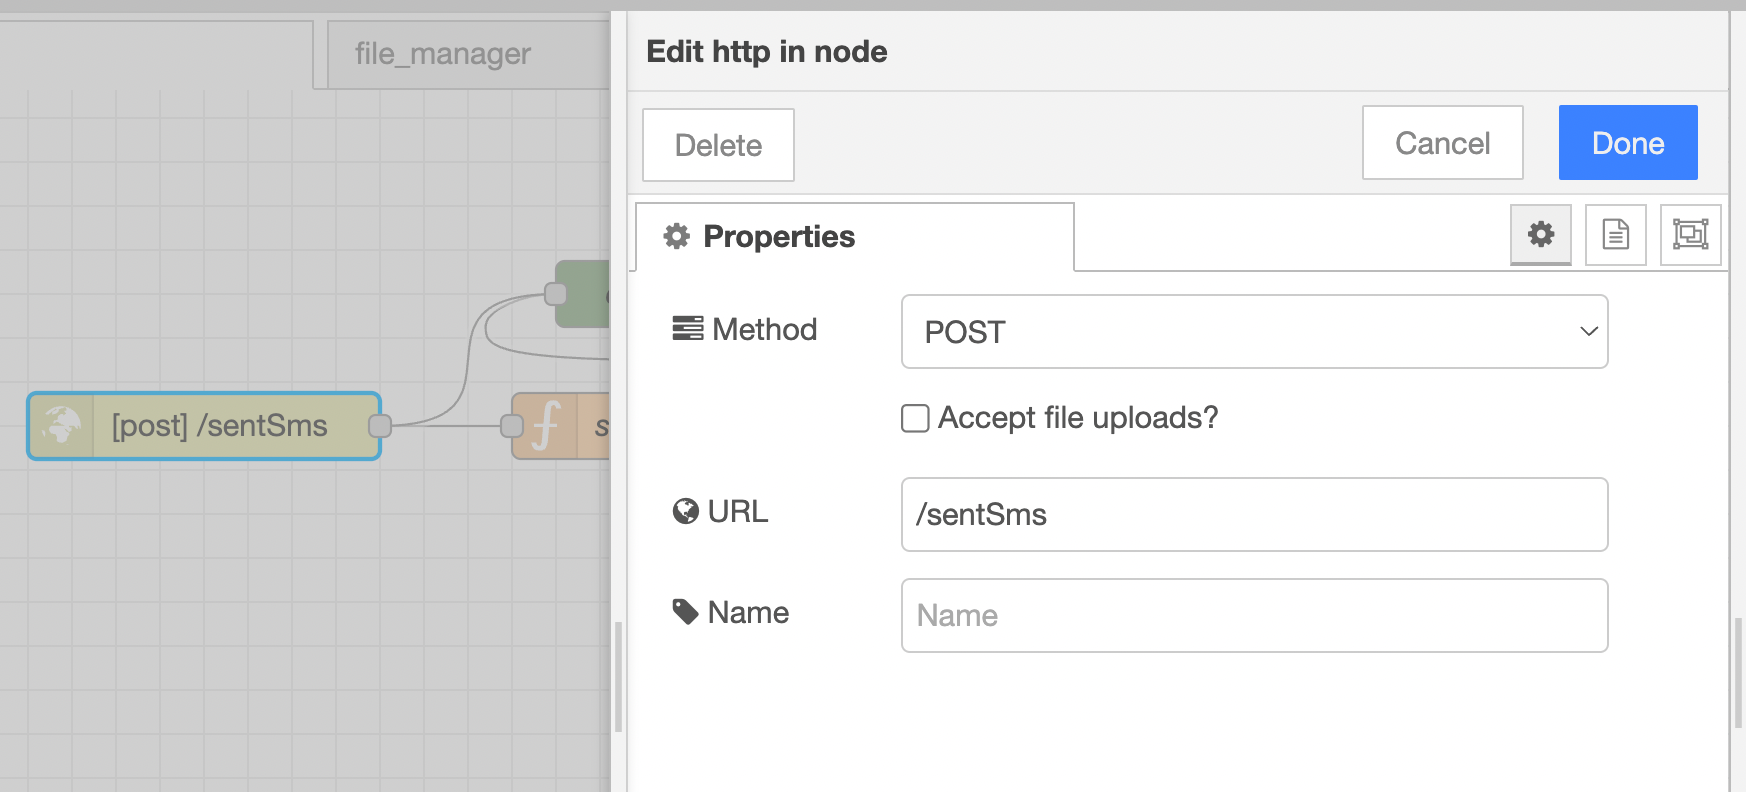
Add a trigger node
Next, you will need to add a trigger node to your flow. A trigger node is used to initiate the flow. In this case, we will use an HTTP request node as our trigger. Drag an HTTP request node onto the workspace and connect it to the Twilio node. In the HTTP request node configuration, you can specify the HTTP method and endpoint that will trigger the flow.
Add a function node
Finally, you will need to add a function node to your flow. This node will be used to specify the phone number to send the SMS to and the message to be sent. Connect the function node to the Twilio node and enter the following code:
msg.phoneNumber = msg.payload.phoneNumber;
msg.payload = msg.payload.text;
msg.topic = `"+380" ${msg.phoneNumber}`;

return msg;

Deploy the flow
Step 4: You need to create a UI part.
For that you should use UI Editor UBOS
| UI WIDGETS | SETTINGS |
|---|---|
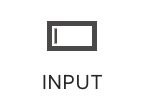 |
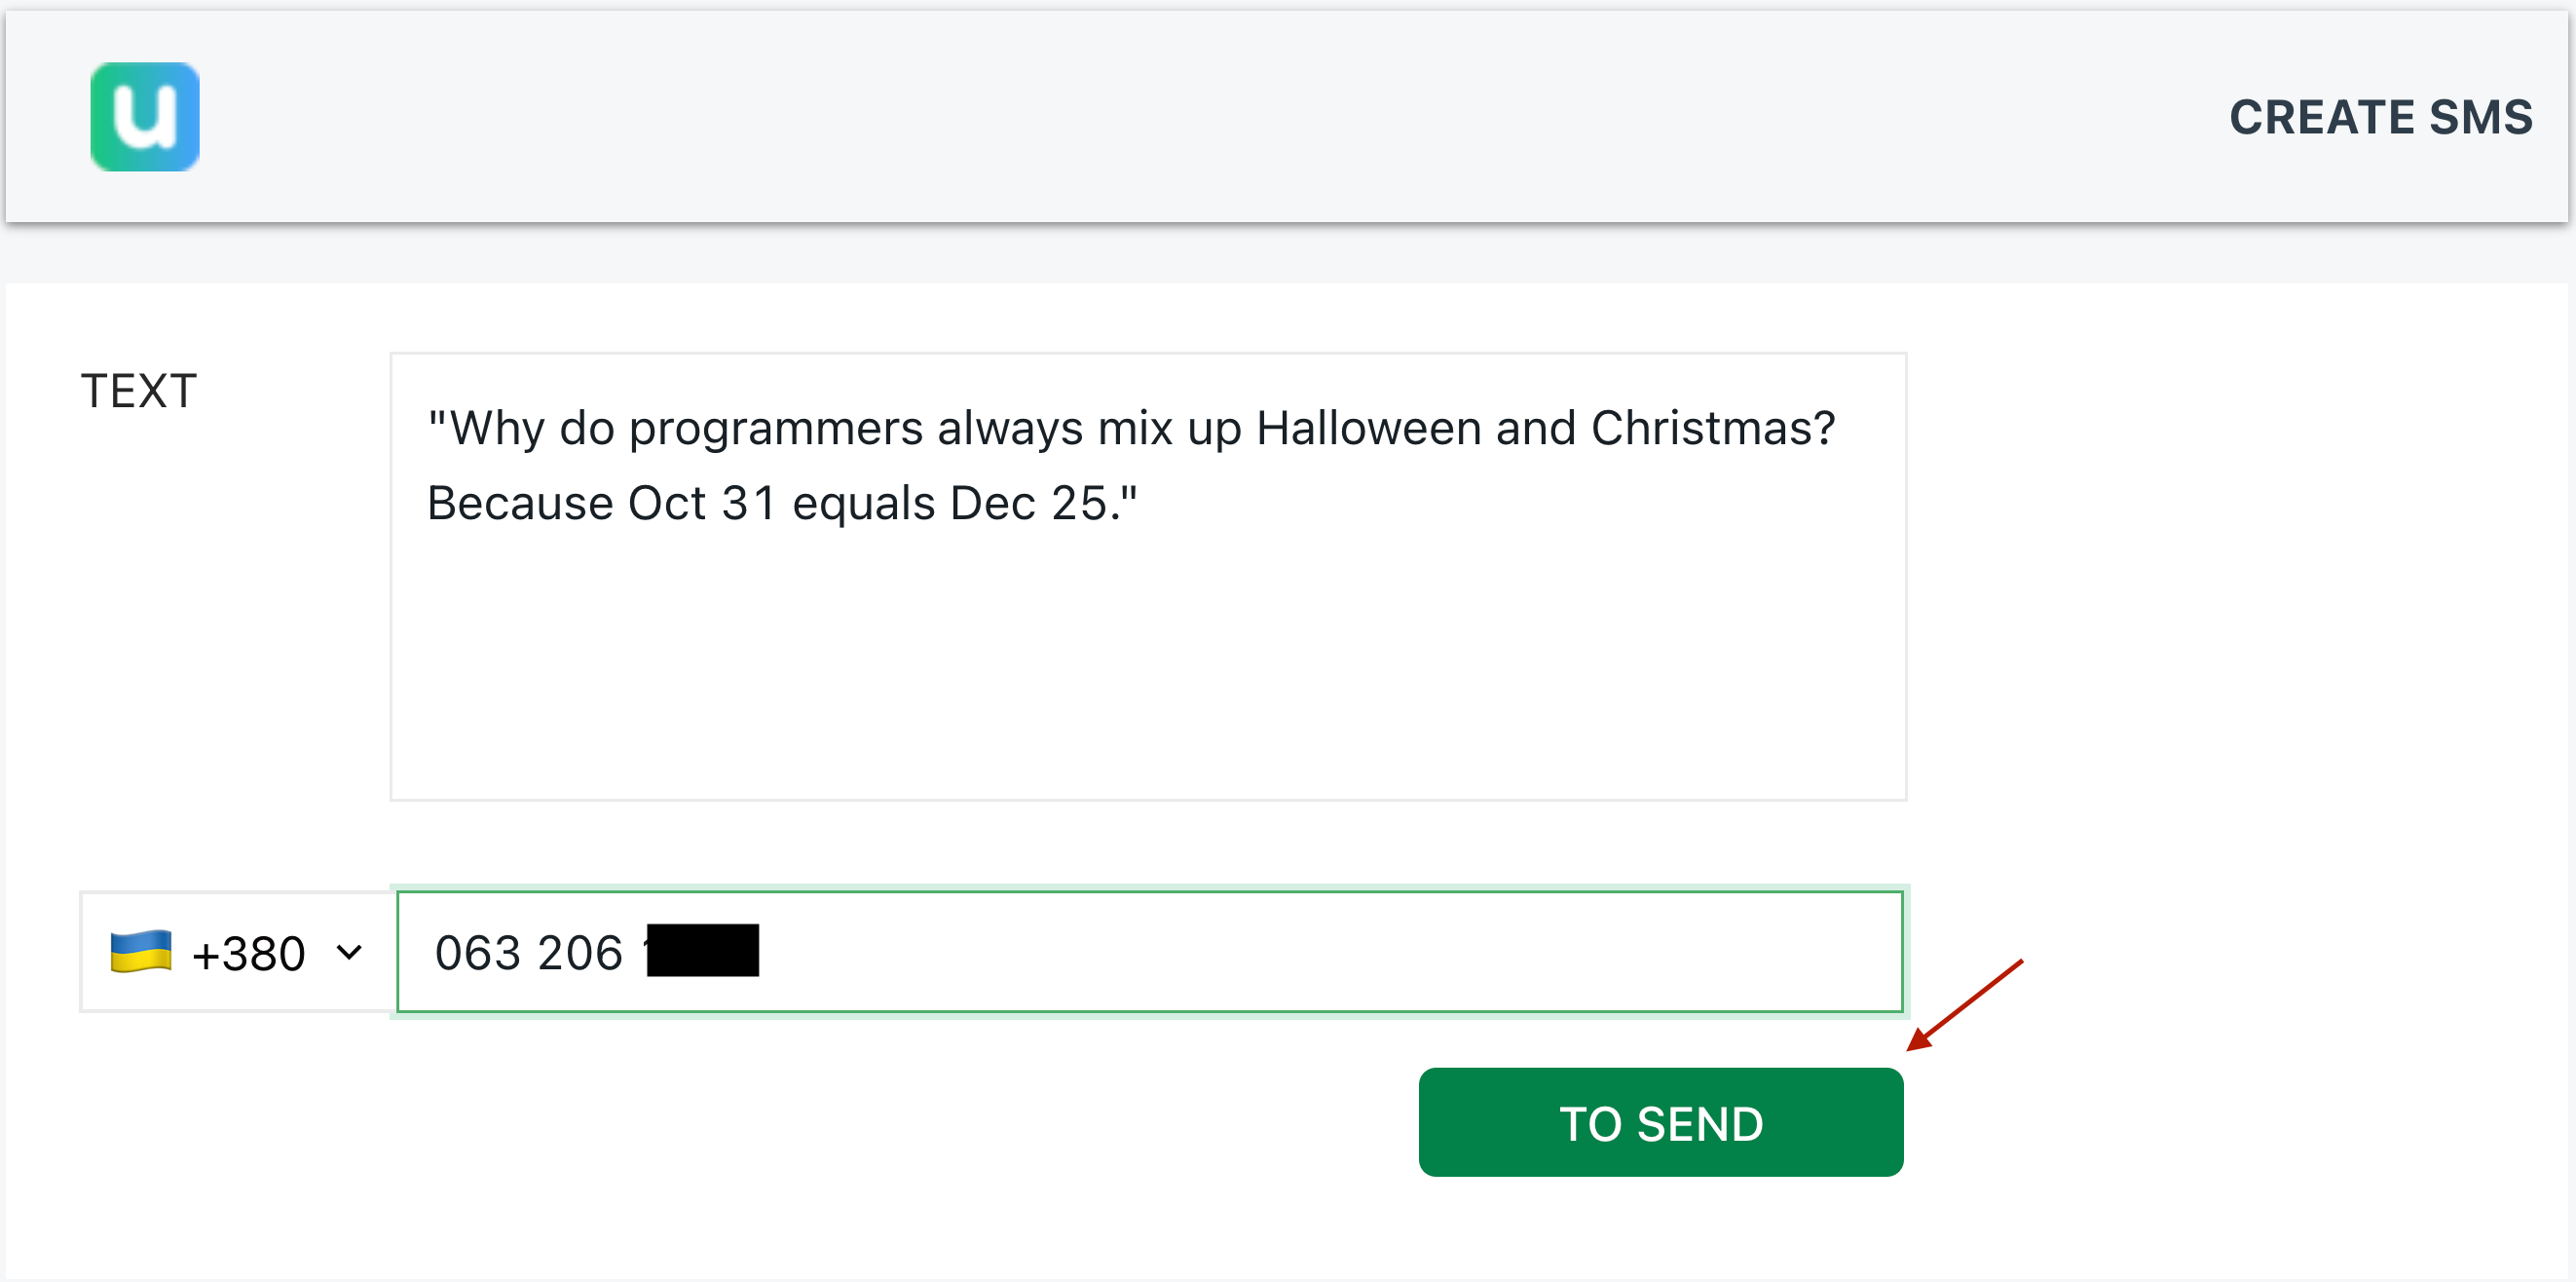
An input widget would be used to allow users to enter the phone number or text they want to send an SMS message to. This input could be a text field or a number field, depending on the desired format of the phone number and destination |
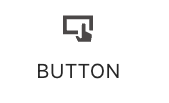 |
A button widget would be used to trigger the function that sends the SMS message. The button could have a label such as "To send" or "Text Message" and when clicked, it would execute the code that sends the SMS message using the phone number entered in the input field. |
Step 5: Create the API to send data on backend and call it to the event onClick button To send:
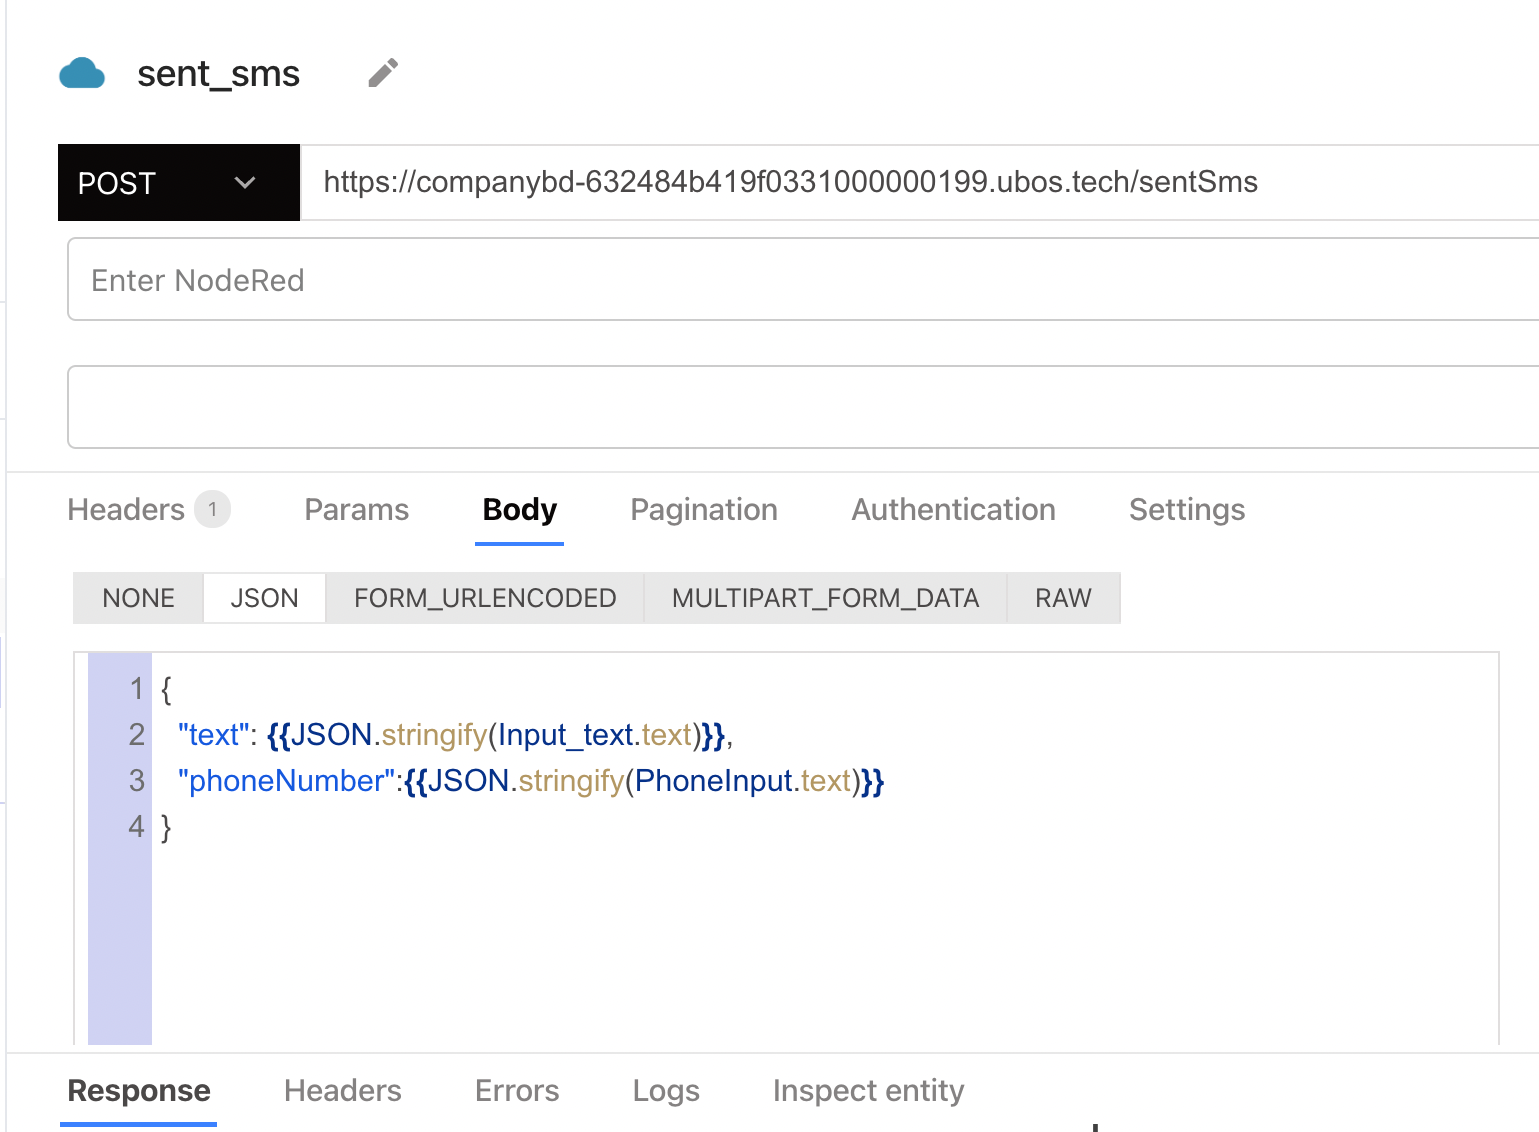
Where the URL consists of the backend address and the Flow name:
https://companybd-632484b419f0331000000199.ubos.tech/sentSms
Body consists of input data:
{
"text:{{JSON.stringify(Input_text.text)}},
"phoneNumber":{{JSON.stringify(PhoneInput.text)}}
}
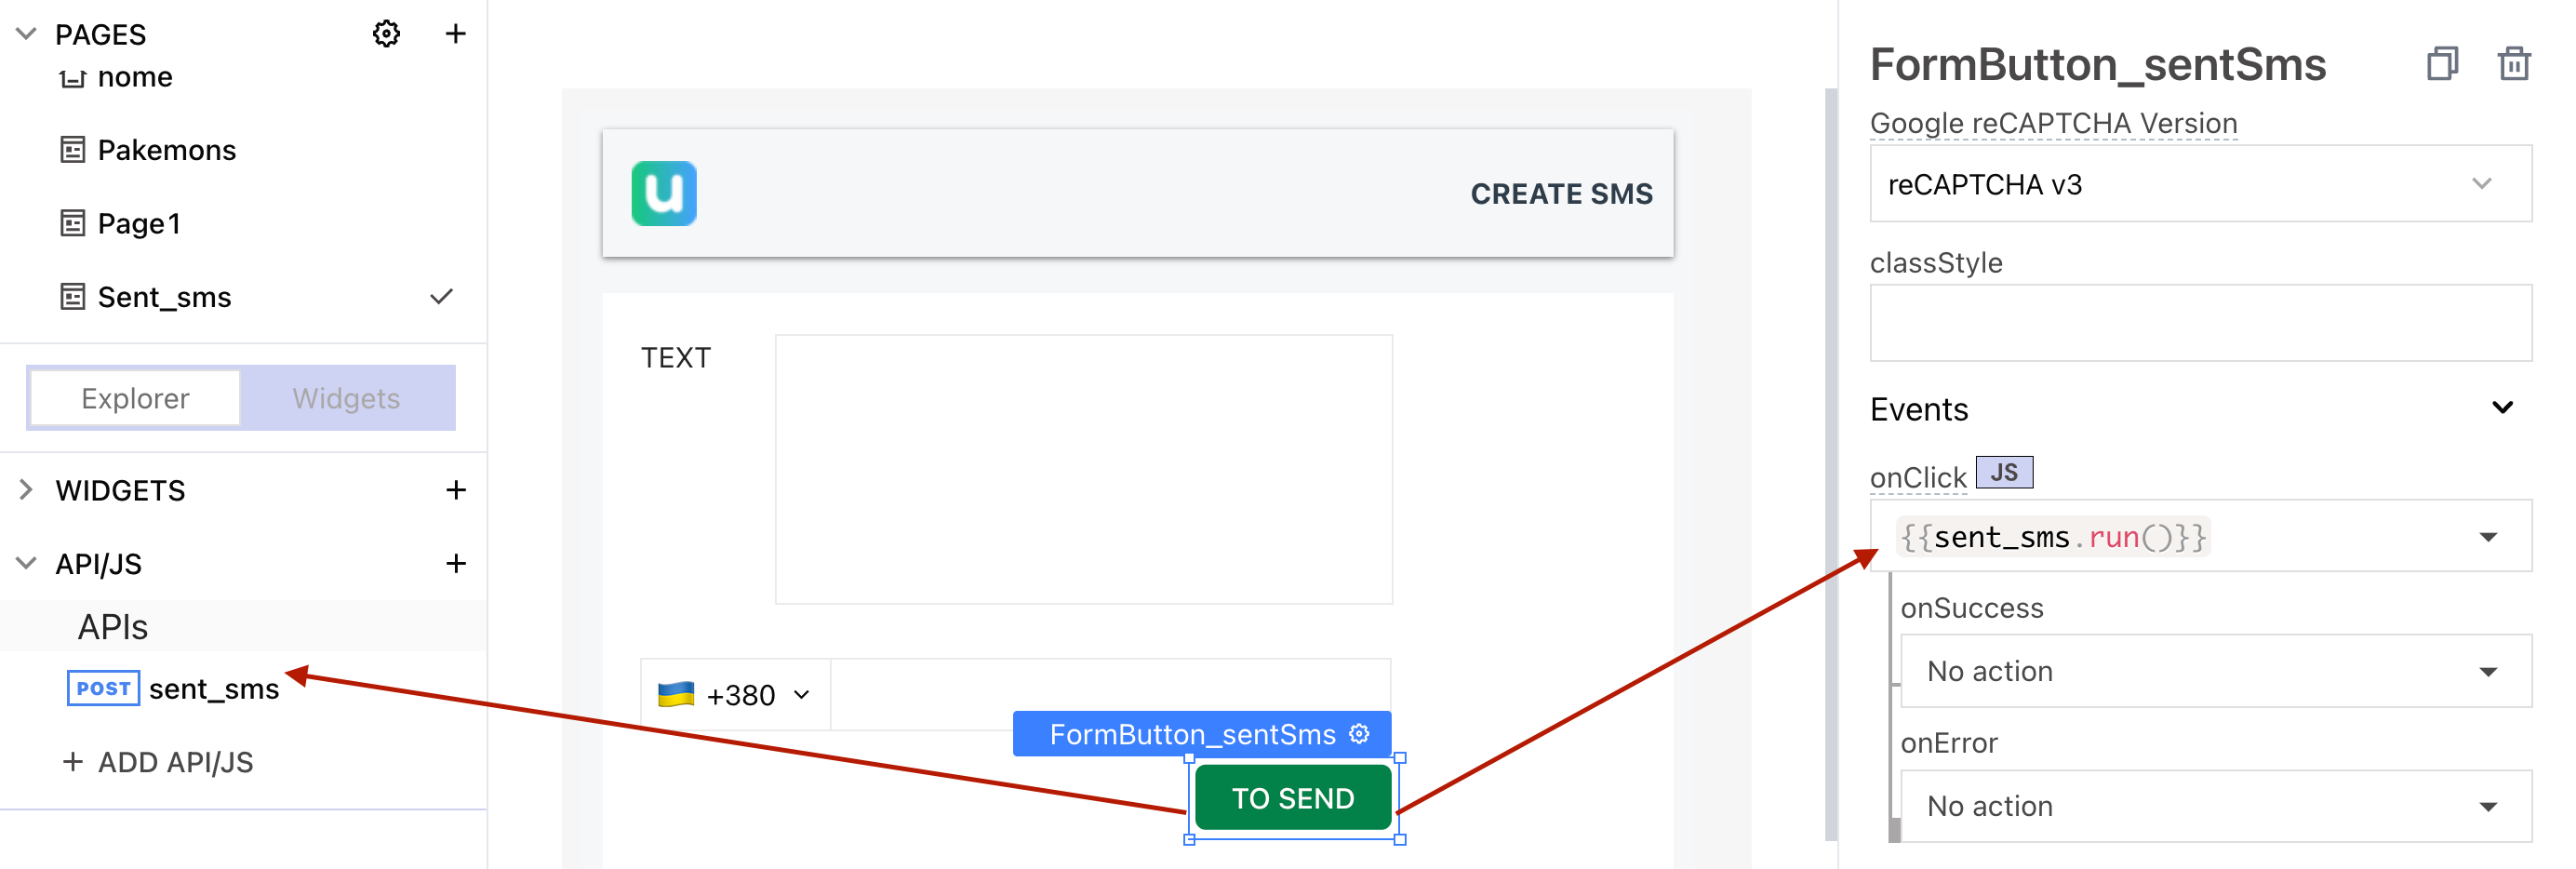
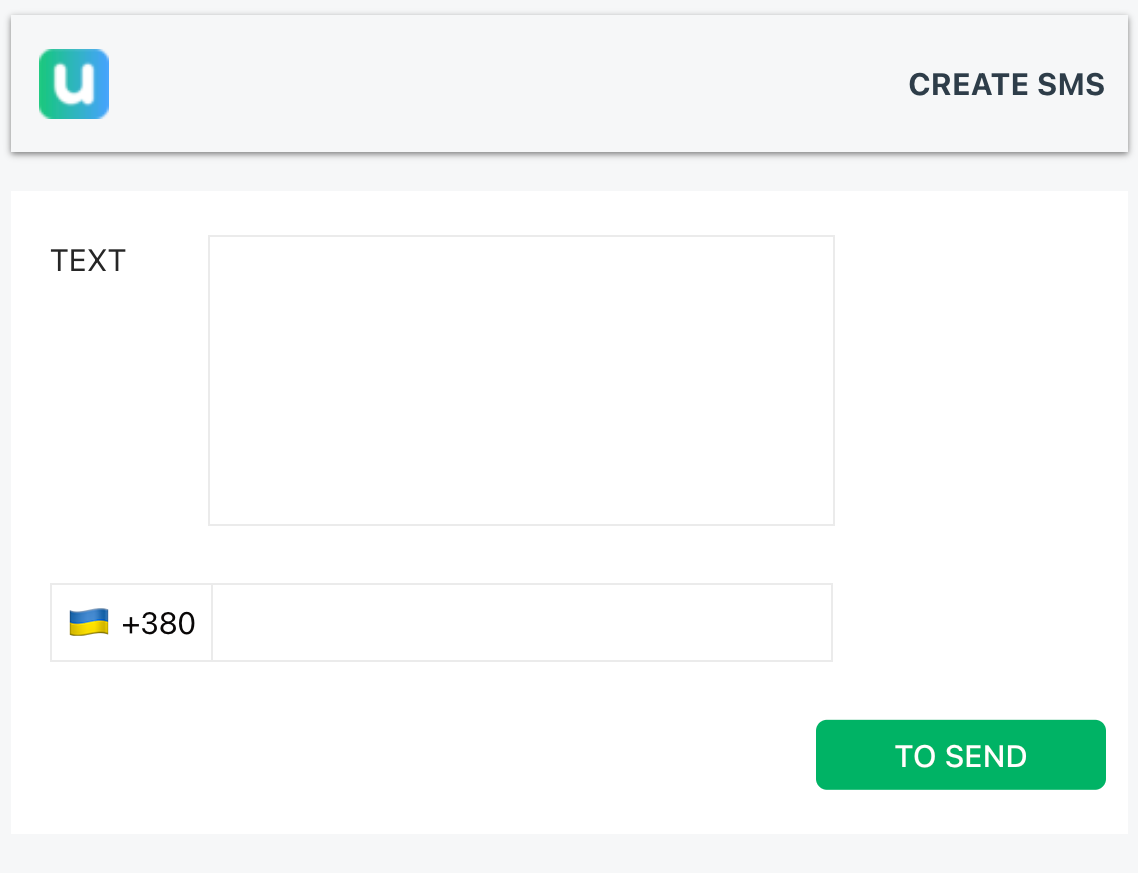
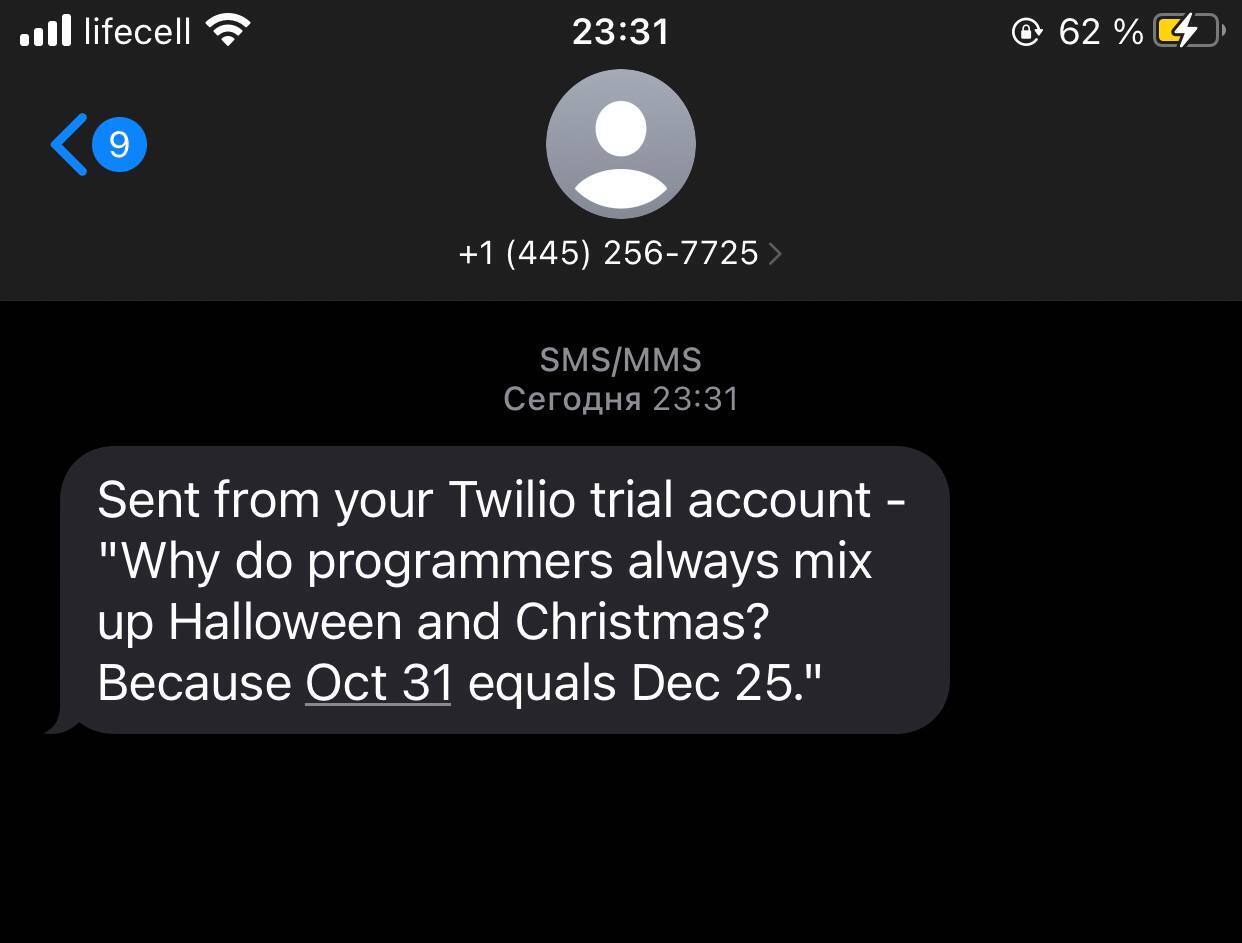
Figure - Result of the program.

Top comments (0)