You will need to have a GitLab account and a personal access token to interact with the API.
Read more about GitLab API
How create personal access token in GitLab
Step 1. Node-red
1) Create flow "http in"
2) Create flow function set data
msg.issues = [];
msg.page = 1;

return msg;
3) Create flow function url. Where set url to gitlab api
msg.url = `https://gitlab.com/api/v4/projects/40120550/issues?private_token={YOUR_GITLAB_ACCESS_TOKEN}&page=${msg.page}&per_page=100`;

return msg;
4) Create flow request and set in setting a parsed JSON object
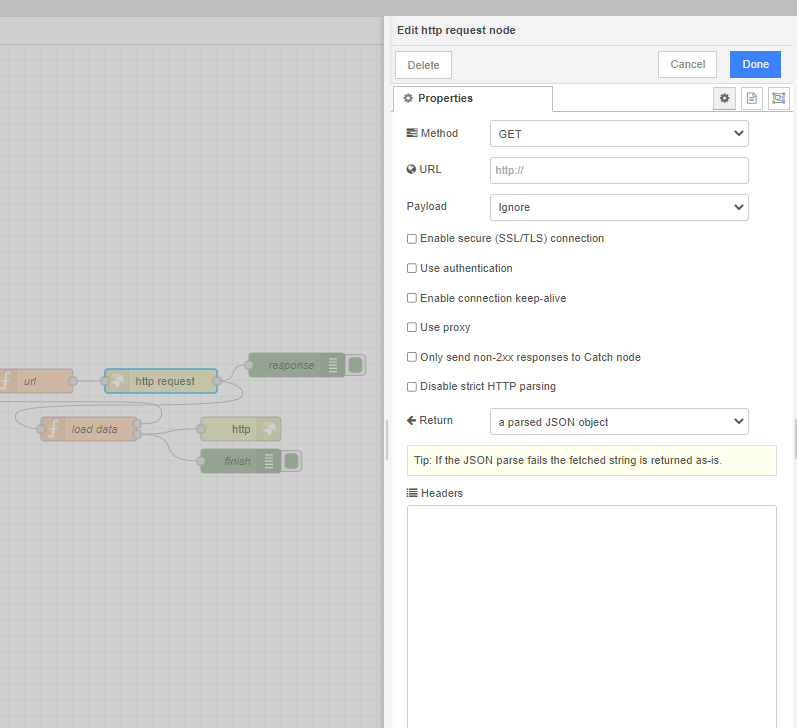
5) Create flow function load data. Where will we filter our issues. Because GitLab returns only 100 issues, we make pagination on every page. And add in setup 2 outputs.
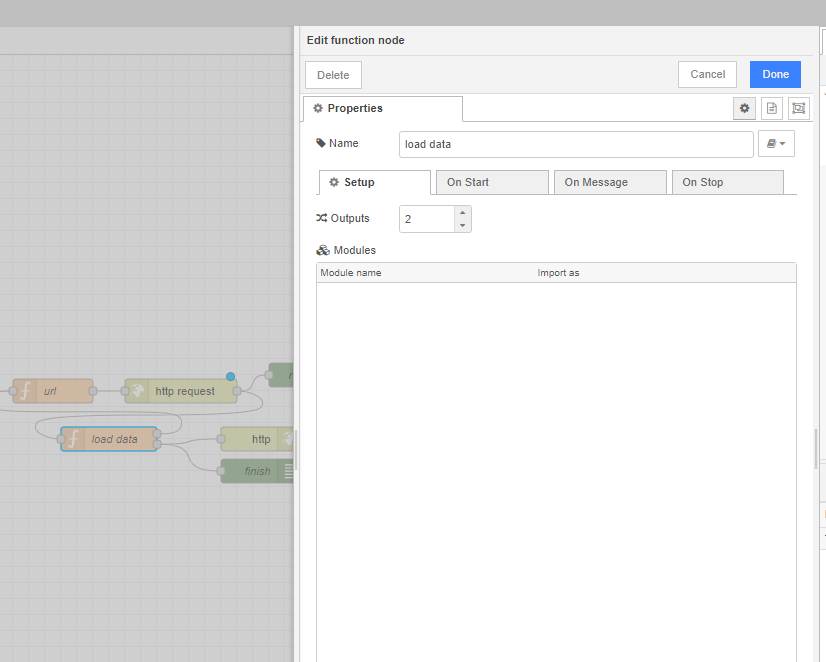
if (msg.payload.length === 100) {
    msg.issues = msg.issues.concat(msg.payload);

    msg.page += 1;

    return [msg, null];
} else if (msg.payload.length < 100 && msg.payload.length !== 0) {
    msg.issues = msg.issues.concat(msg.payload);
    msg.payload = msg.issues;

    return [null, msg];
}
 else {
    msg.payload = msg.issues;

    return [null, msg];
}
6) Create flow "http response"
Step 2. UI
Create page, for example with table, button and select filter.
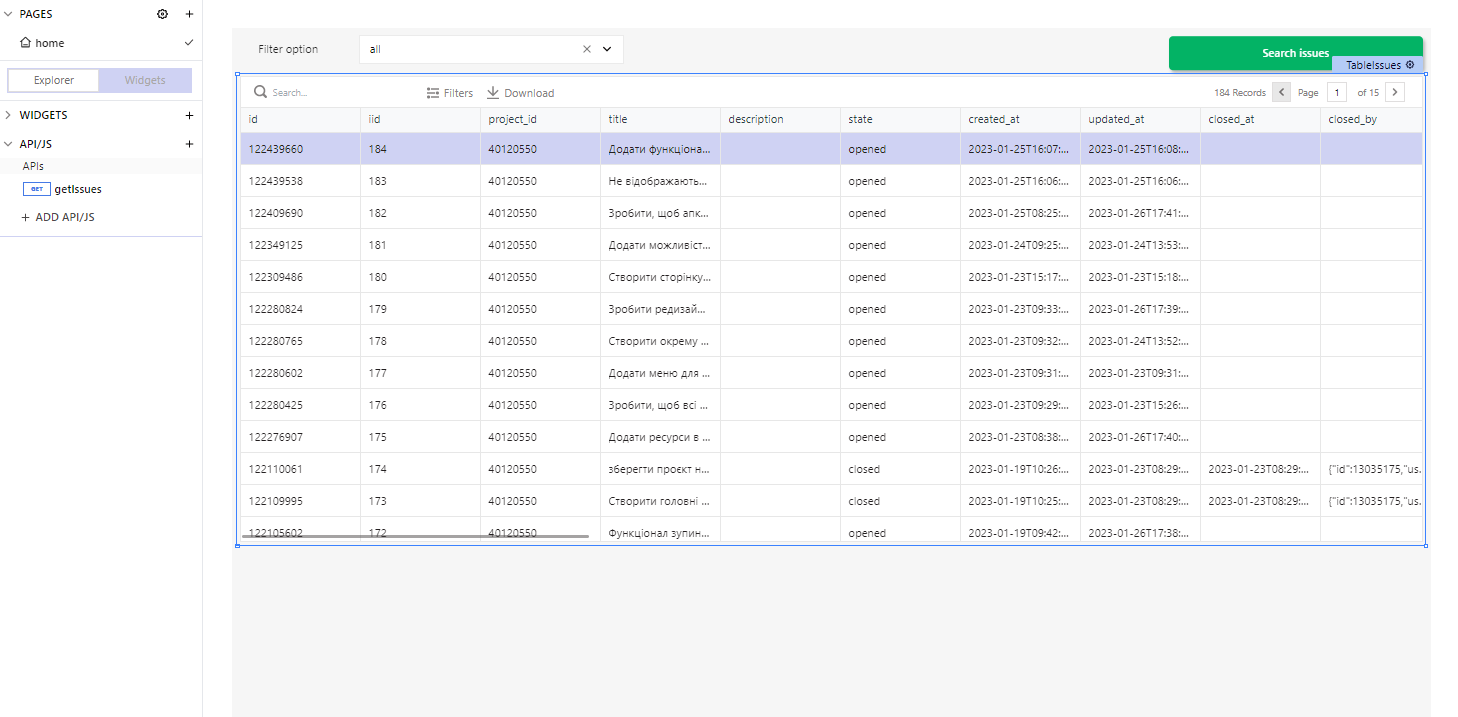
In API/JS create request to our nodered
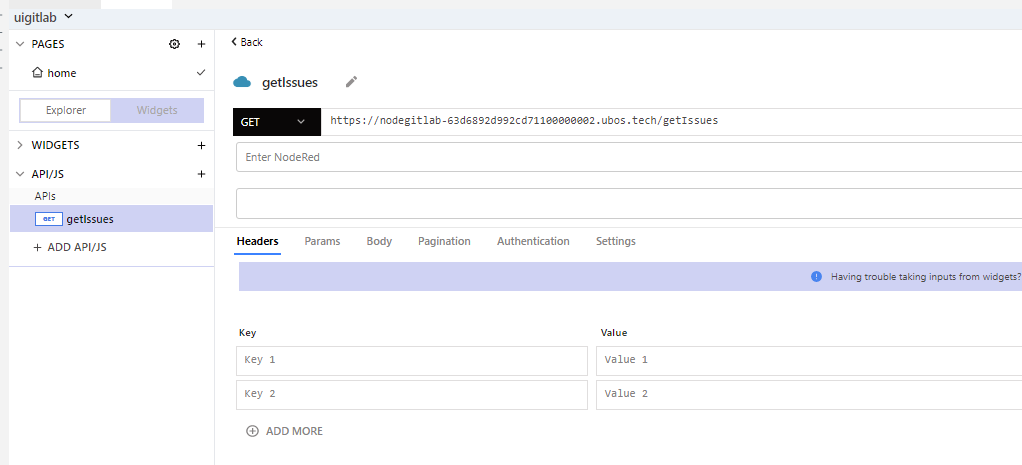
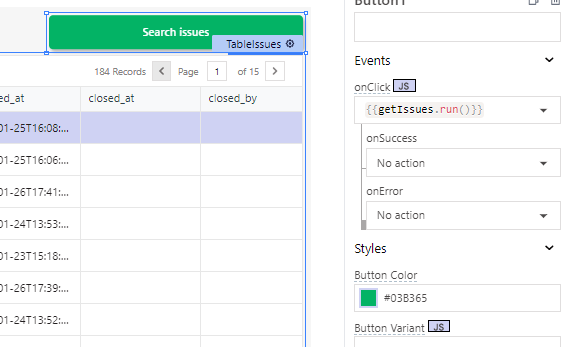
We add a call to our api getIssues in the button.
Where filter we created 3 states - all, closed, and opened.
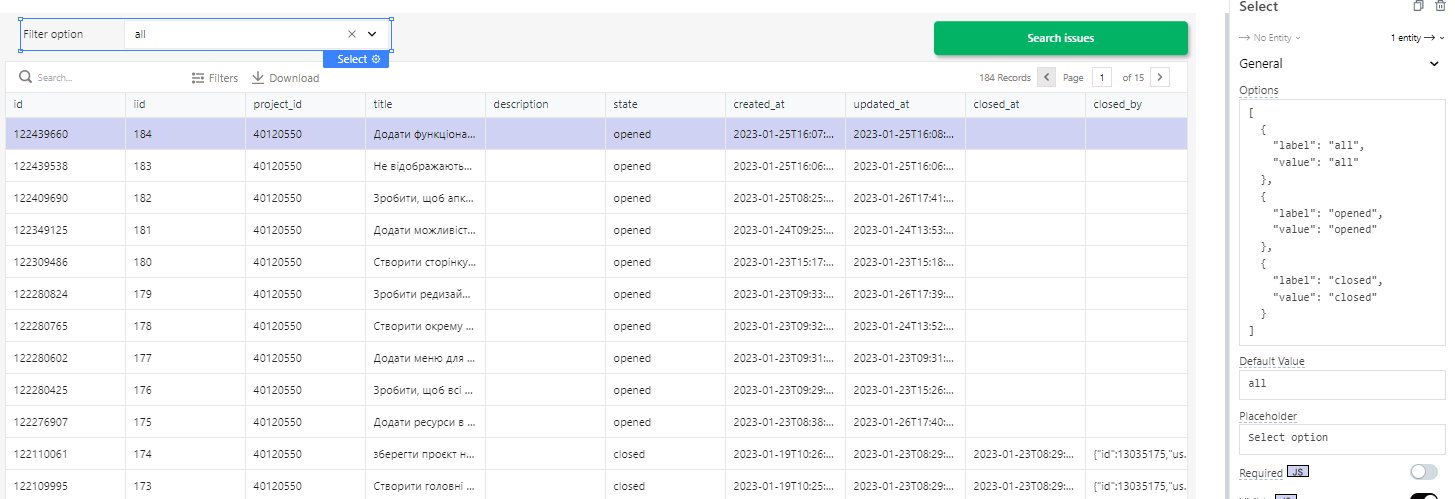
We can do filtering by queries API. However, it will take a lot of time to make requests. Since we already have the data that came in, it will be faster to filter JS.
In the table where the data is displayed, we add a JS function to display the data relative to our filter.
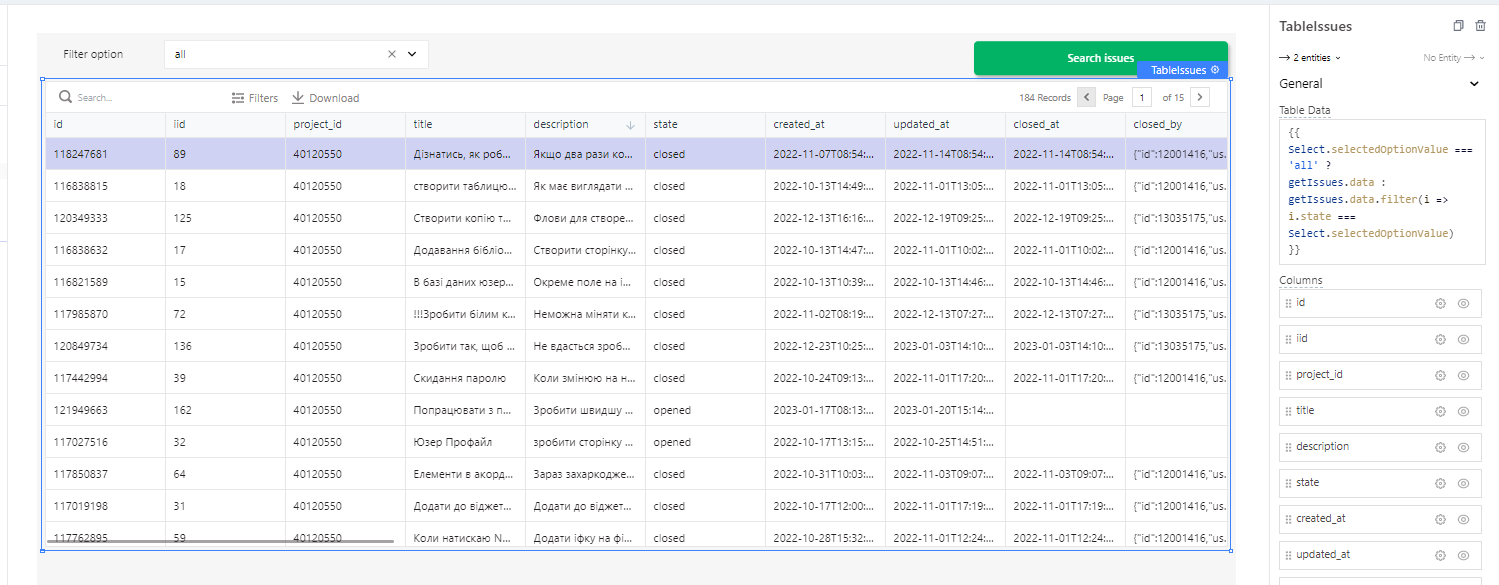
{{
Select.selectedOptionValue === 'all' ?
getIssues.data : getIssues.data.filter(i => i.state === Select.selectedOptionValue)
}}
Summary:
We interact with GitLab using requests. To do this, we need to have an access token. We can't get all the data at once, so we use server pagination. When we display data on the page, we don't filter the data with API requests, because it will take a long time. We use JS for filtering because it's much faster.


Top comments (0)