Setting Up a Template with WooCommerce Integration
У цій статті будуть розглянуті всі необхідні кроки для налаштування шаблону з інтеграцією WooCommerce.
Step 1: Find the Template
- Open the Asset Marketplace and search for [template name], or click on the link.
- Click Install and wait for the installation to complete.
Step 2: Configure Node-RED
After installation, go to the Node-RED settings.
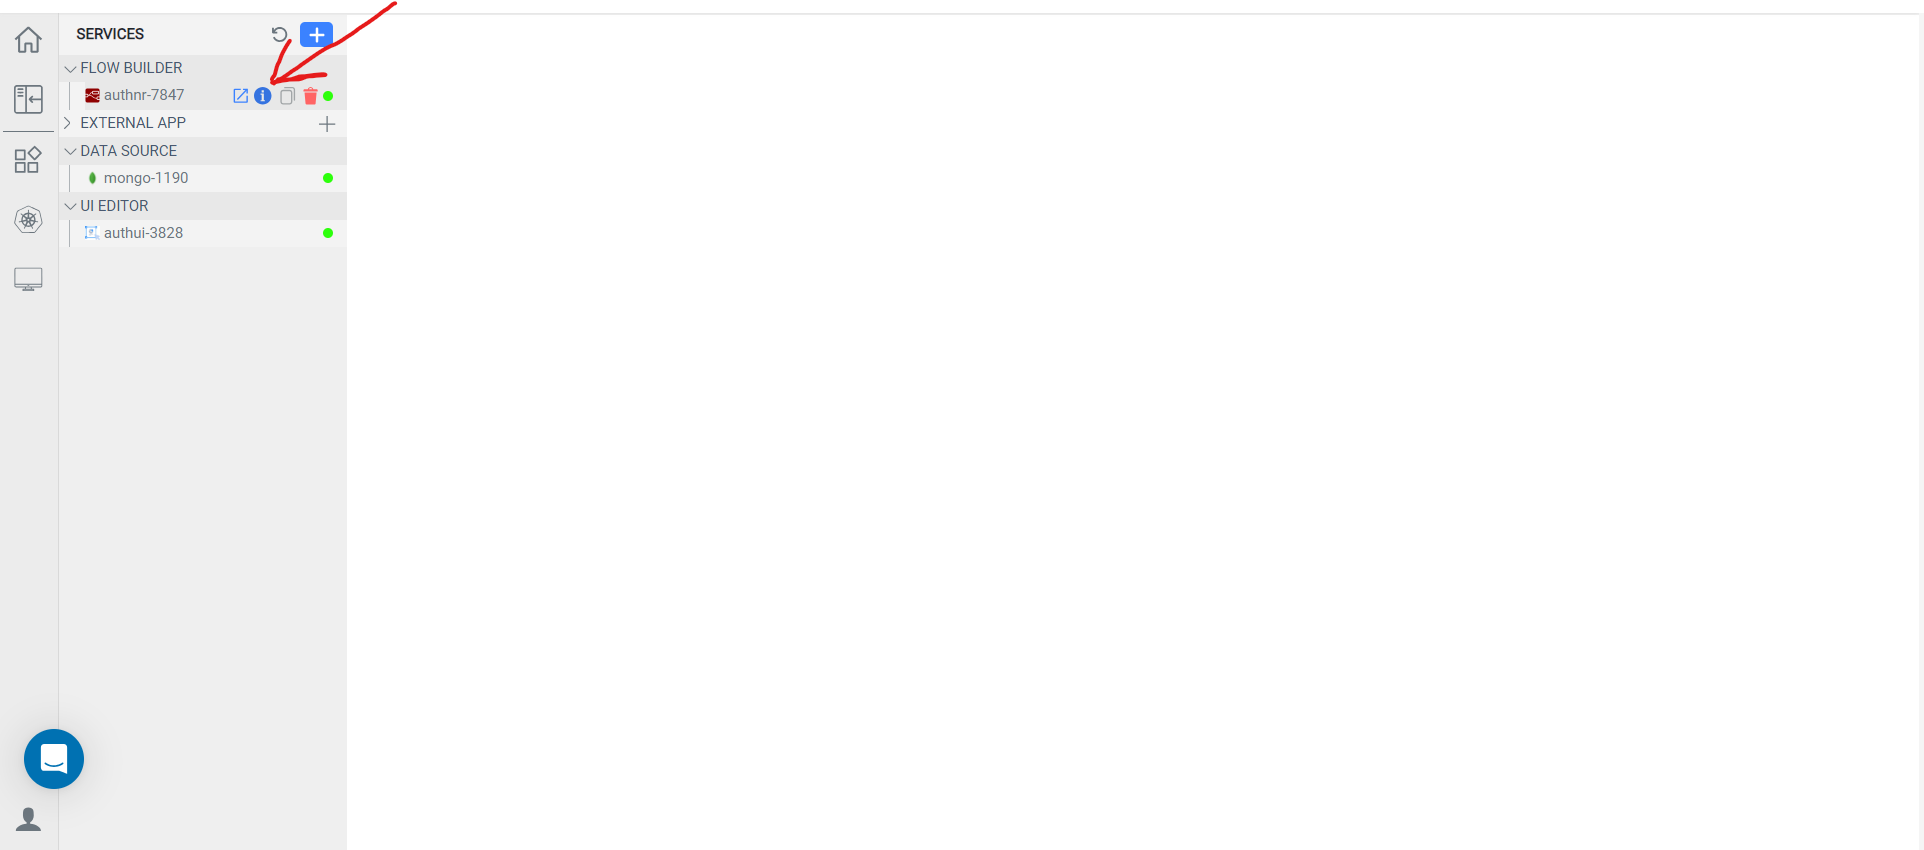
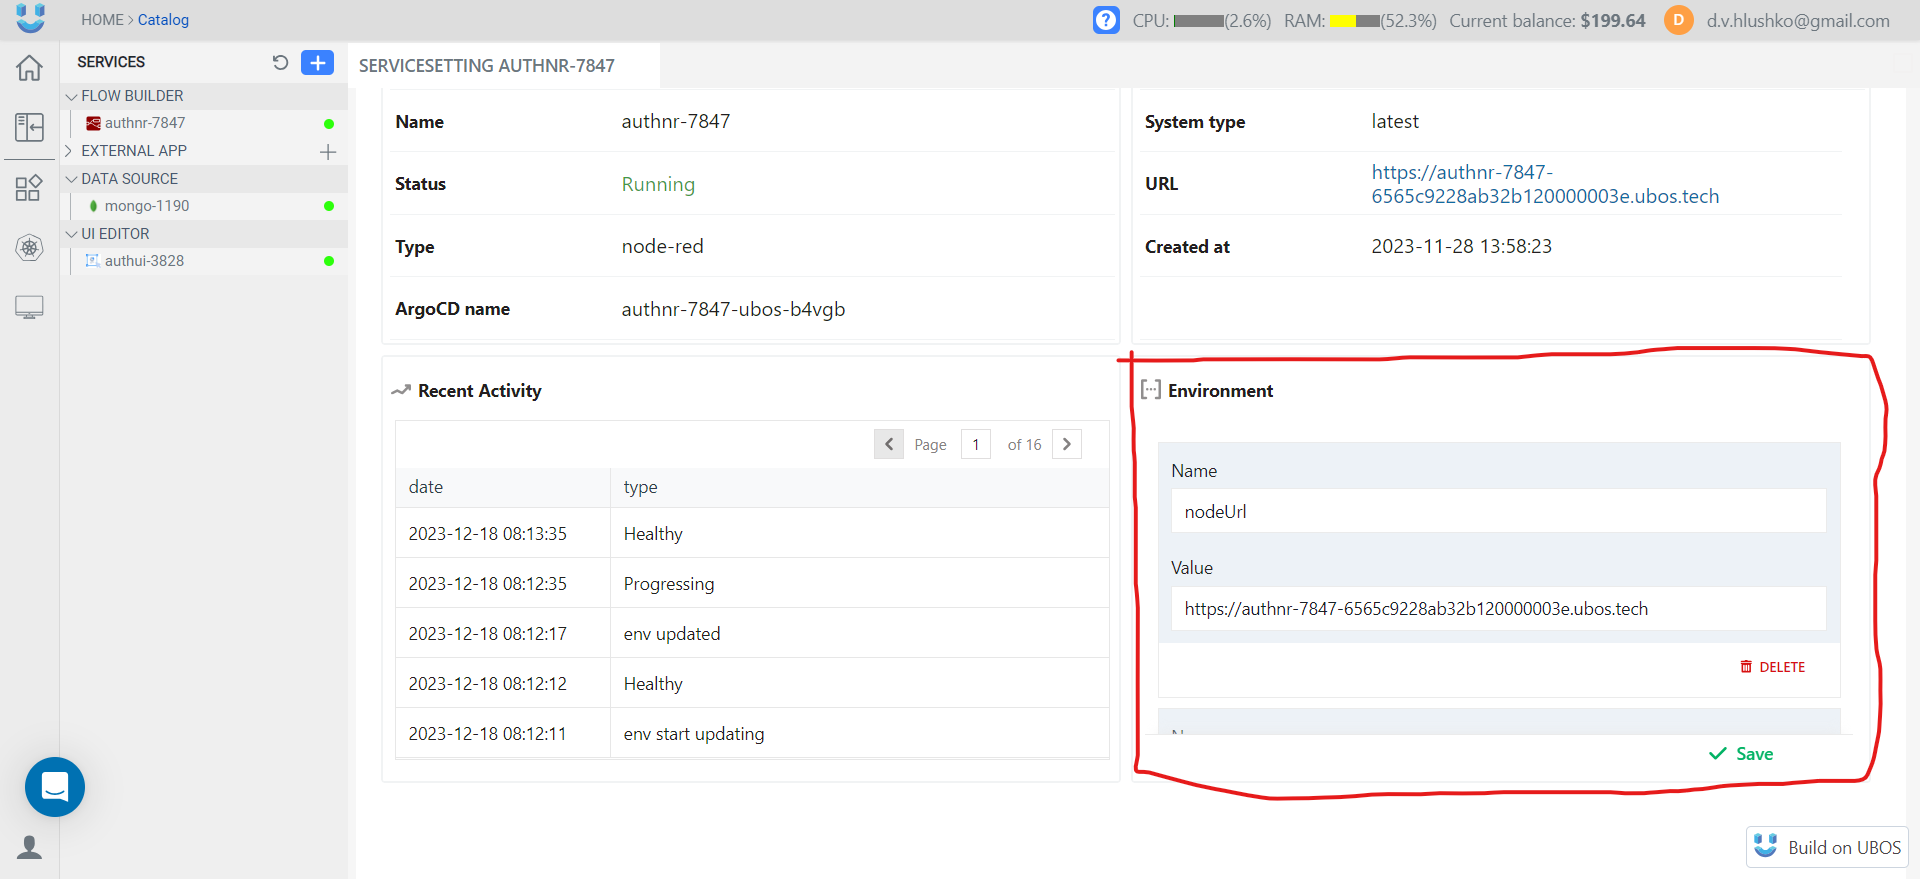
- Add the following environment variables to Node-RED:
-
BASE_URL- The URL to the WooCommerce API -
WOOCOMMERCE_CONSUMER_KEY- The WooCommerce consumer key -
WOOCOMMERCE_CONSUMER_SECRET- The WooCommerce consumer secret
-
-
Configure the UI:
-
secondaryColor- The secondary color for your site -
primaryColor- The primary color for your site
-
Configure user roles and permissions. See the instructions.
That's it! You've now configured your template for WooCommerce integration.
Description of the Template
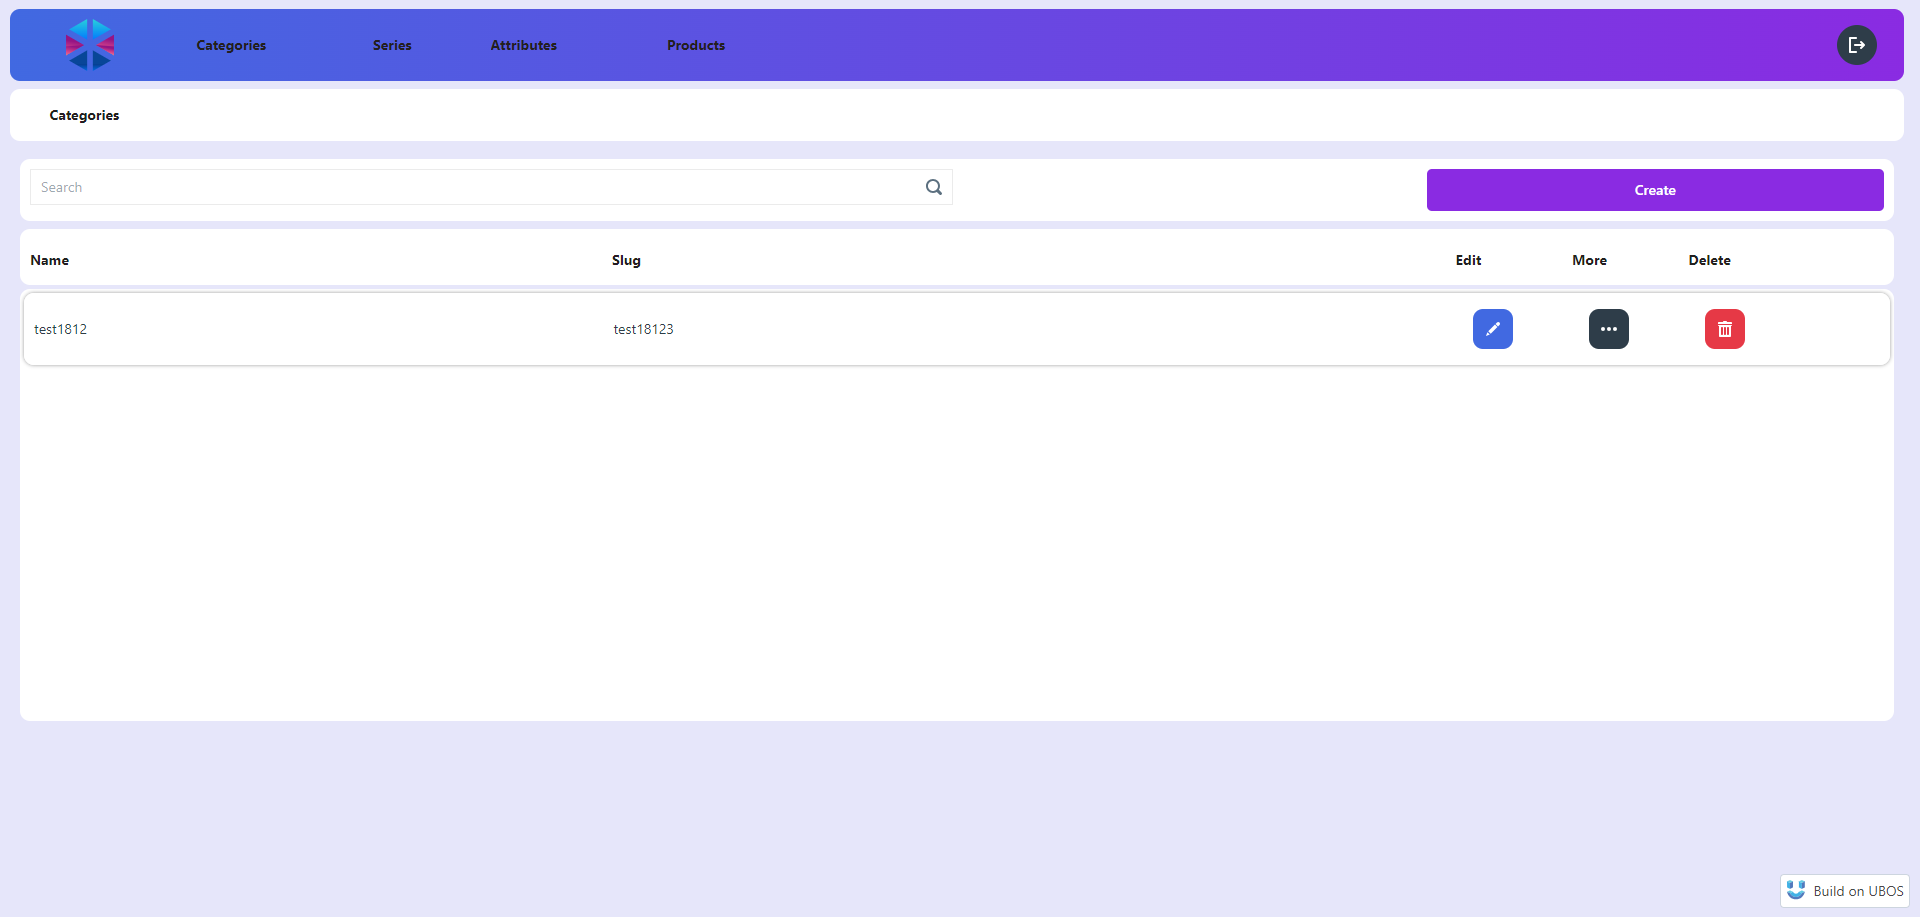
The template includes pages for creating categories, series, attributes, and products.
- Configure the authentication module.
- Register in the application and add a role with access to all pages.
- Add several categories for your products on the Categories page. You can create categories and subcategories by selecting an existing category from the select box. It is important to fill in the Name and Slug fields. Add a description if desired, and for a subcategory, select category.
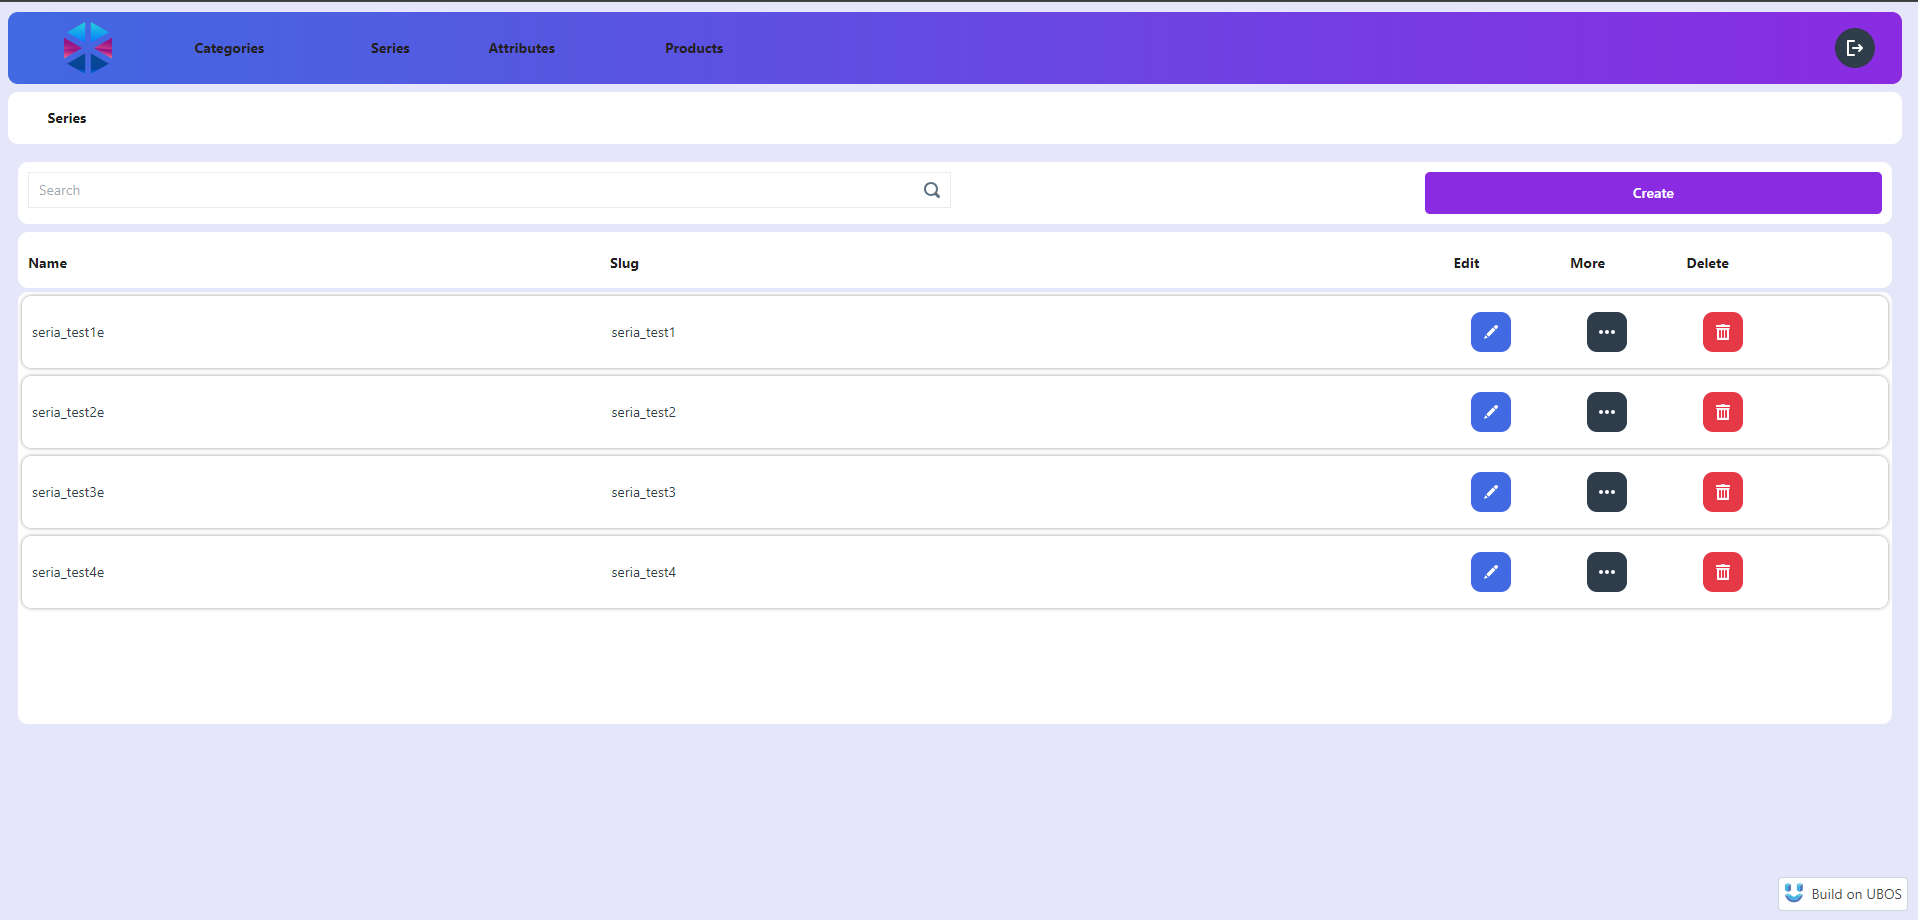
- Series are created in a similar way to categories, but be sure to select the parent category of this series.
- Attributes are an important part of the application. You can create your own or use ready-made ones. Creating a custom attribute will be described below. Add basic attributes!!! Their name should be Color, Material and Size
Go to the add terms page - these are options for each attribute. For example, you can add "red", "green", "purple" for the color. Fill in all the fields and create an additional term for the color.
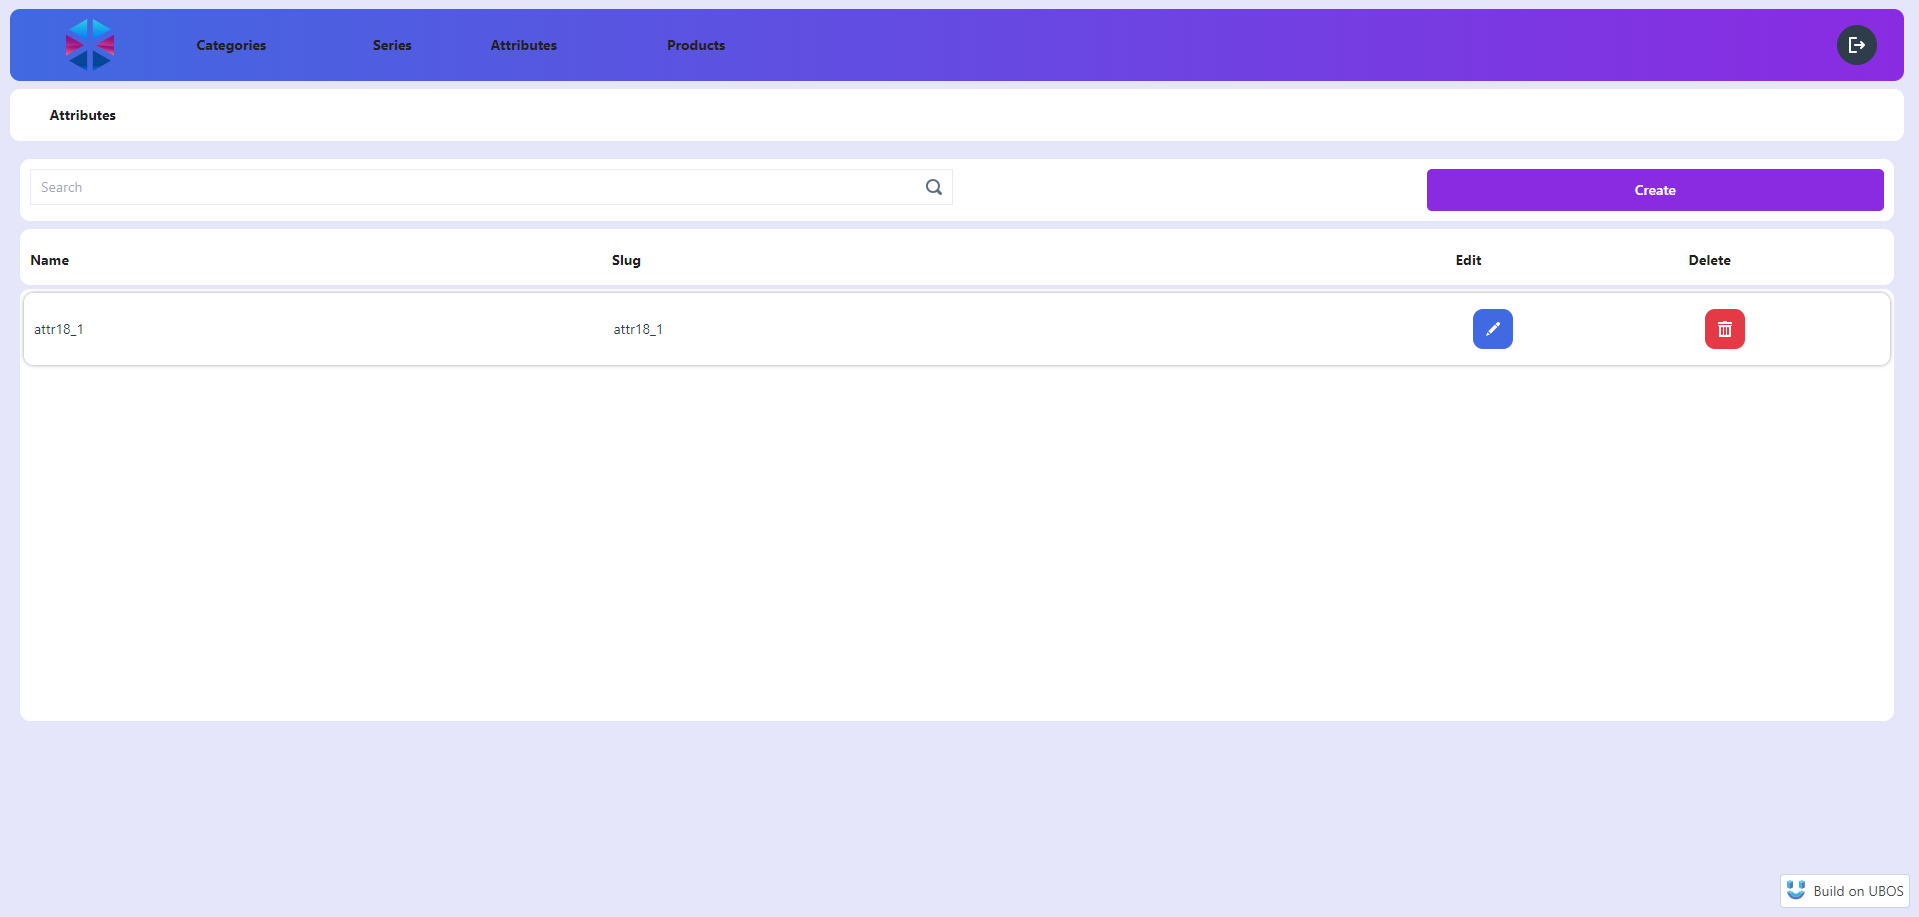
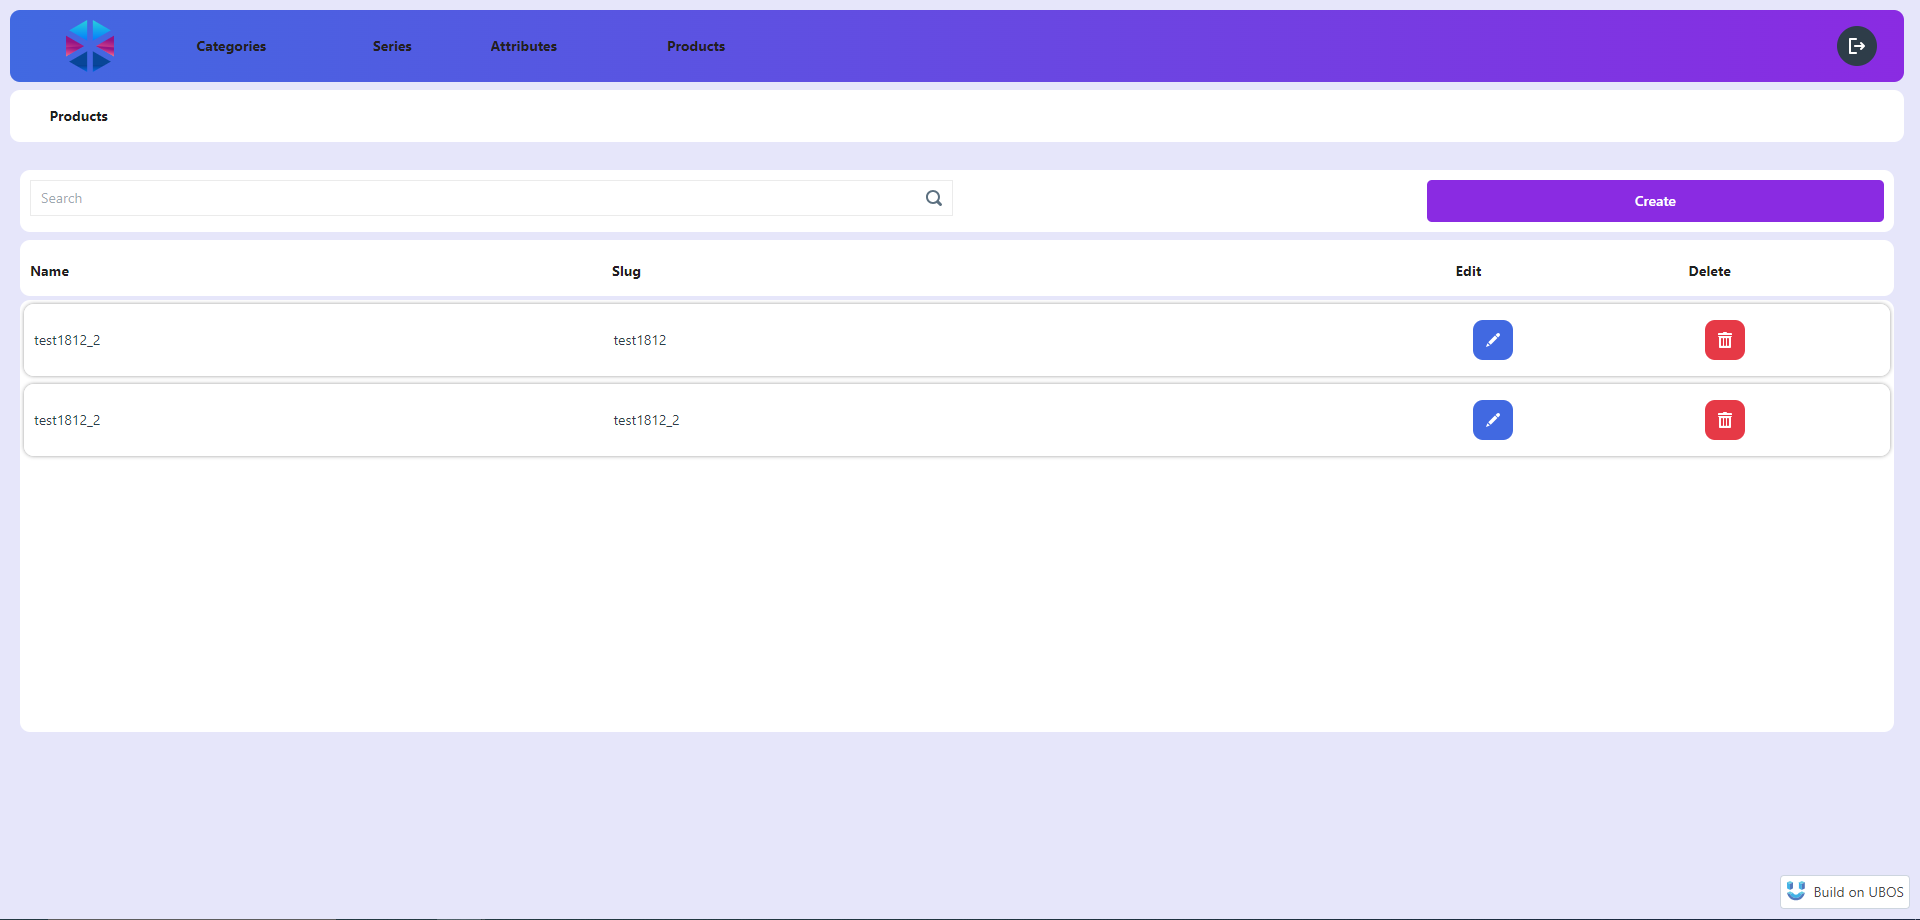
The Products page displays all products from the database. Let's add a product - click the "Create" button, fill in all the fields, add an image and save.
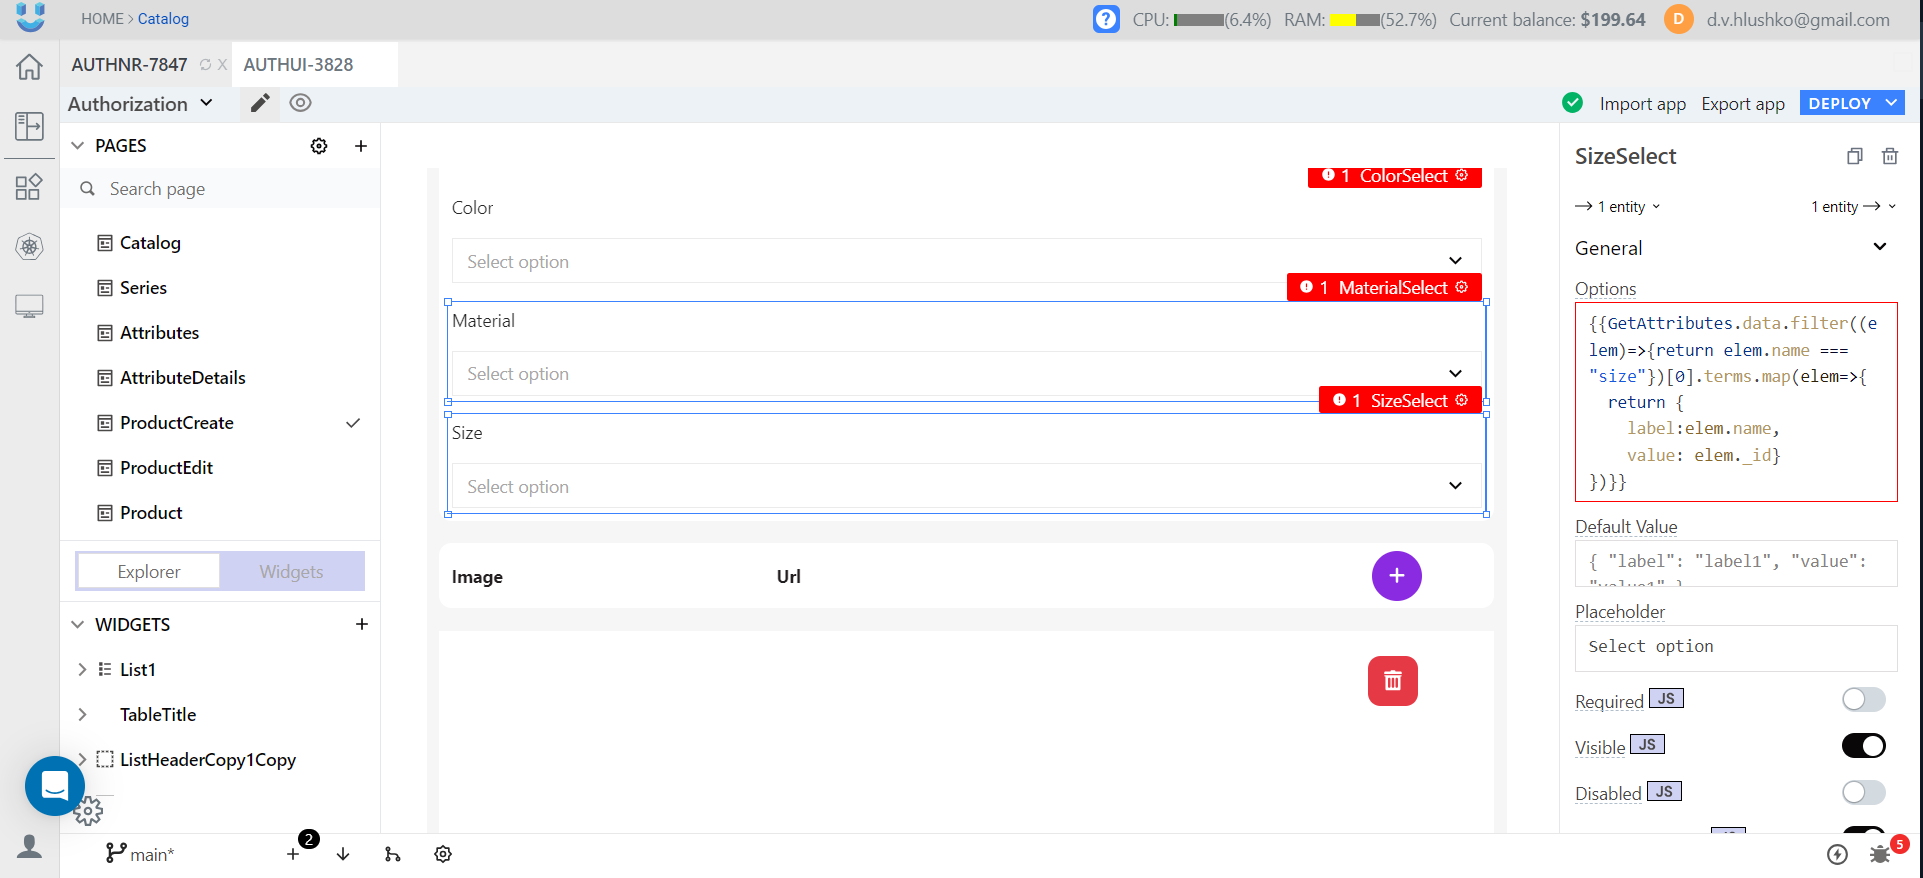
- If you added your own attributes, you noticed that there were only standard ones on the product creation page. Let's add them from the editor: copy one of the selects, replace Label with the name of your attribute.
Replace the function with:
   {{GetAttributes.data.filter((elem)=>{return elem.name === "NAME_OF_YOUR_ATTRIBUTE"})[0].terms.map(elem => {
     return {
       label: elem.name,
       value: elem._id
     }
   })}}
For the editing page, do the same and additionally replace the Default Value function:
   {{GetProduct.data[0].attributes.filter((elem)=> {
     return "NAME_OF_YOUR_ATTRIBUTE” === elem.name
   })[0].option}}


Top comments (0)